


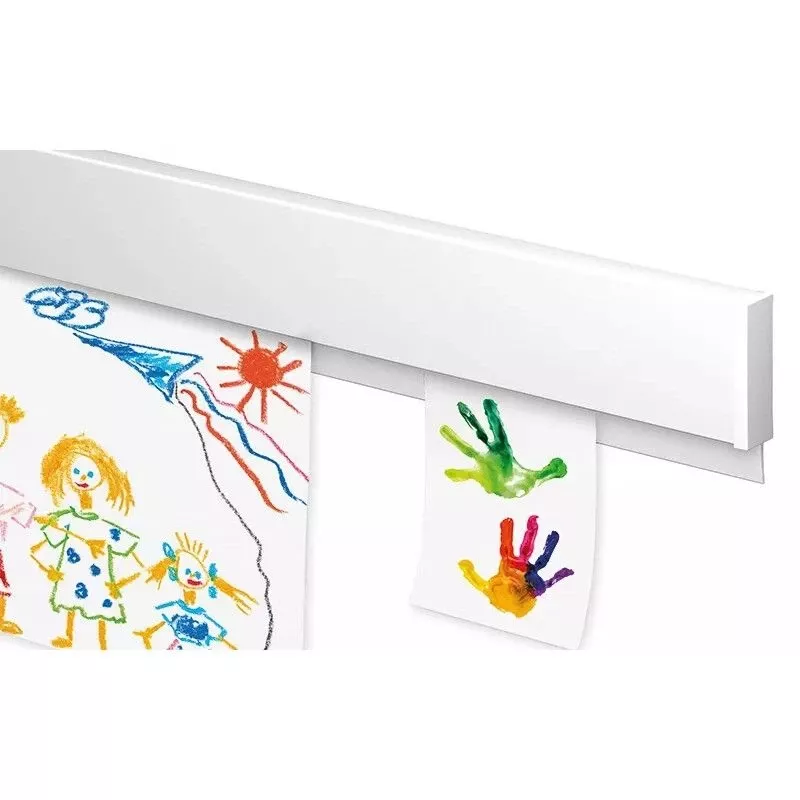
How to install the Artiteq Info Rail picture hanging system?
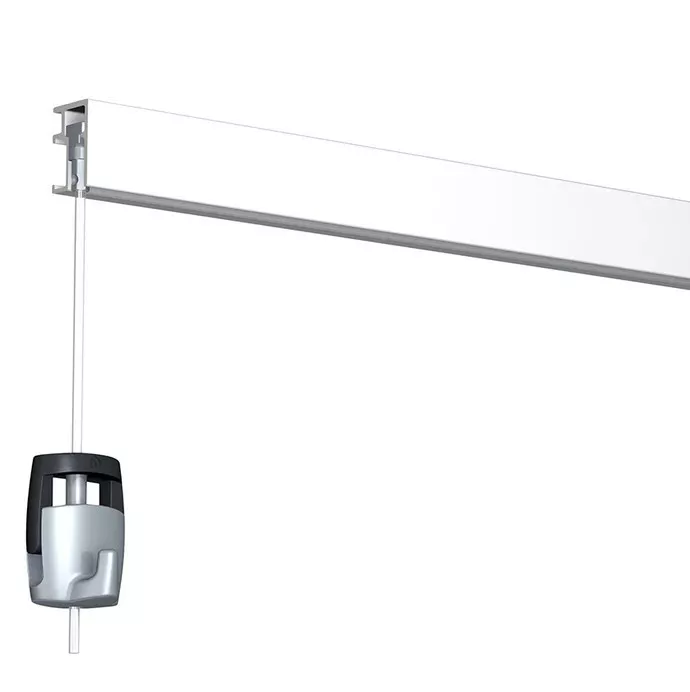
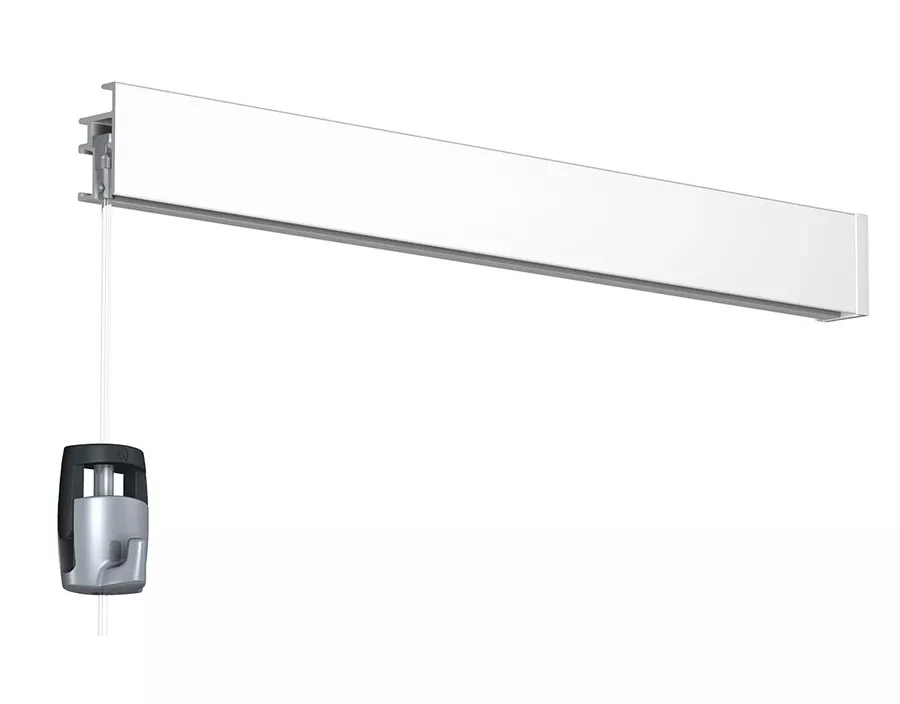
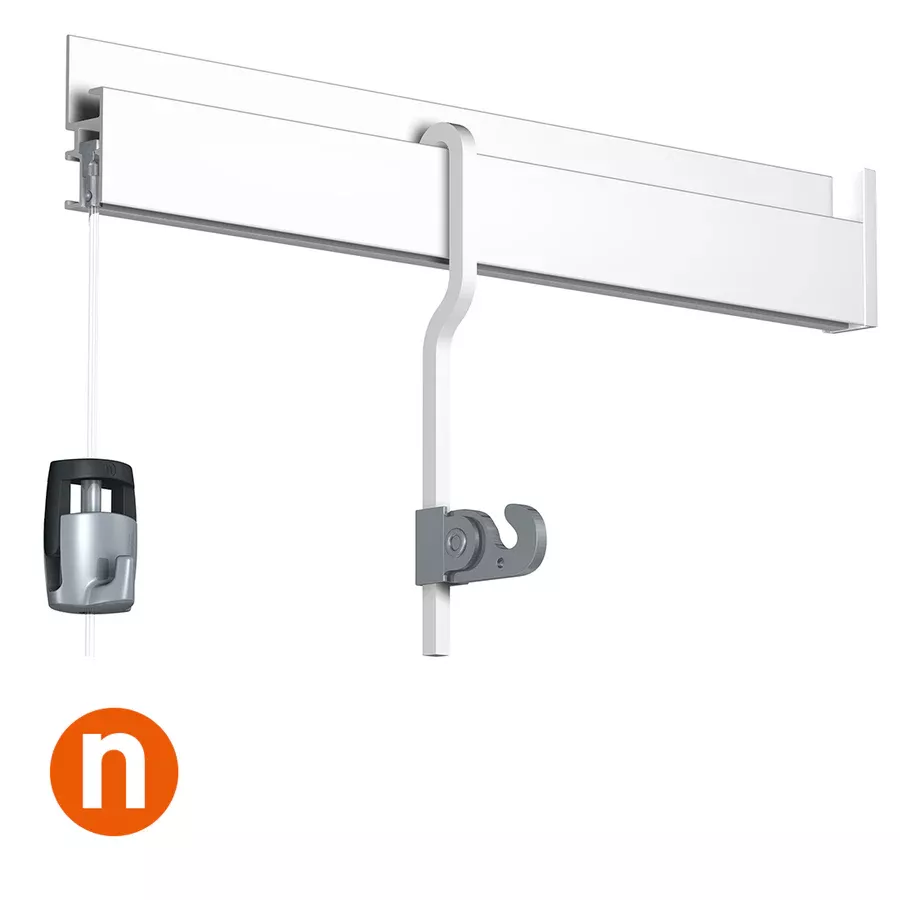
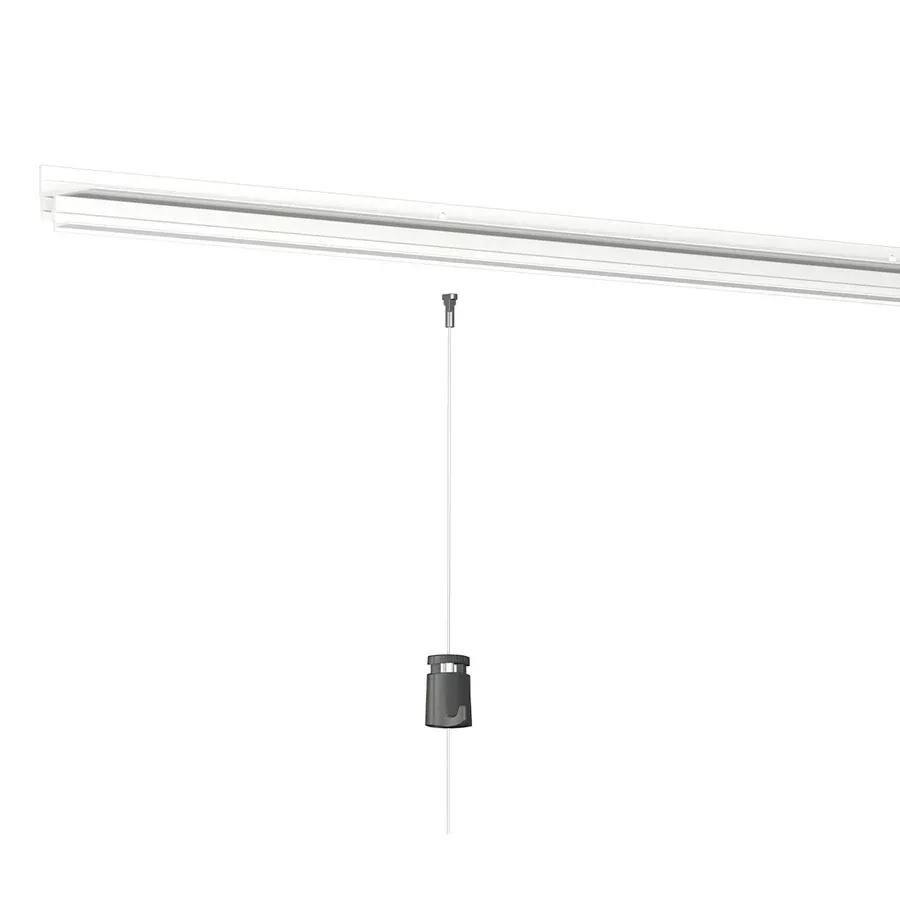
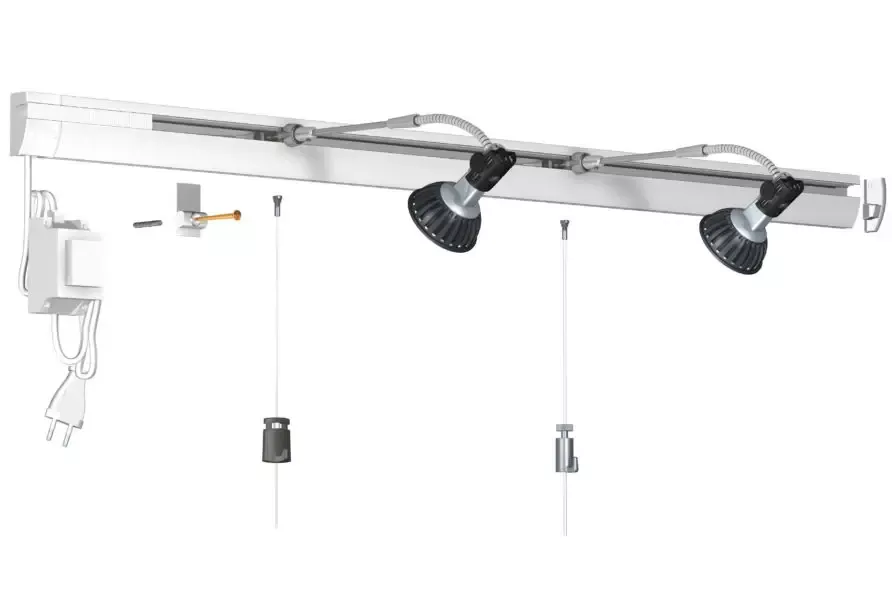
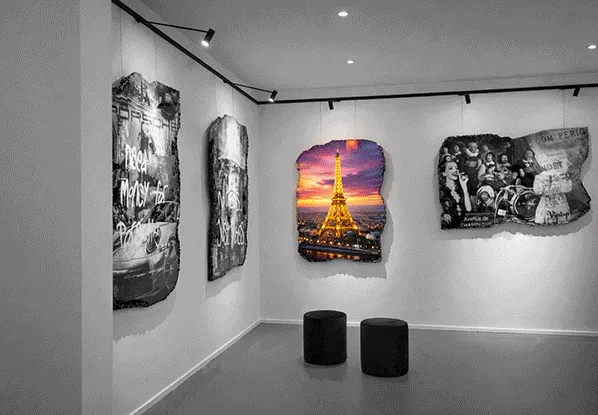
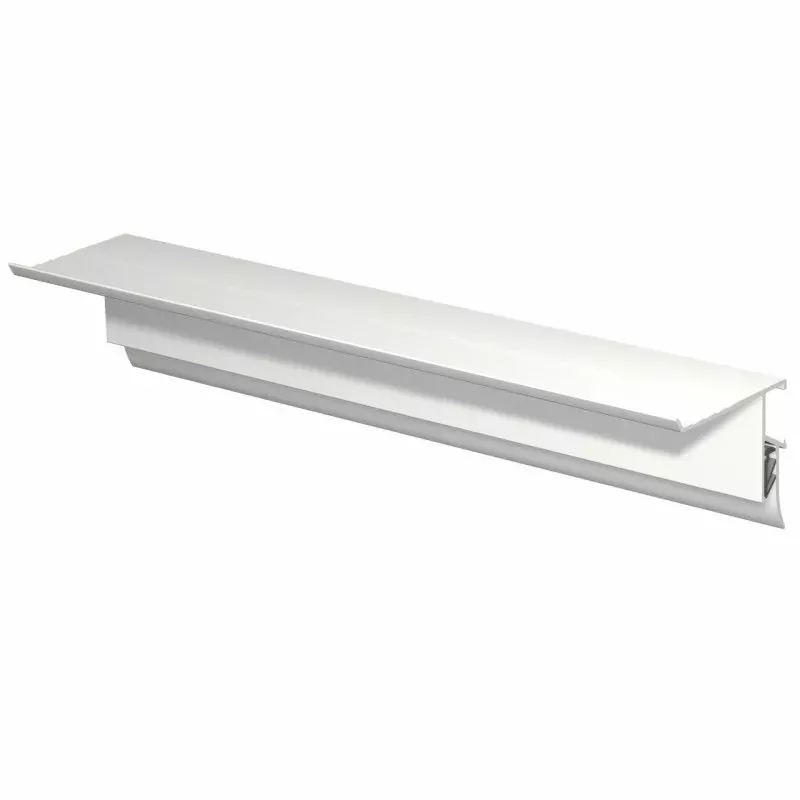
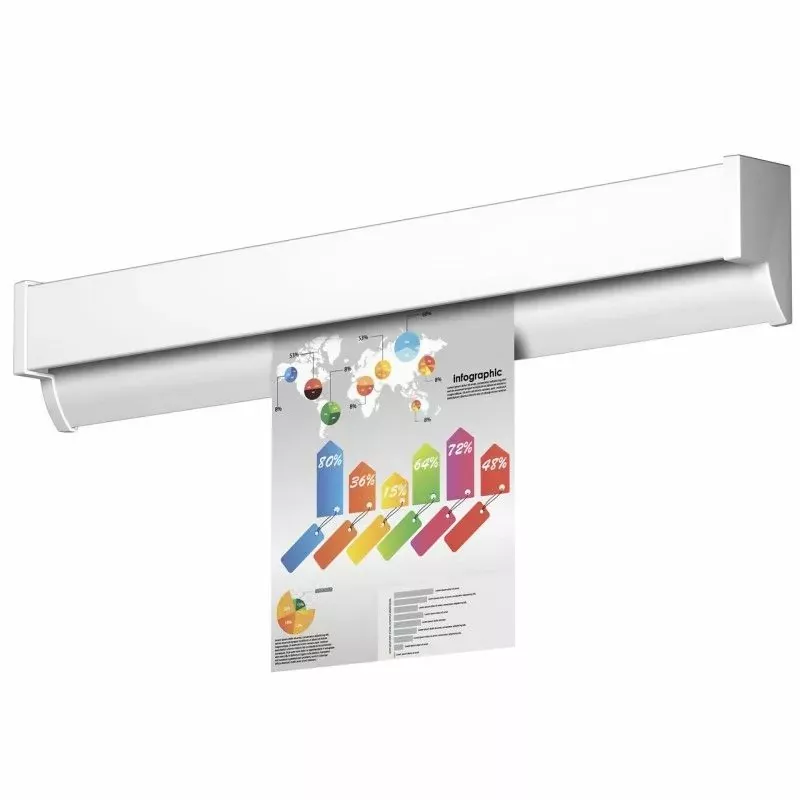
Perfect! The Info Rail picture rail from Artiteq is specially designed to easily display documents, drawings, photos, or posters without pins or adhesive tape – ideal for schools, offices, or creative workshops.
Here is a simple guide for installing the Artiteq Info Rail picture rail:
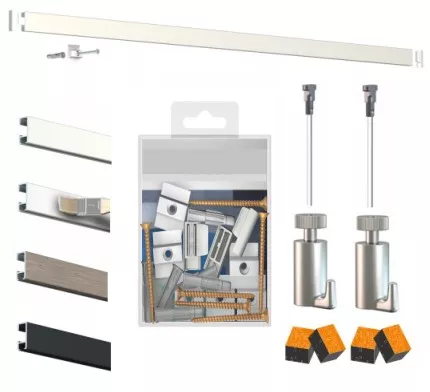
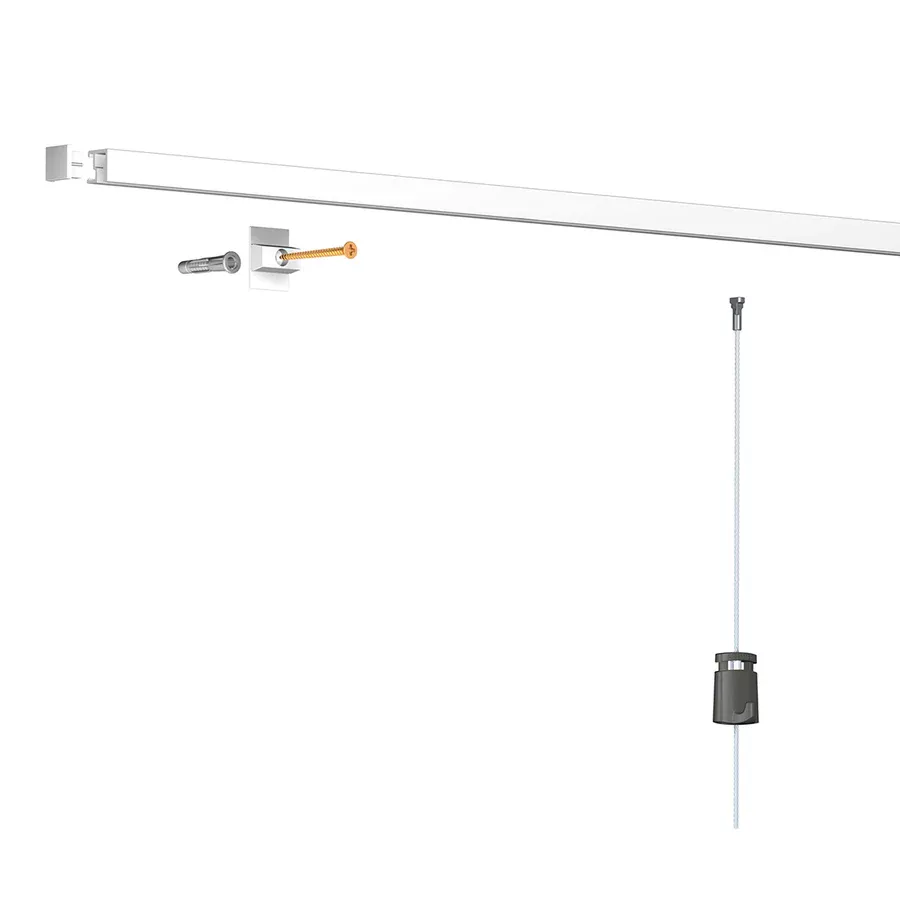
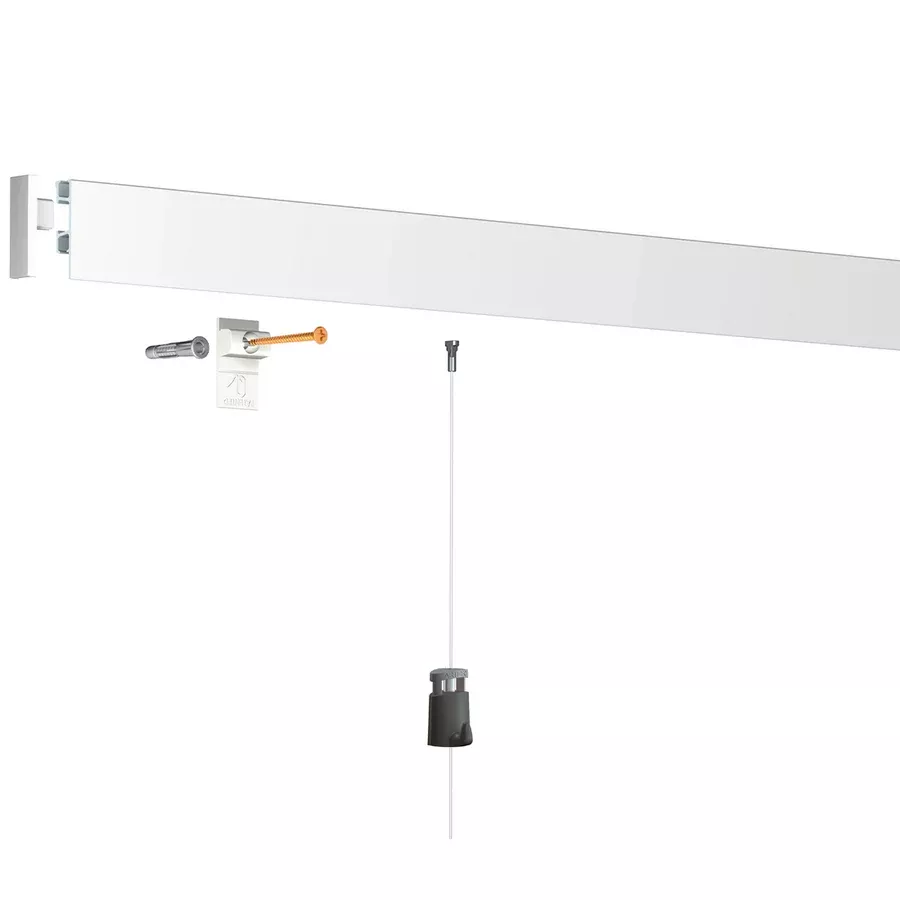
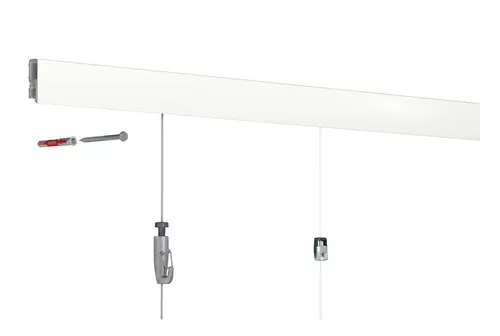
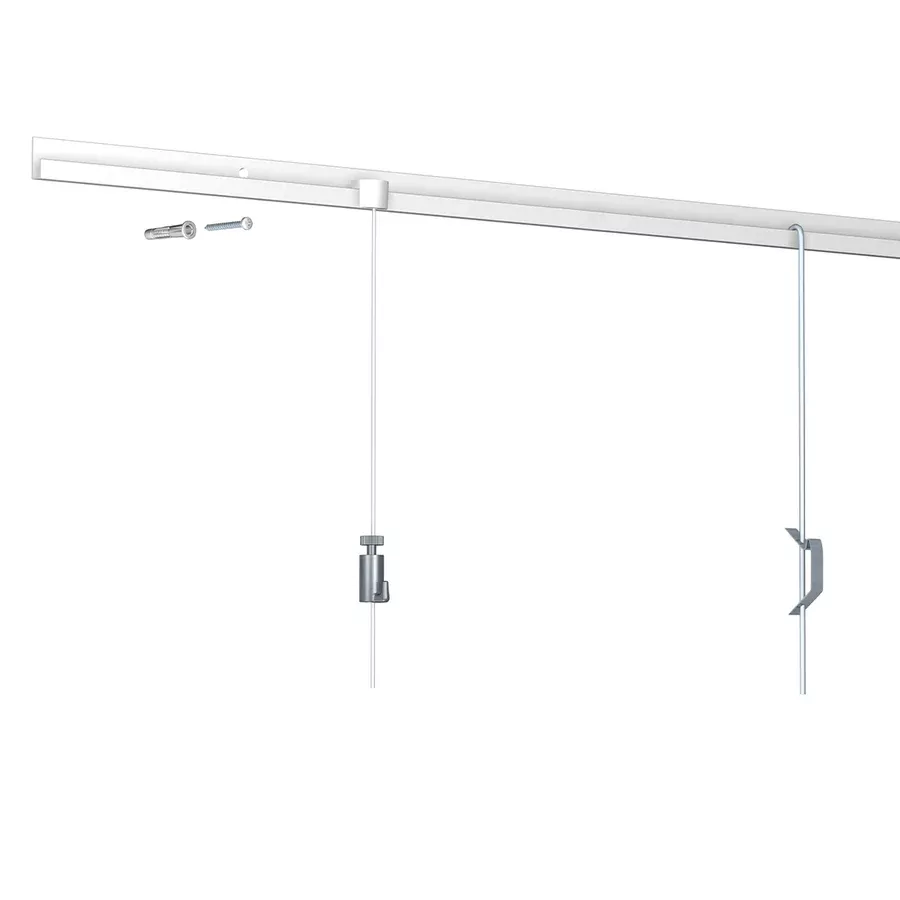
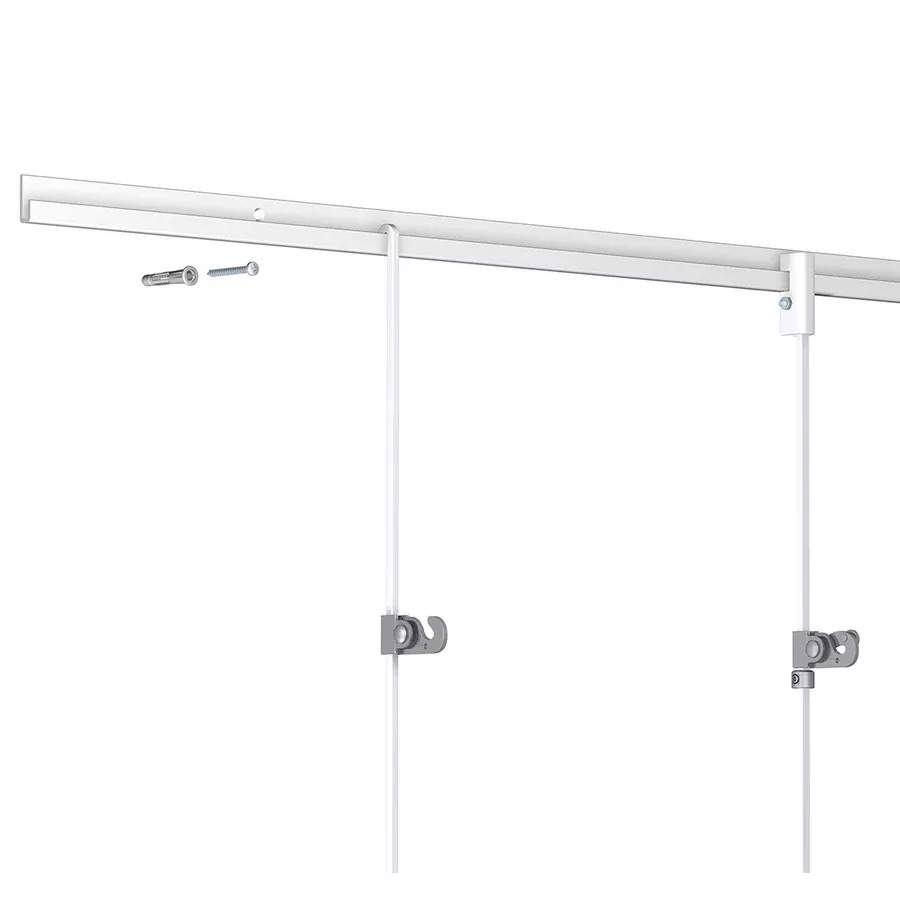
?️ Necessary Materials
-
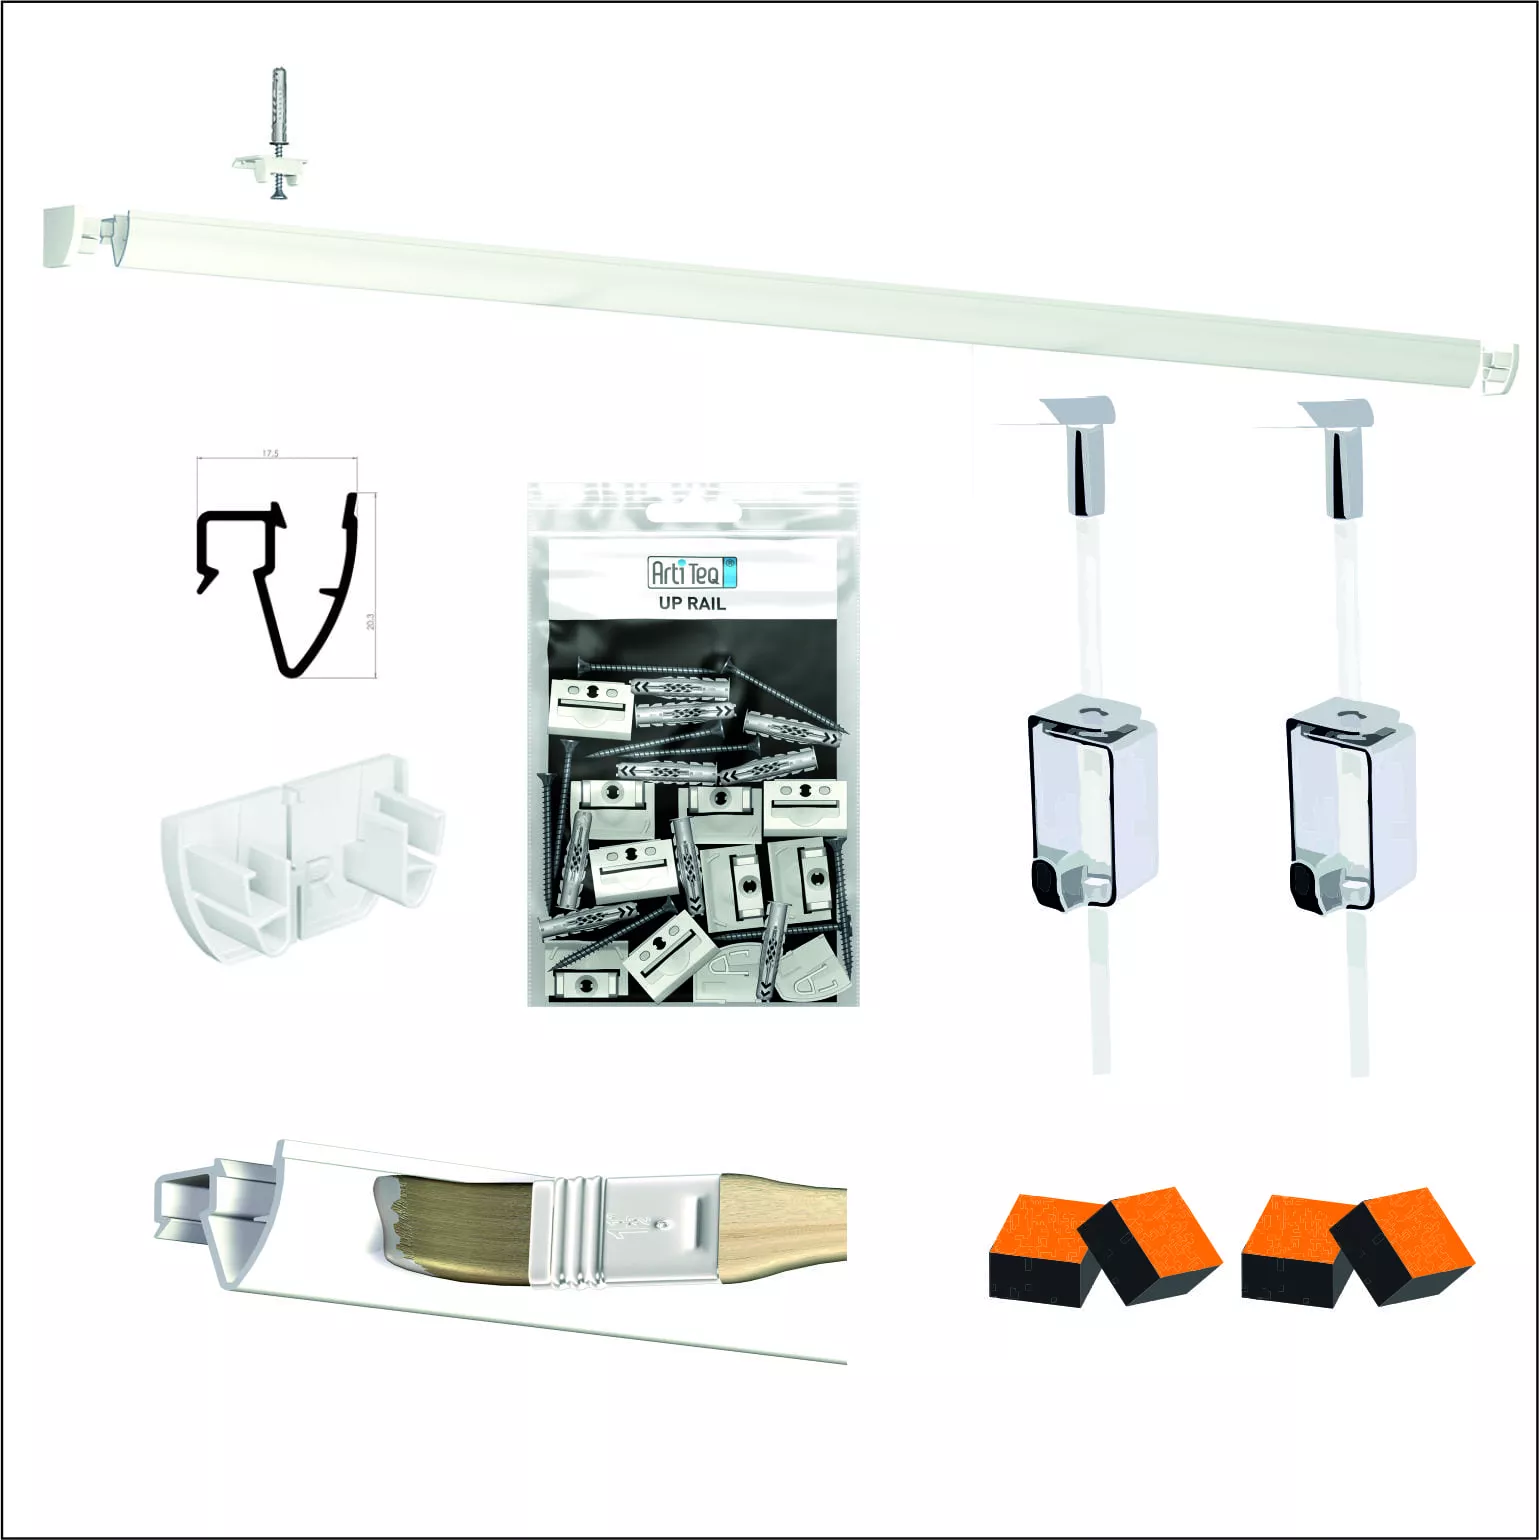
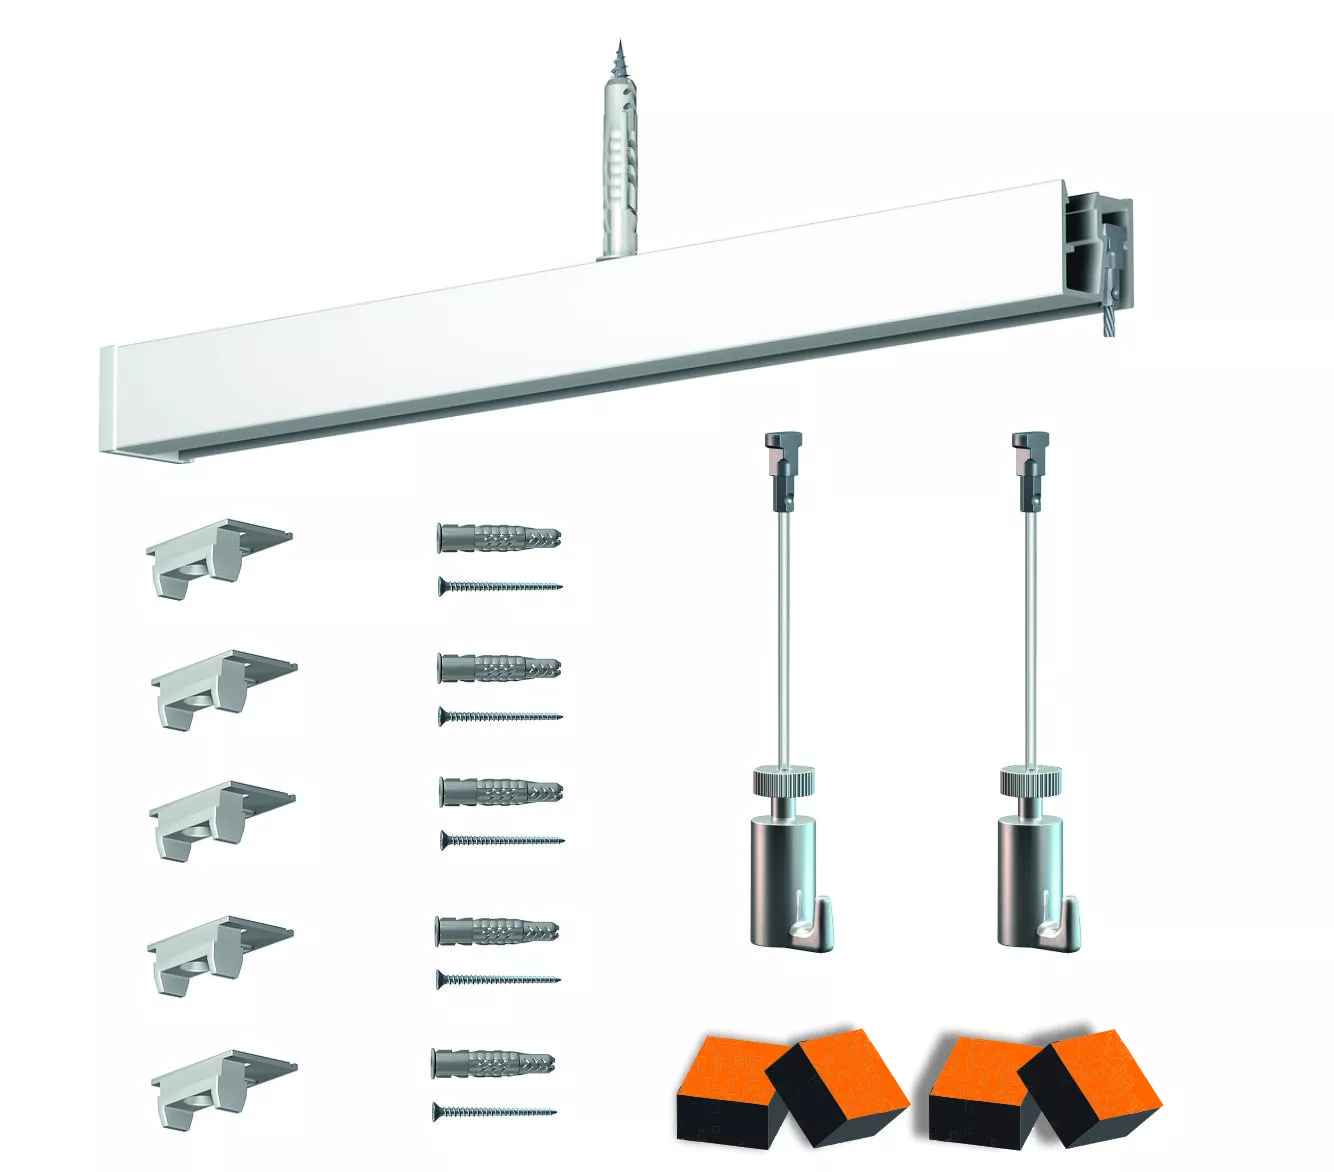
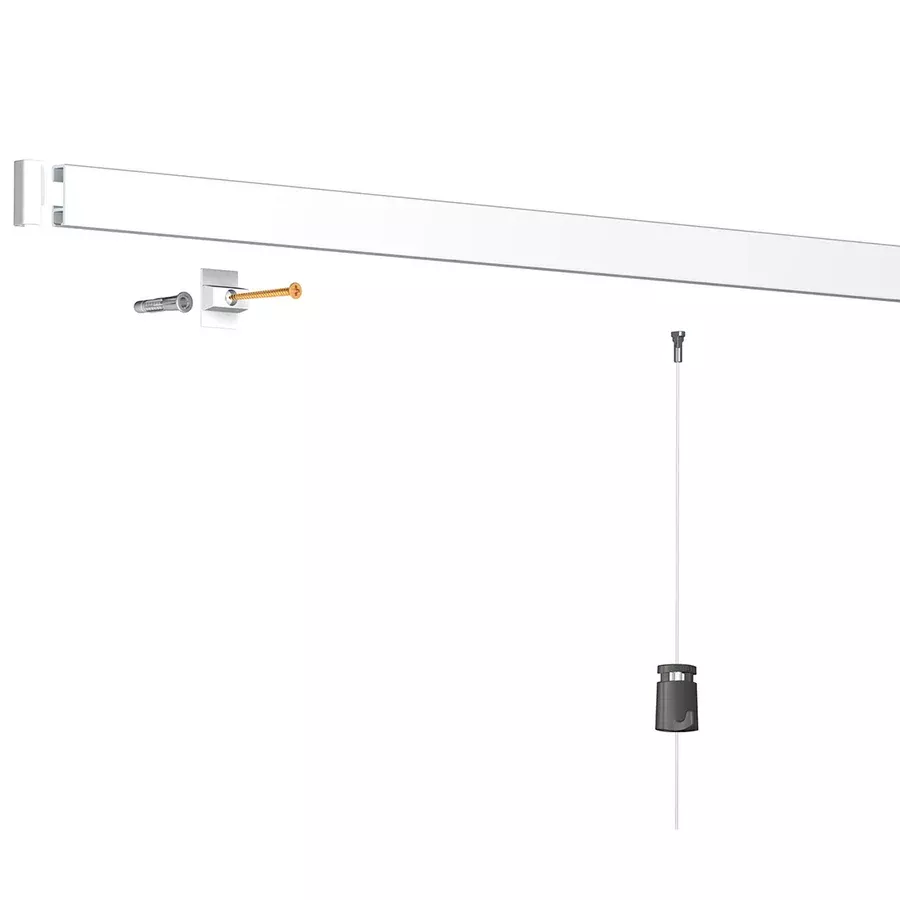
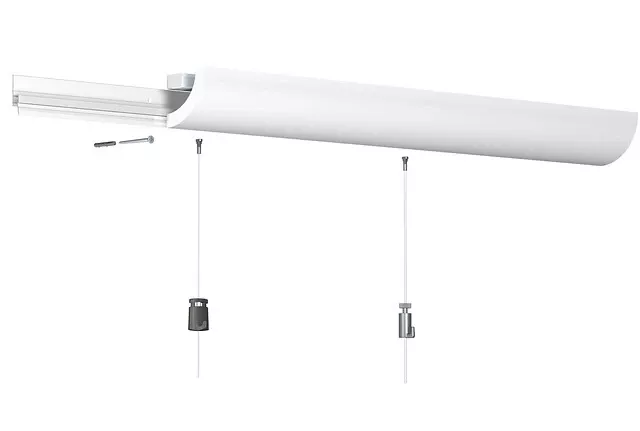
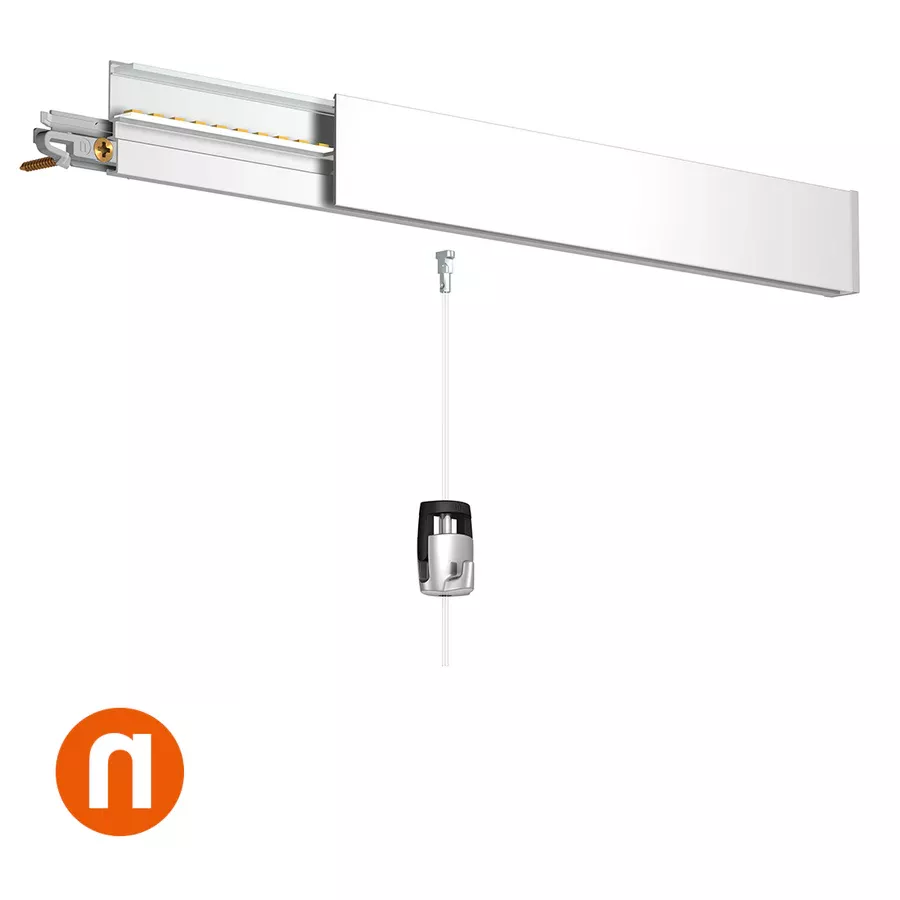
Info Rail picture rail (standard length: 1m, 2m, or 3m)
-
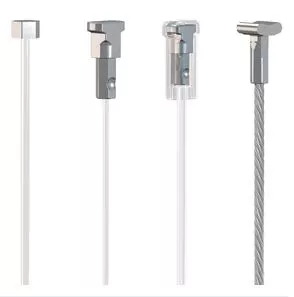
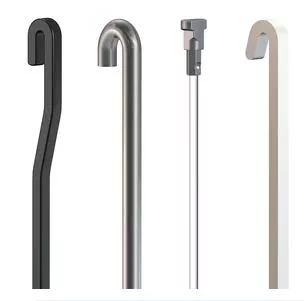
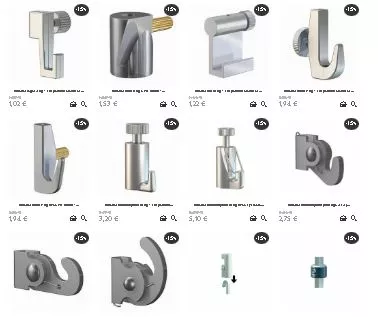
Wall mounting clips (provided)
-
Screws and wall anchors suitable for your wall
-
Bubble level
-
Drill + drill bit suitable for the wall
-
Screwdriver
? Installation Steps
1. Mark the Location
-
Choose the height at which you want to install the rail.
-
Use a bubble level to draw a straight line.
2. Position the Clips
-
The Info Rail is fixed with plastic mounting clips (approximately every 40 cm).
-
Mark where to drill for each clip.
3. Drill Holes
-
Drill holes at the marked locations.
-
Insert the anchors (unless you are on wood or a very soft wall).
4. Screw in the Clips
-
Screw the clips to the wall using a screwdriver or screw gun.
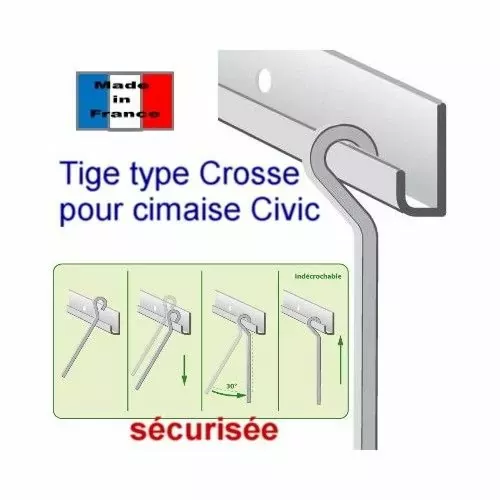
5. Clip the Rail
-
Clip the rail onto the clips: press firmly until you hear a "click".
-
It should be securely attached to the wall, without any wobbling.
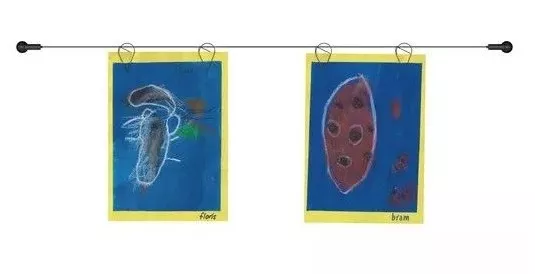
6. Test
-
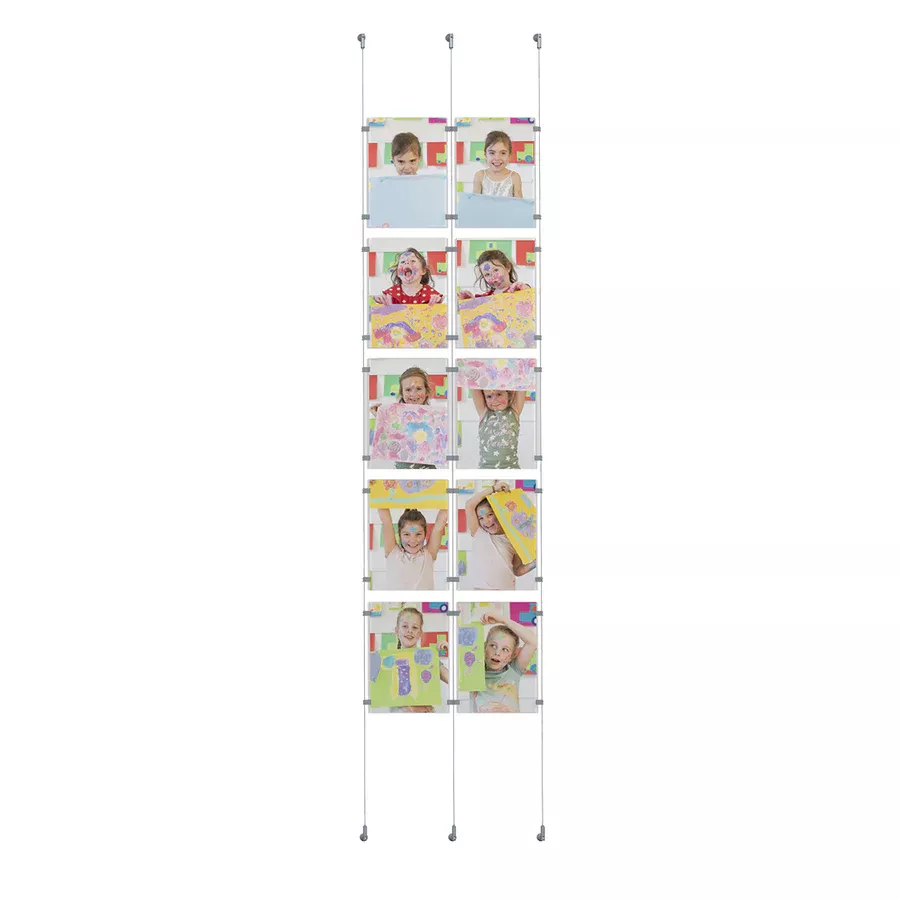
Slide a few sheets or photos into the groove.
-
The triple friction system (3 rubber bands) securely holds the documents.
? Tips
-
For a series of rails: the ends easily interlock for a continuous line.
-
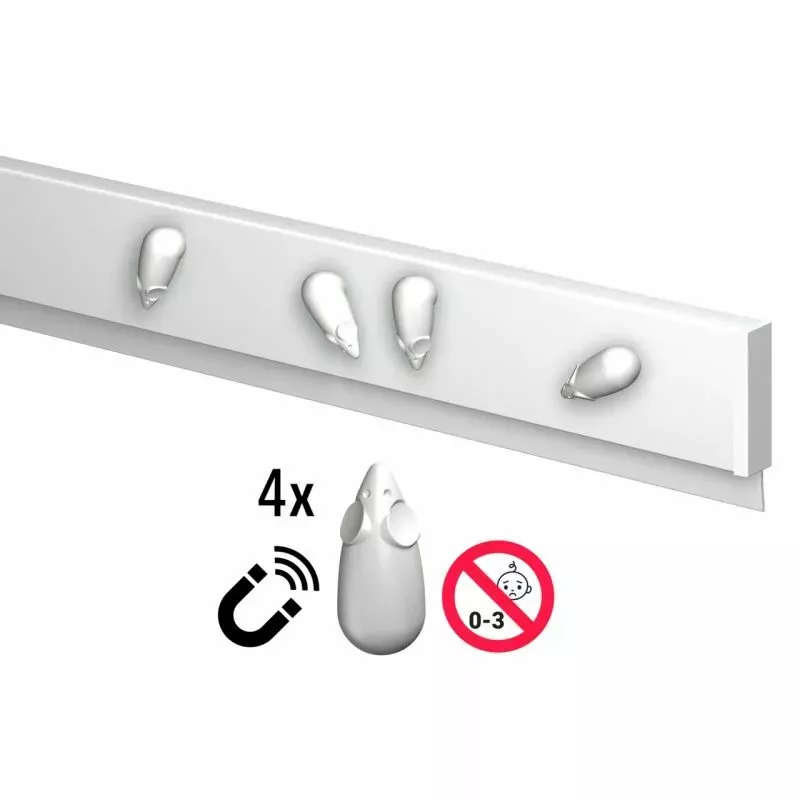
Can be combined with the Info Rail Magnetic (version with built-in magnet).
-
For children: mount it at their height for a gallery within their reach!
Share this content