

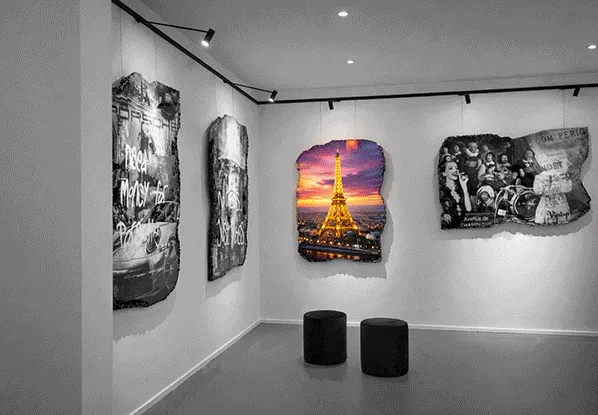

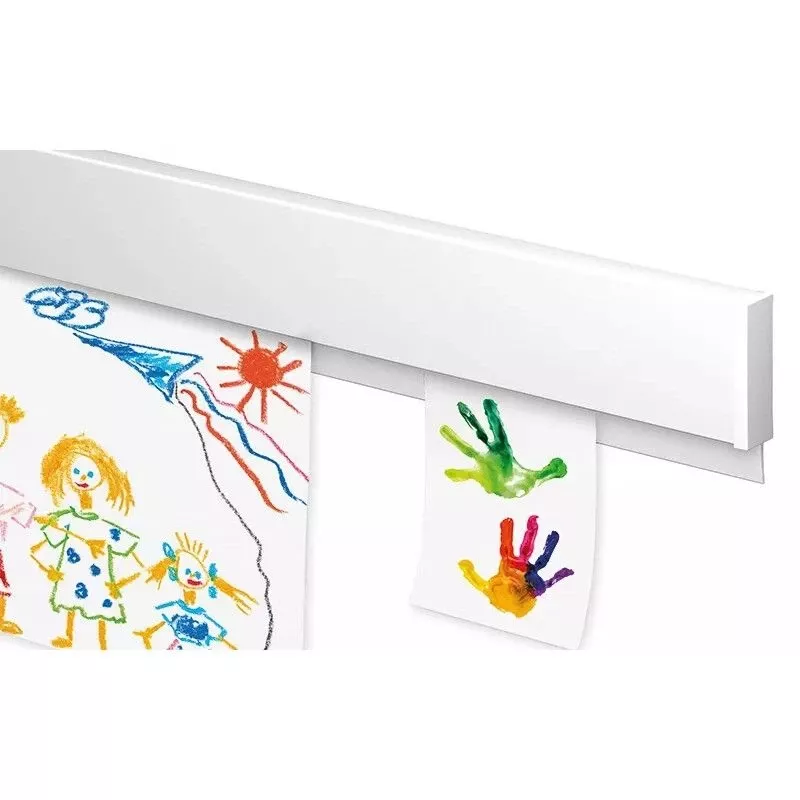

How to install the Artiteq Click Up picture rail system?
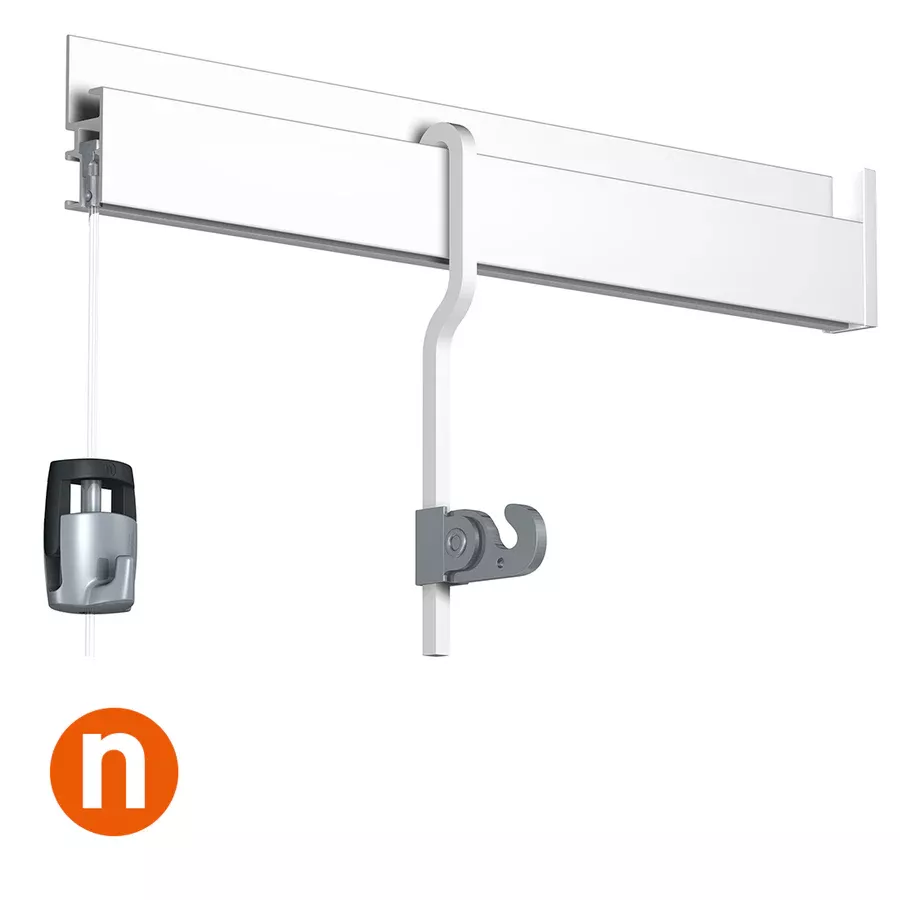
The Artiteq Click Rail picture rail is a flexible hanging system designed to be mounted on the wall. Here's how to install it:
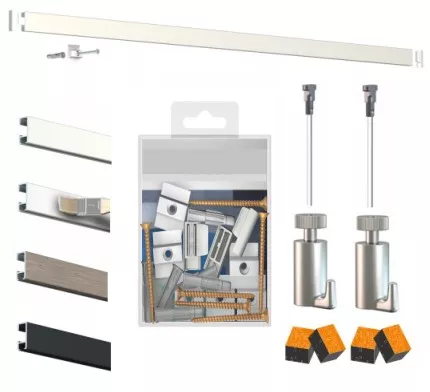
Materials Needed
-
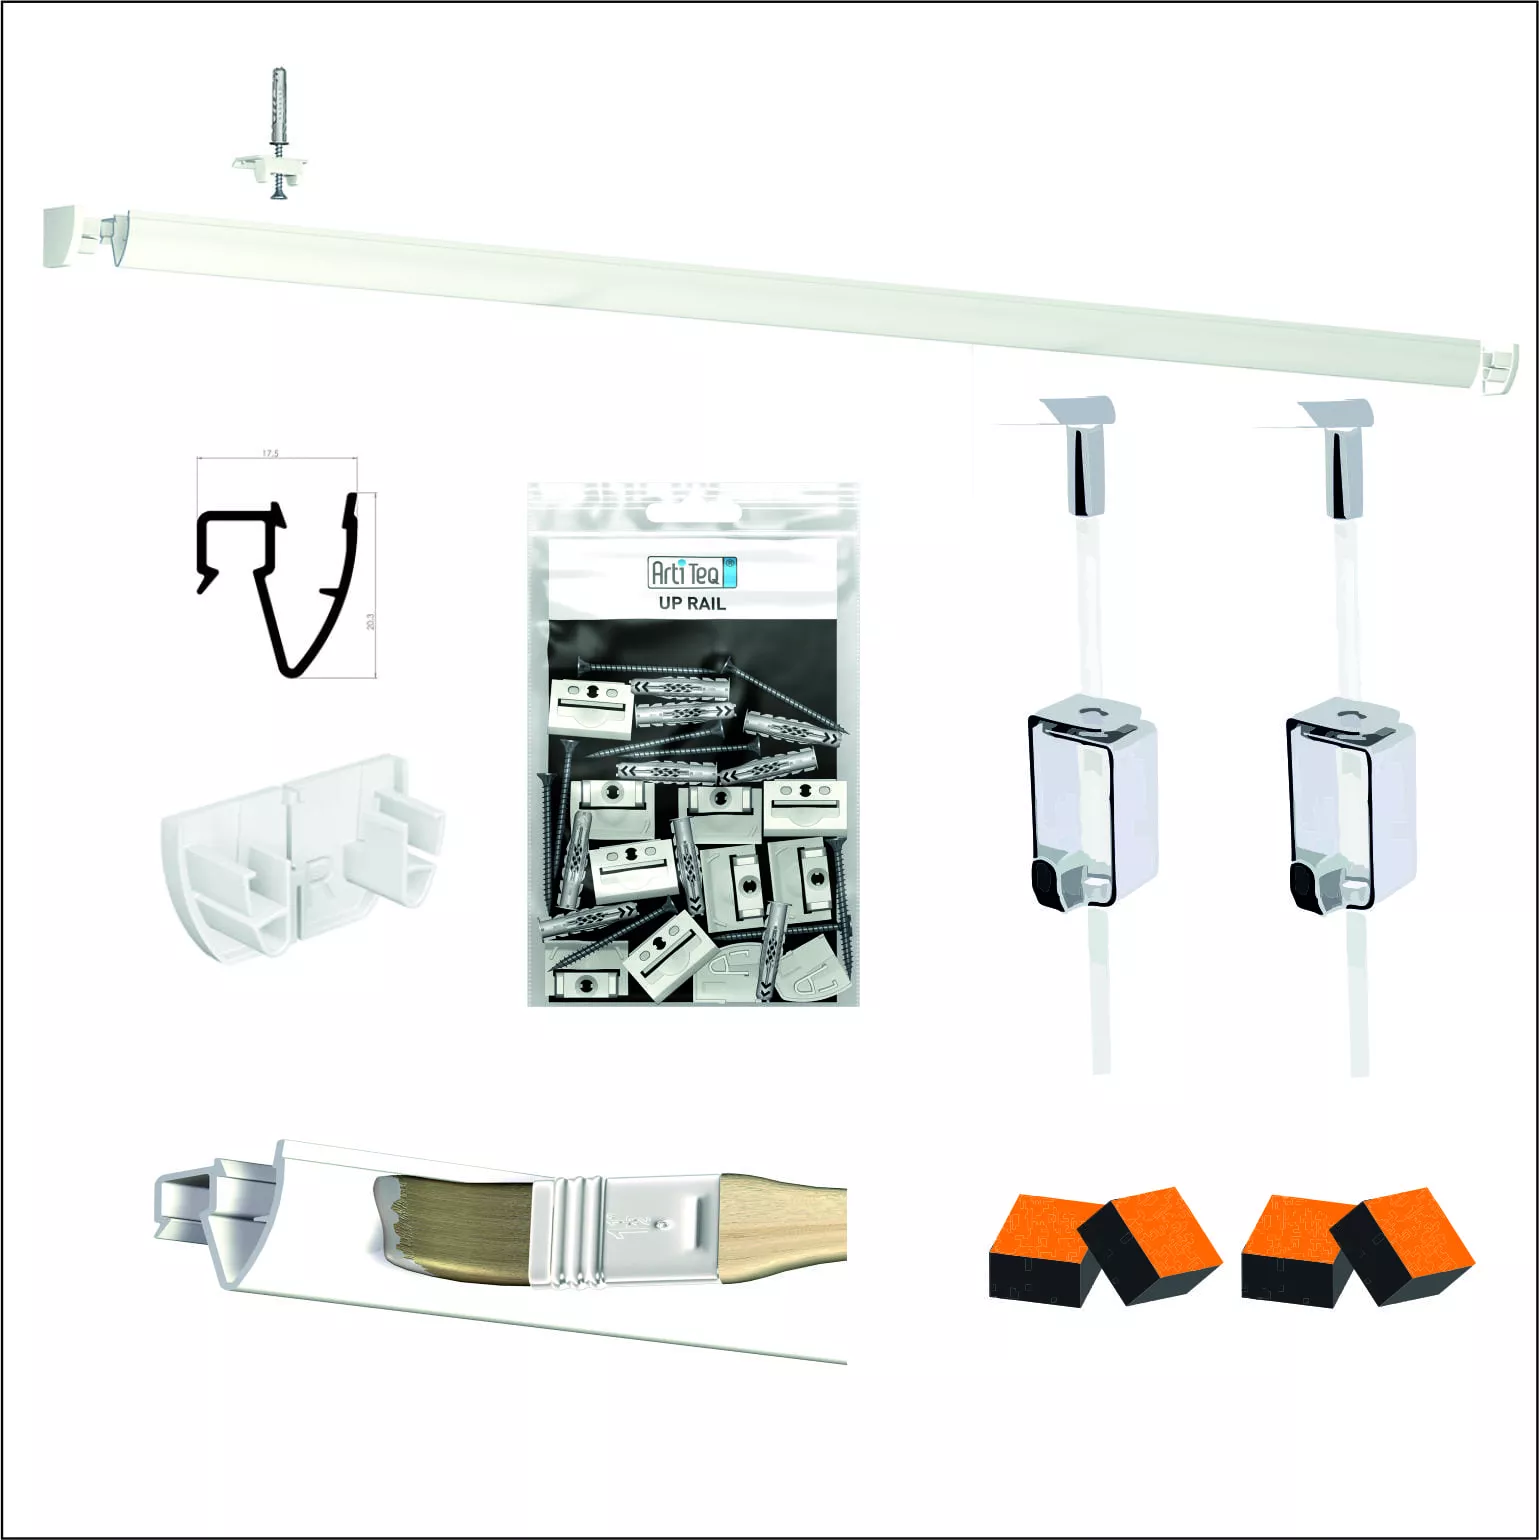
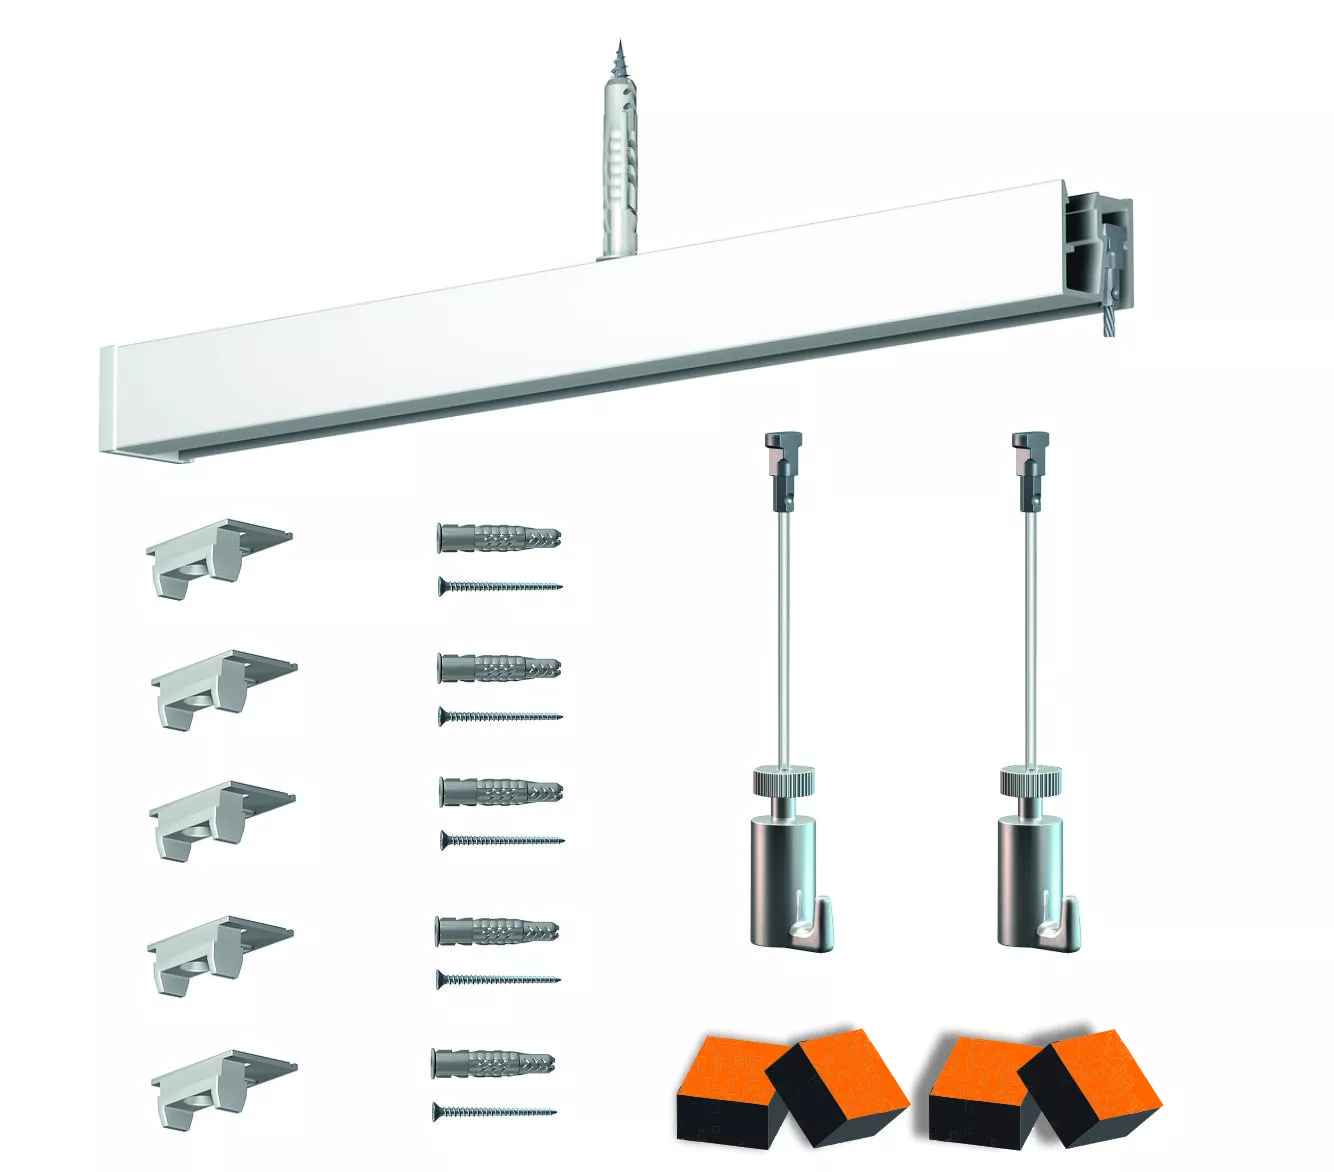
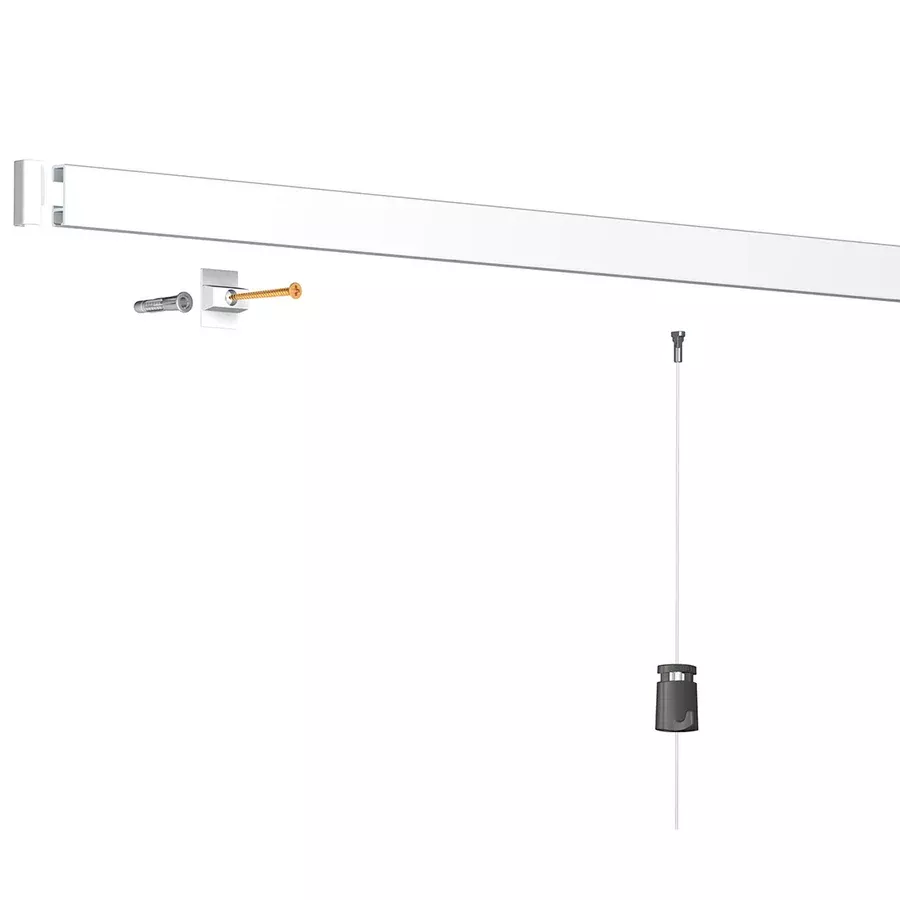
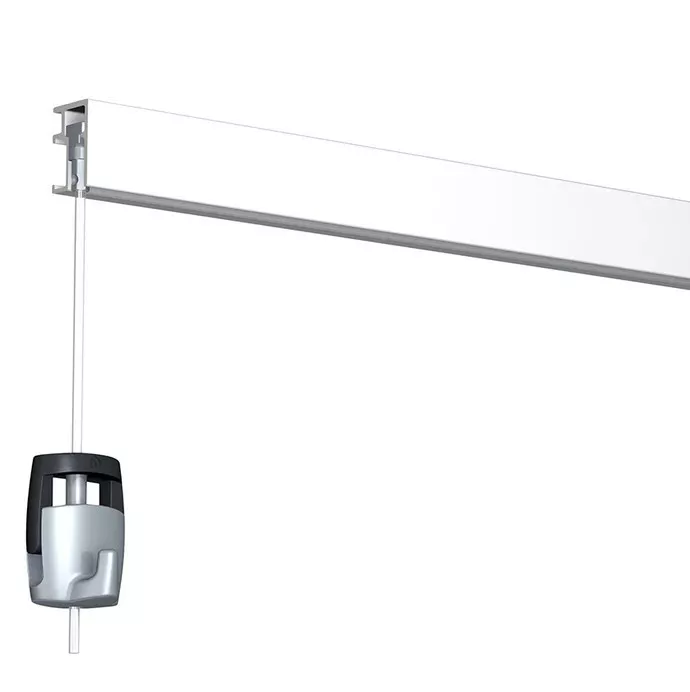
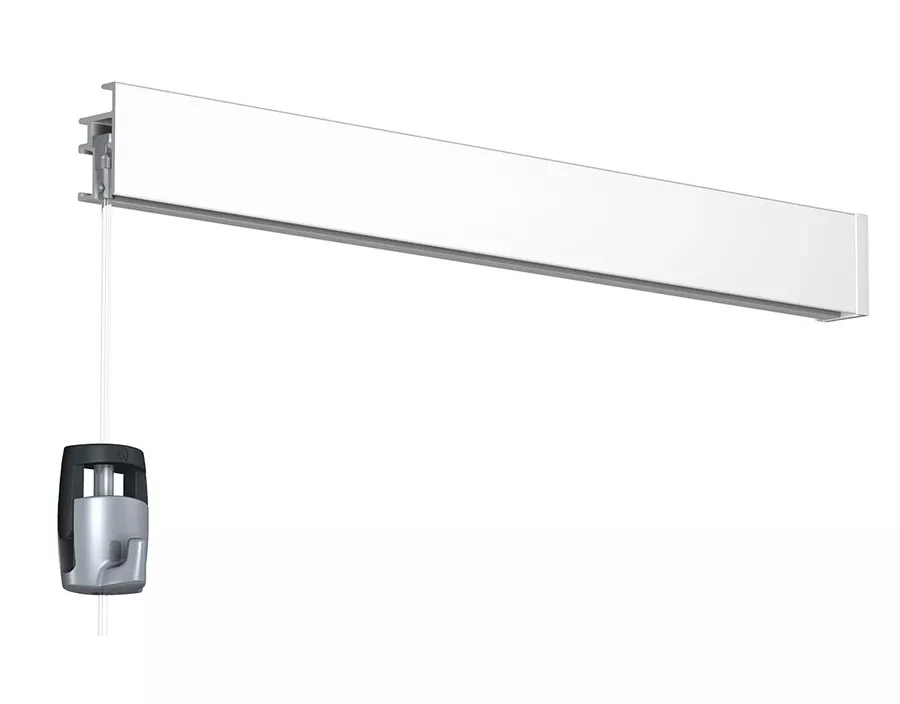
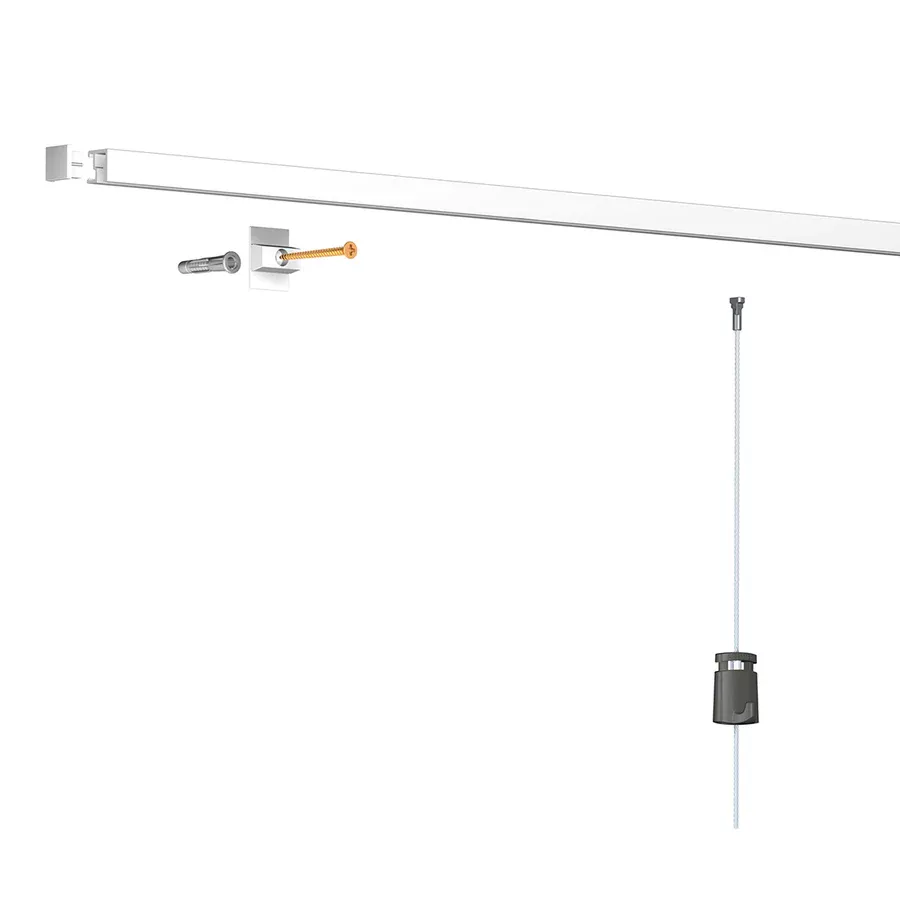
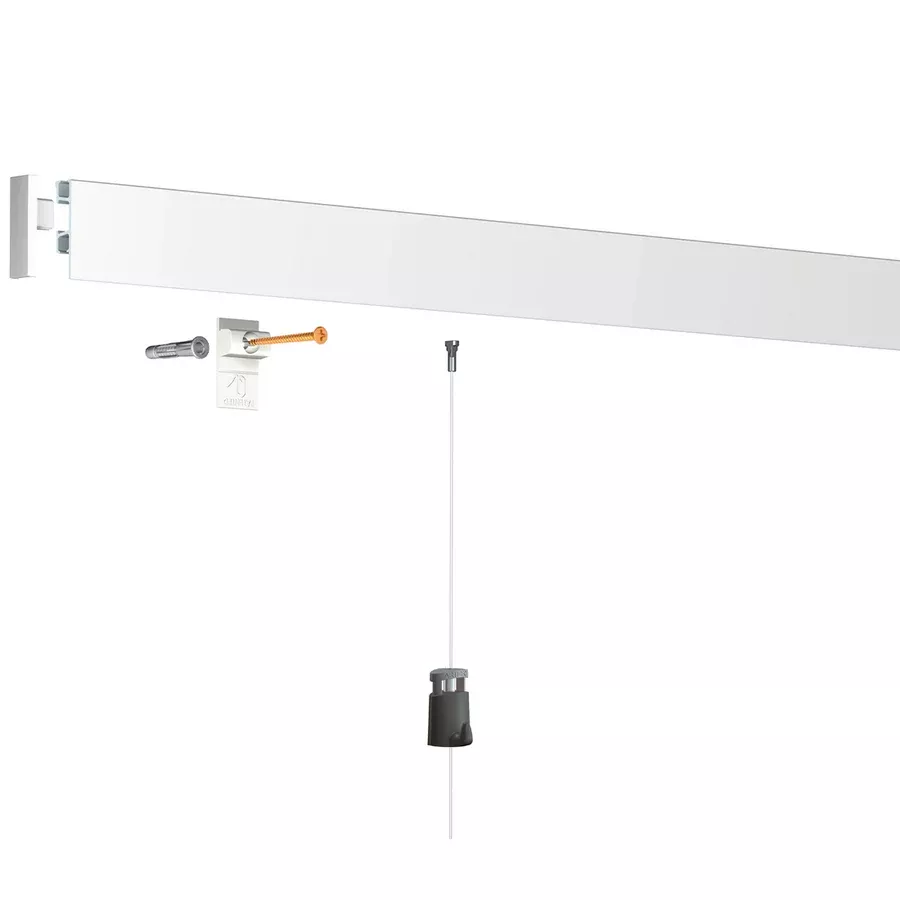
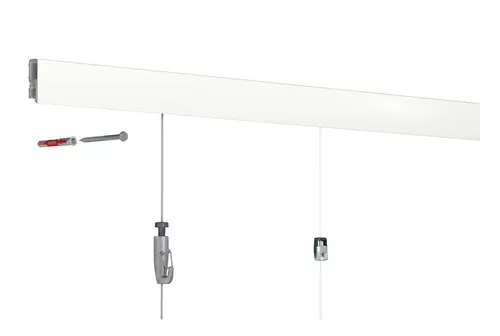
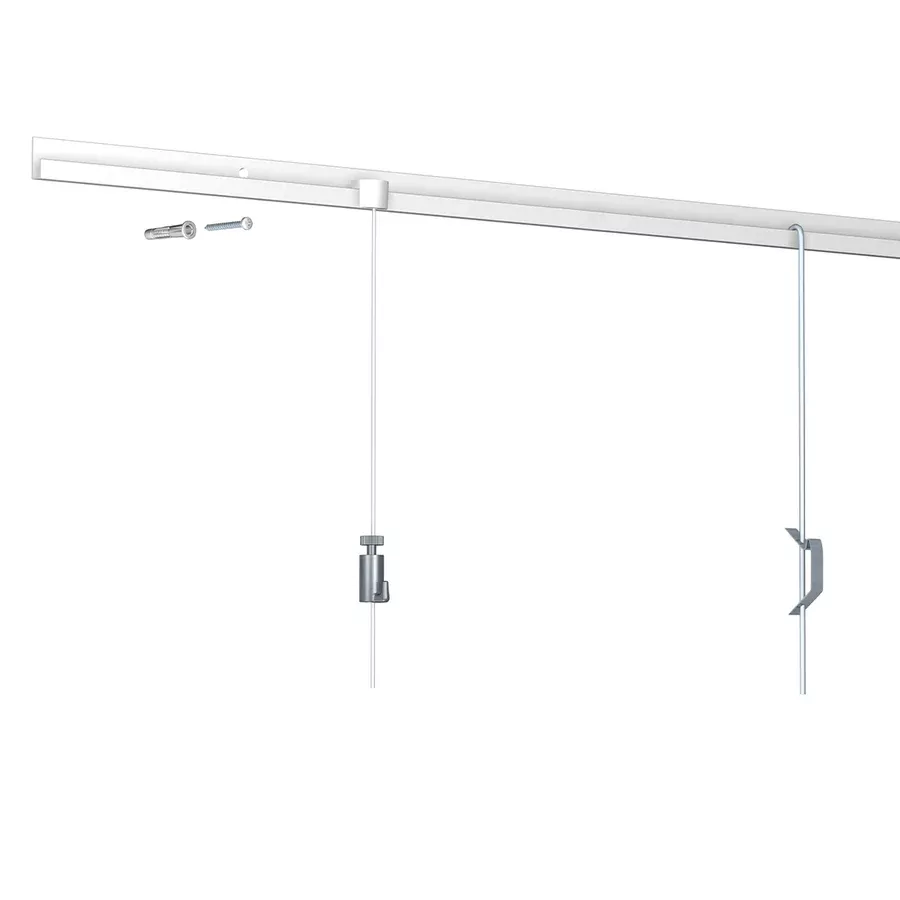
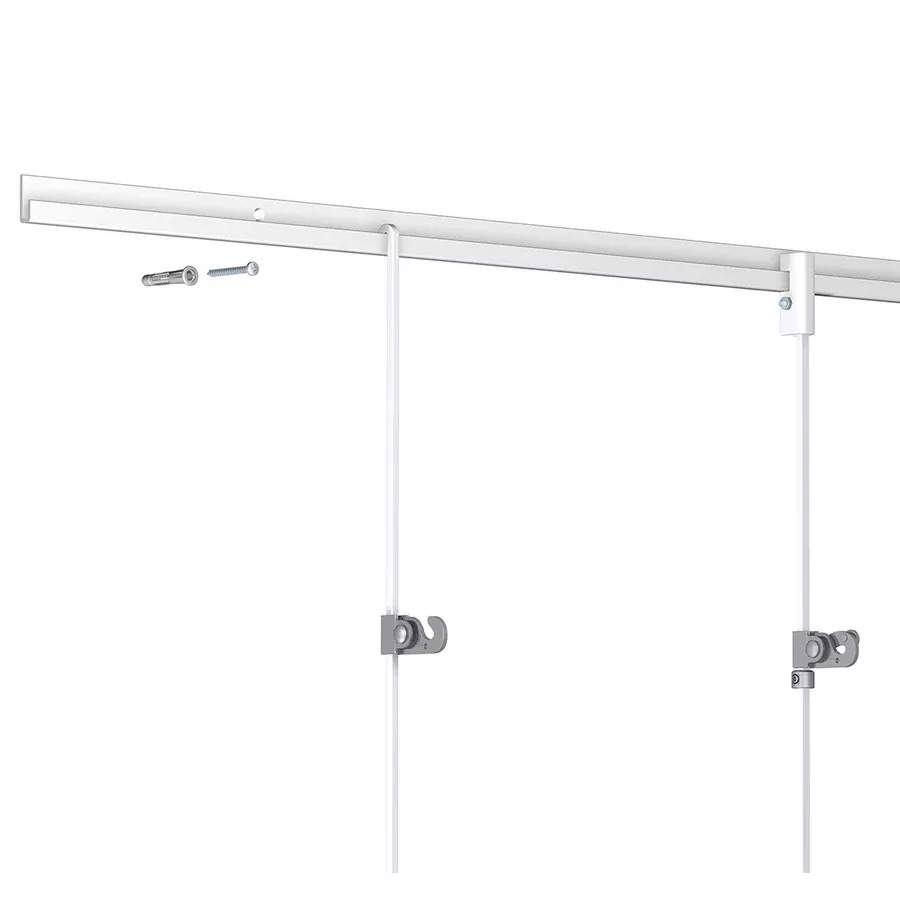
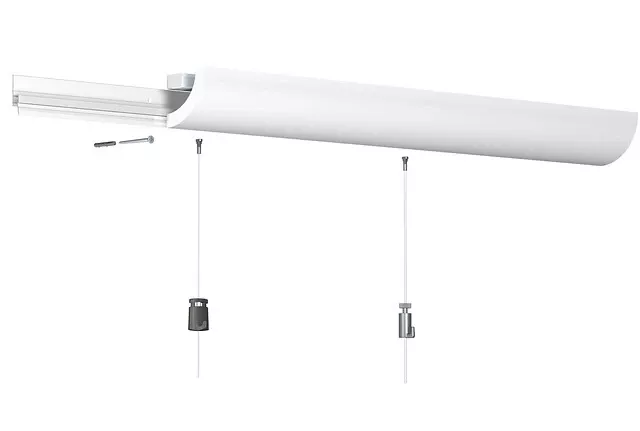
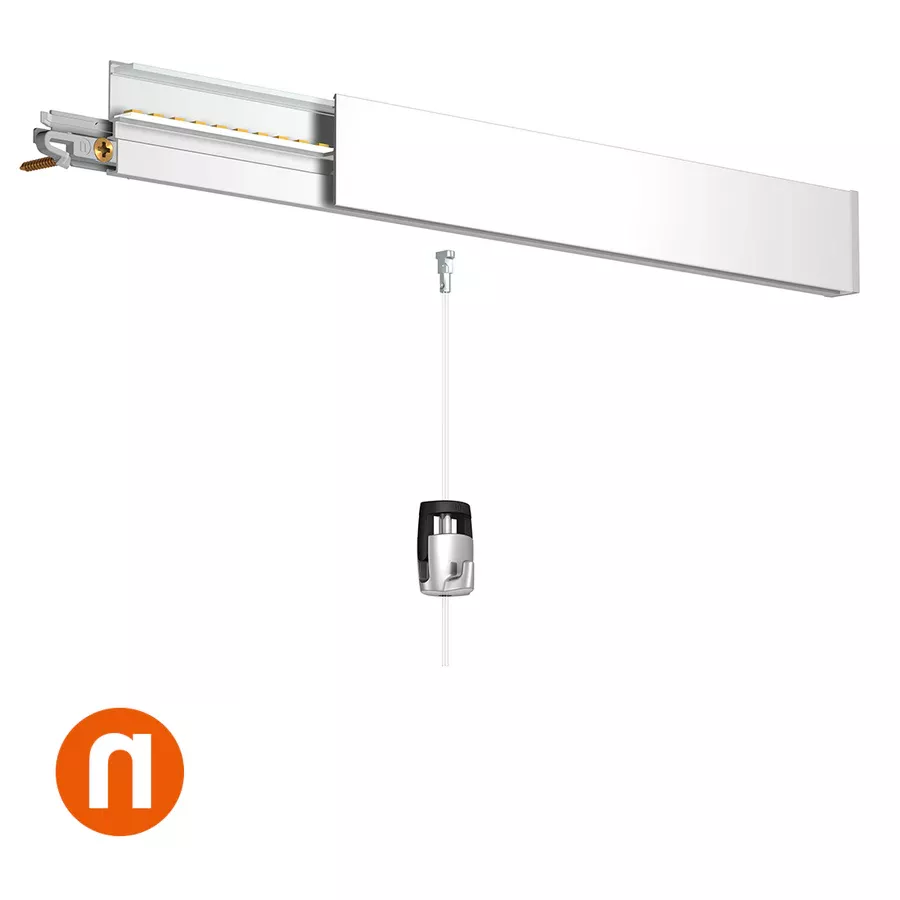
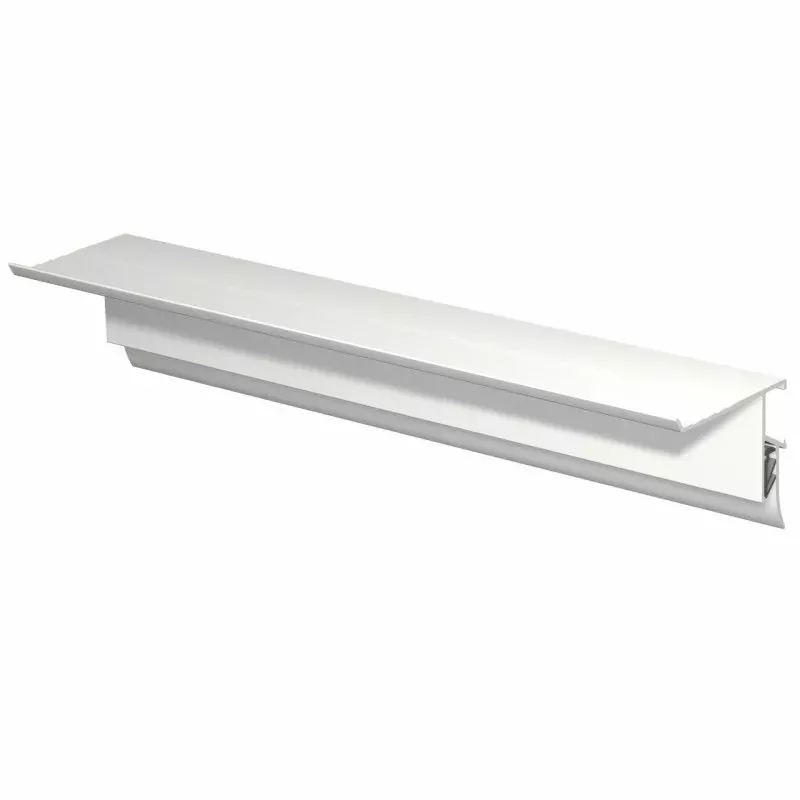
Click Rail picture rail
-
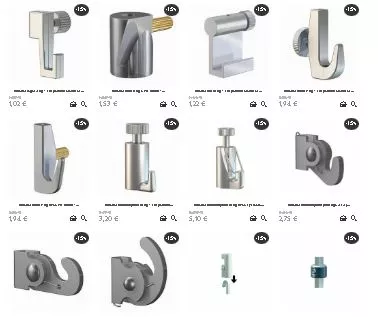
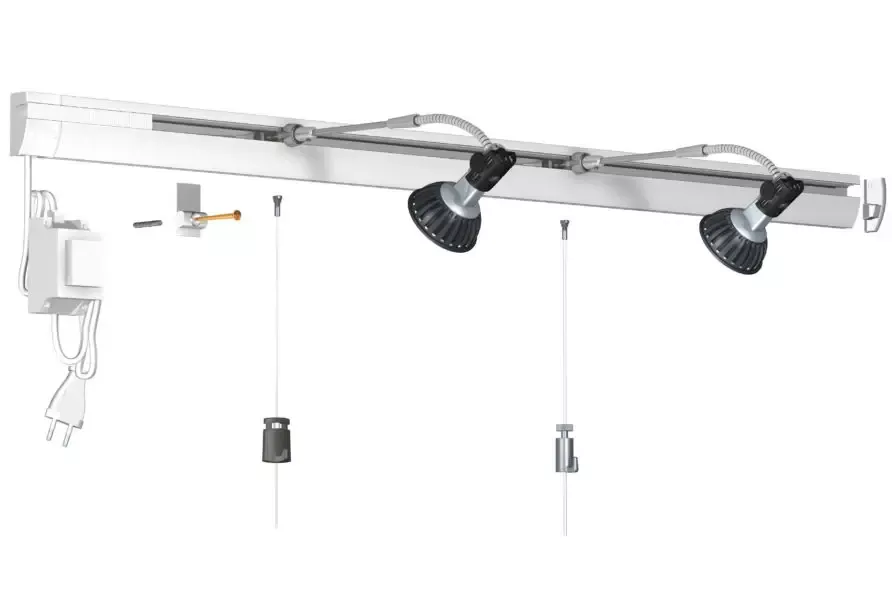
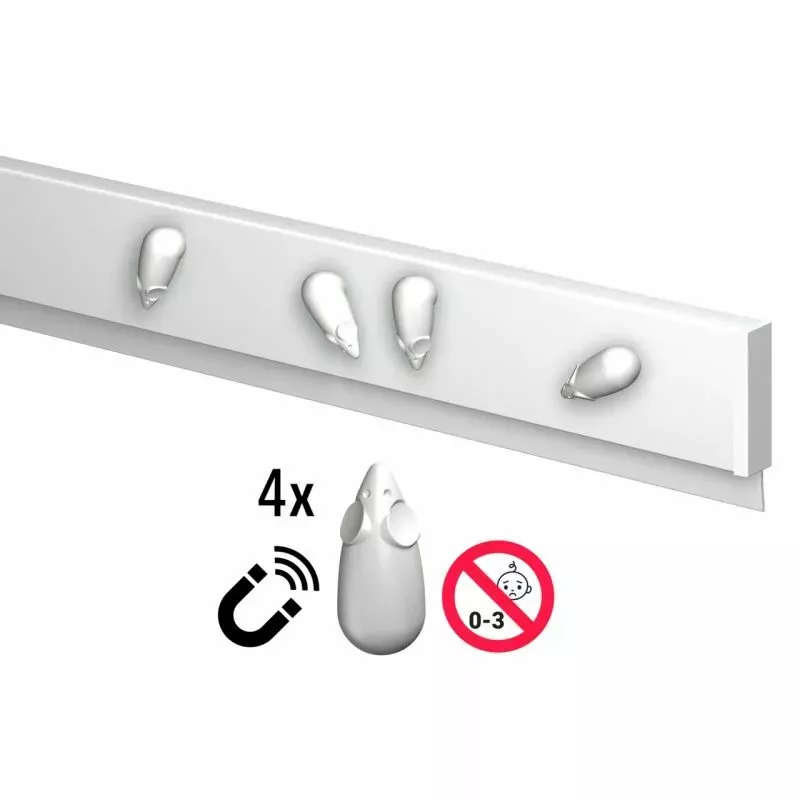
Click & Connect fixing clips
-
Appropriate screws and plugs
-
Drill with suitable drill bits
-
Screwdriver
-
Bubble level
-
Tape measure
-
Marker pen
Installation Steps:
-
Preparation:
-
Choose the location on the wall for the rail, ideally close to the ceiling.
-
Ensure the surface is clean and dry.
-
-
Marking the Fixing Points:
-
Place the rail at the desired location and mark the positions for the fixing clips approximately every 40 cm.
-
Use a bubble level to ensure a straight alignment.
-
-
Attaching the Clips:
-
Drill holes at the marked positions, depending on the wall type (concrete, brick, drywall, etc.).
-
Insert appropriate plugs if necessary.
-
Secure the clips by screwing the screws into the plugs or directly into the support.
-
-
Installing the Rail:
-
Once the clips are in place, click the rail onto the fixing clips.
-
Check the alignment and horizontality of the rail using the bubble level.
-
-
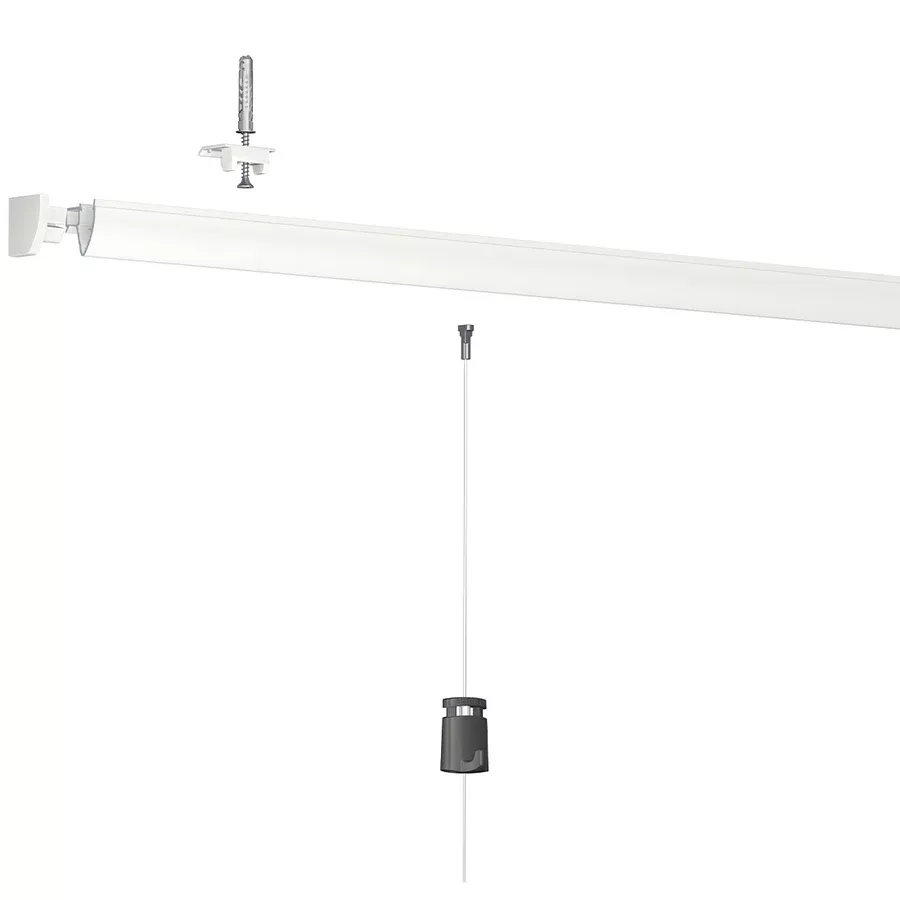
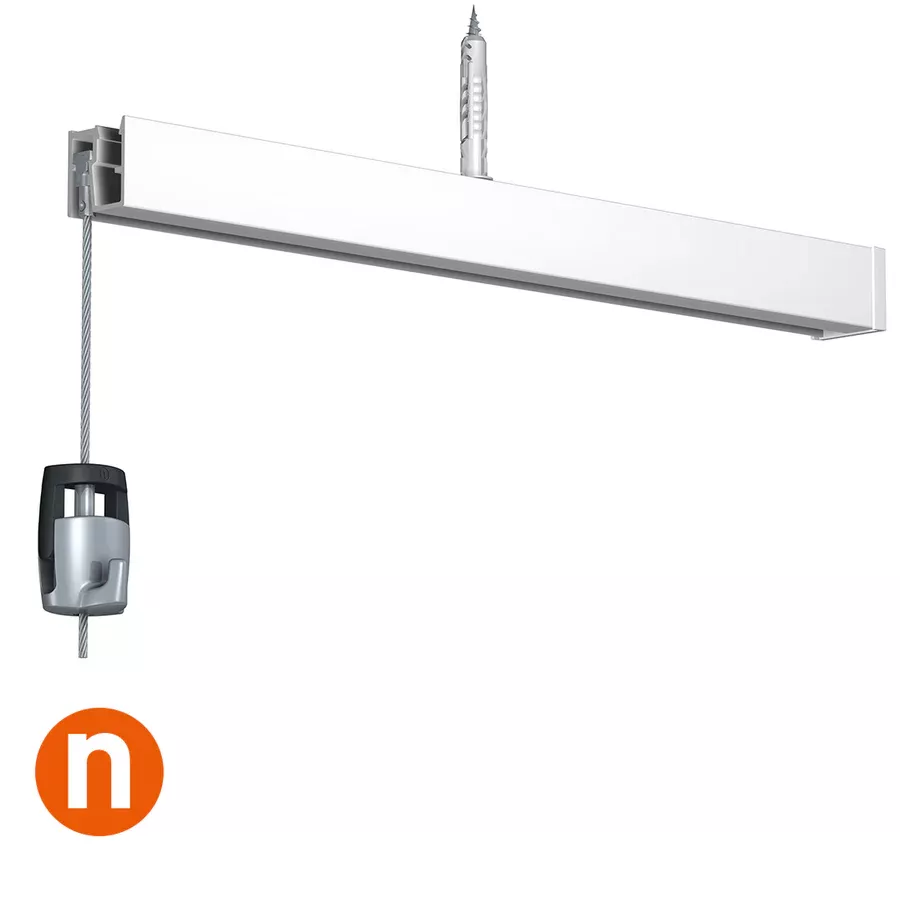
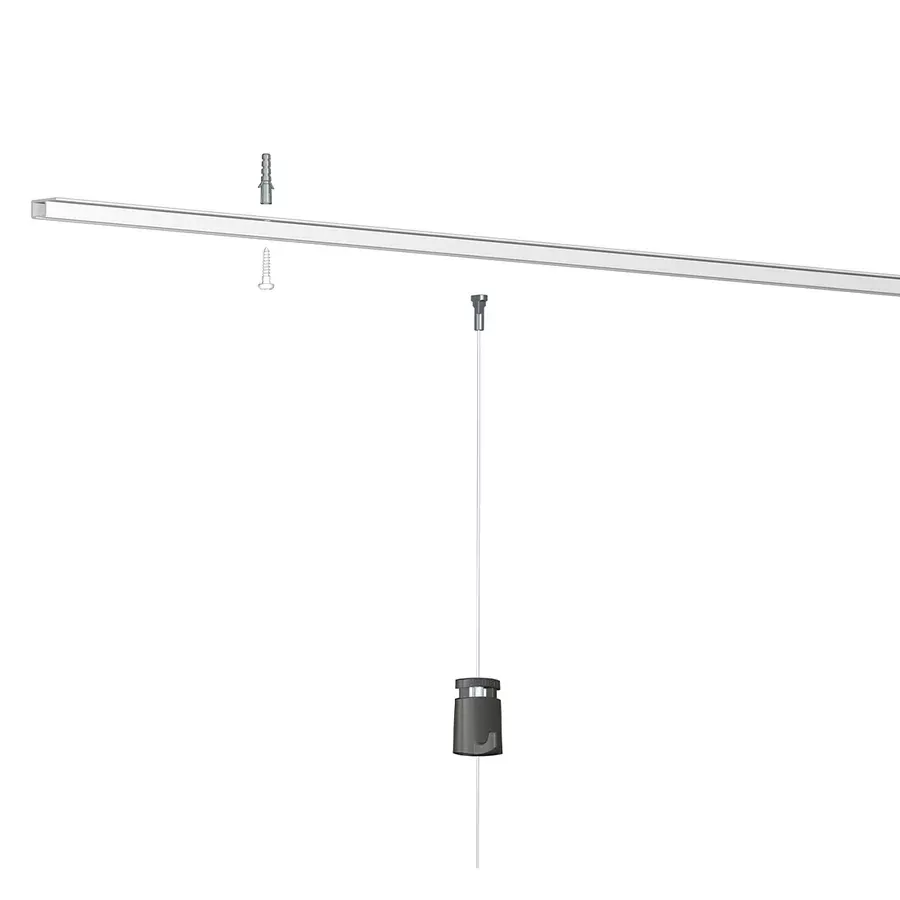
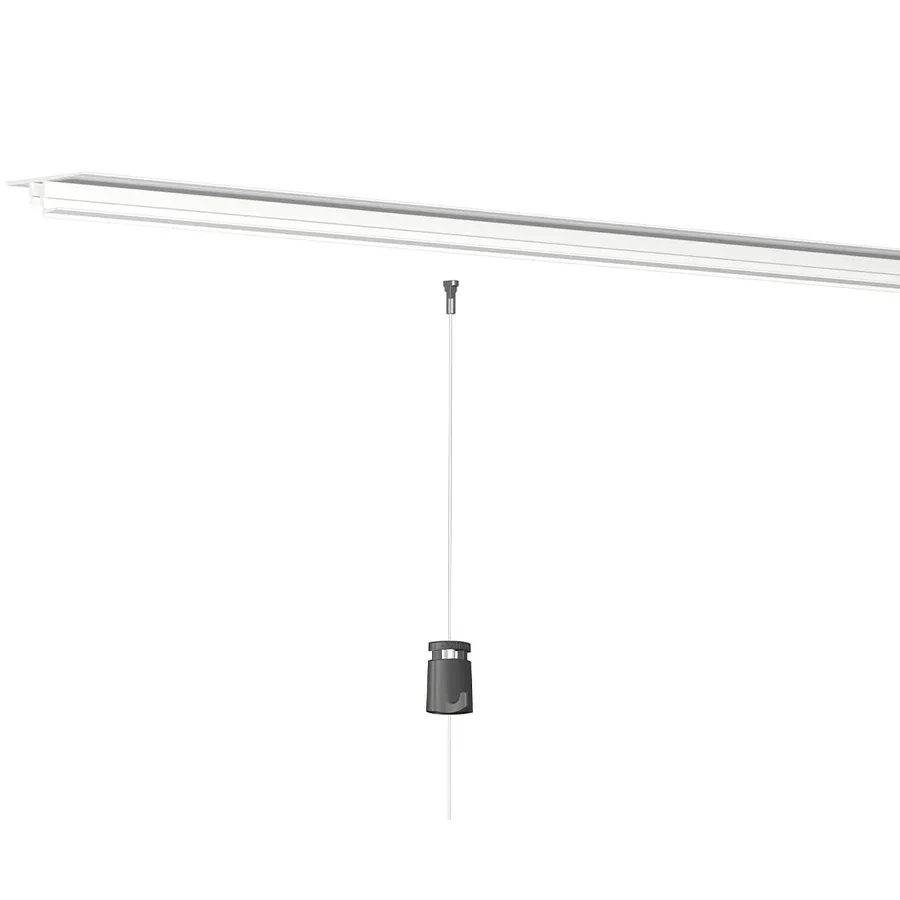
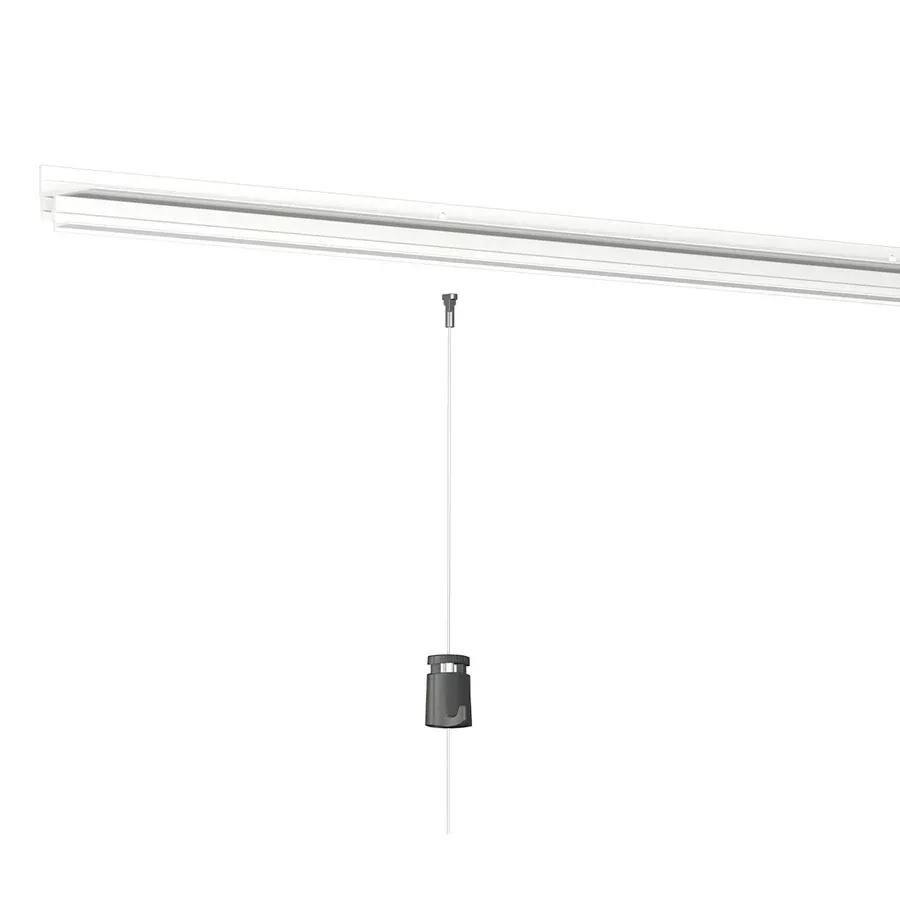
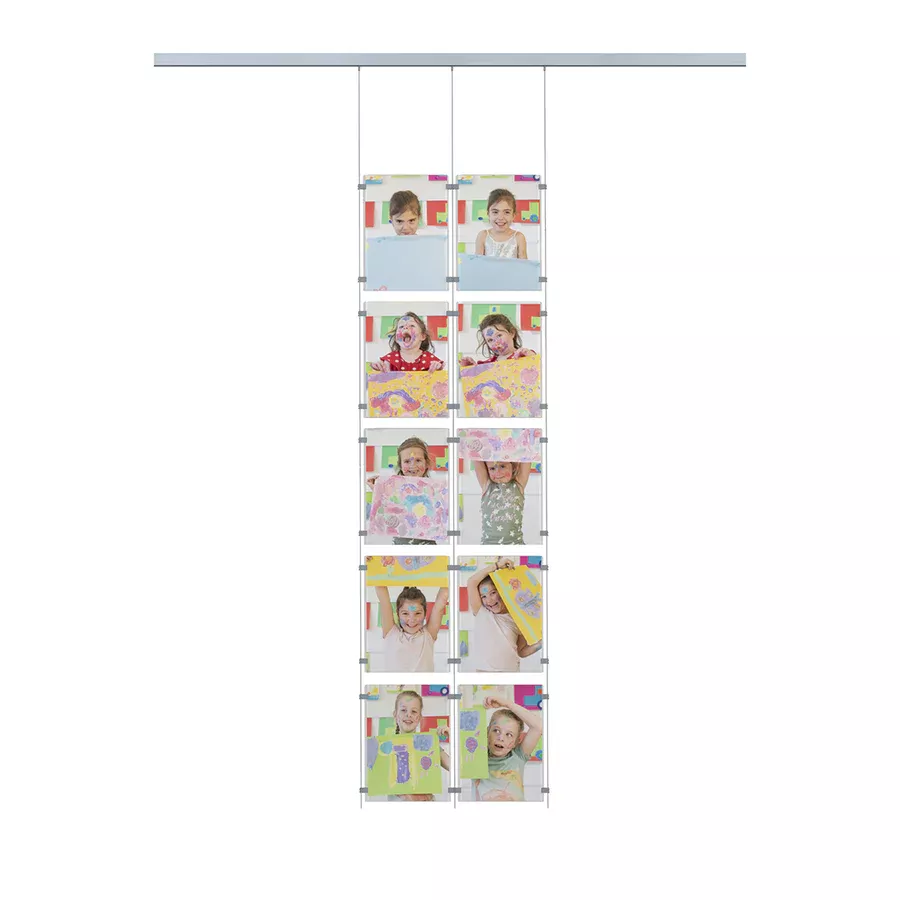
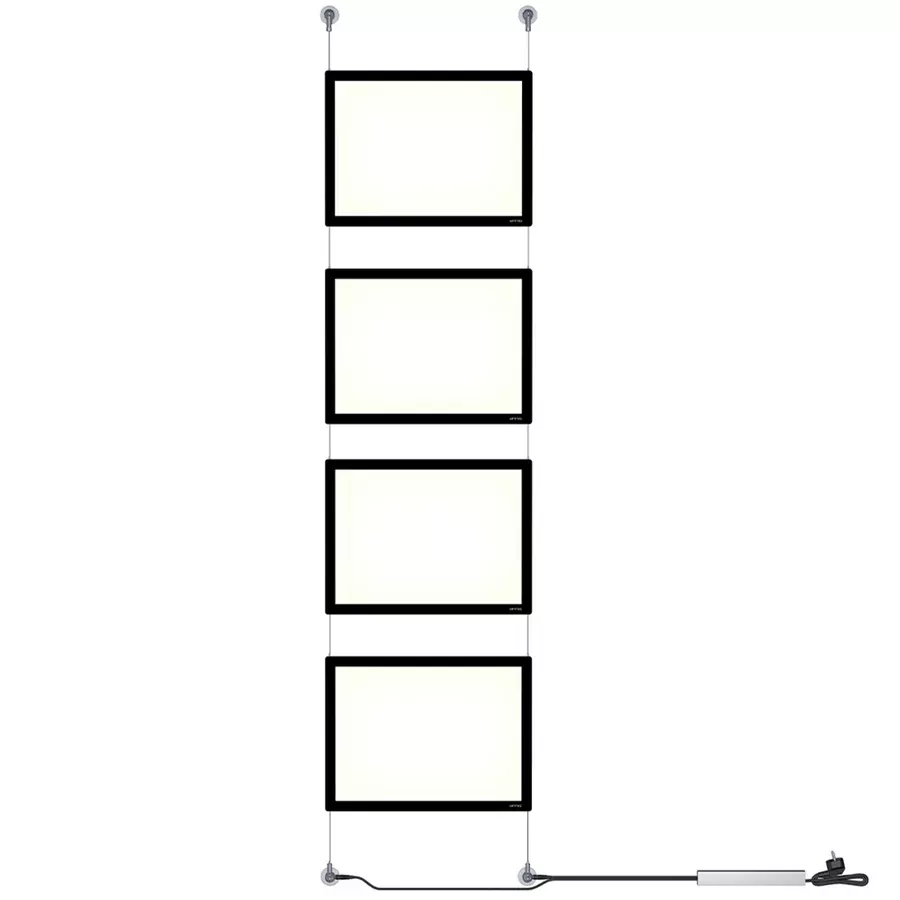
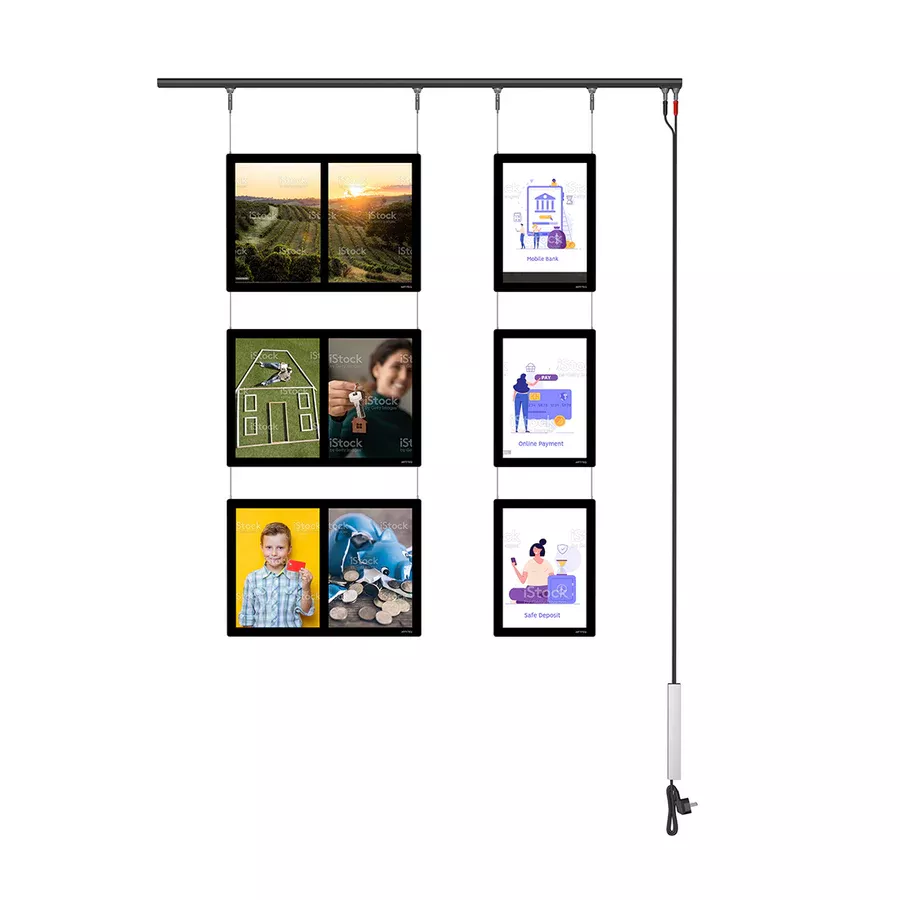
Installing the Suspension Wires:
-
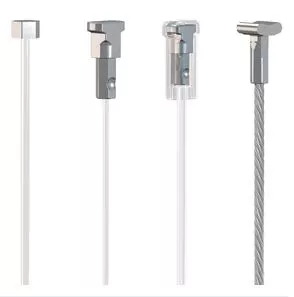
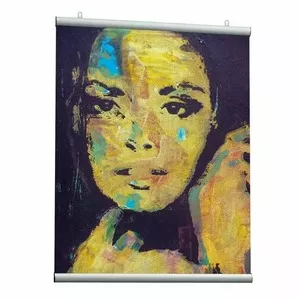
The wires can be made of perlon for maximum discretion or steel for a more industrial style.
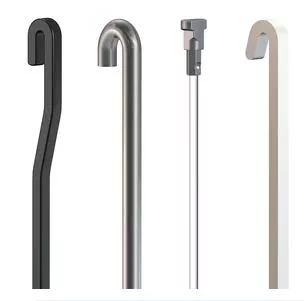
- Insert the suspension wires at the desired location on the rail.
-
Additional Tips:
-
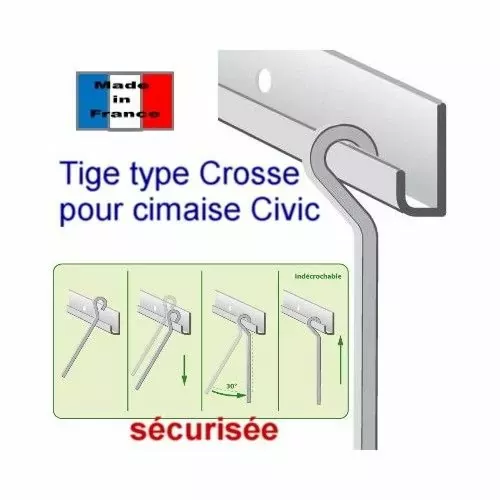
For a secure installation, it is recommended to use the Click & Connect clips specifically designed for the Click Rail.
-
If the wall is drywall, make sure to use appropriate plugs to ensure a secure fixing.
-
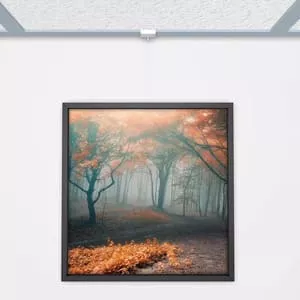
The Click Rail picture rail can be painted in the wall or ceiling color for seamless integration.
-
For more flexibility, the suspension wires can be moved along the rail according to your needs.
For visual assistance, watch the installation video:
Share this content