

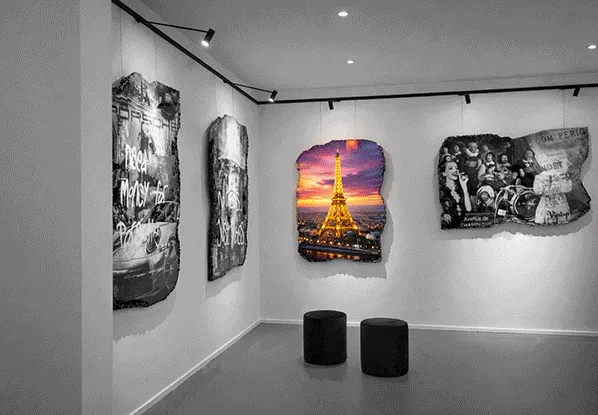

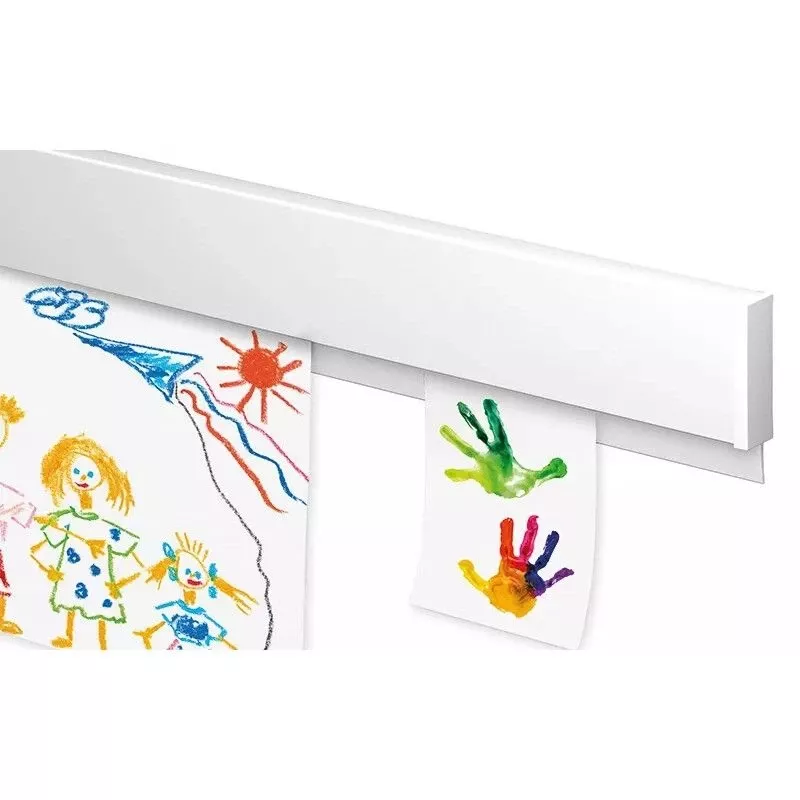

How to install the Artiteq combi pro light rail system?
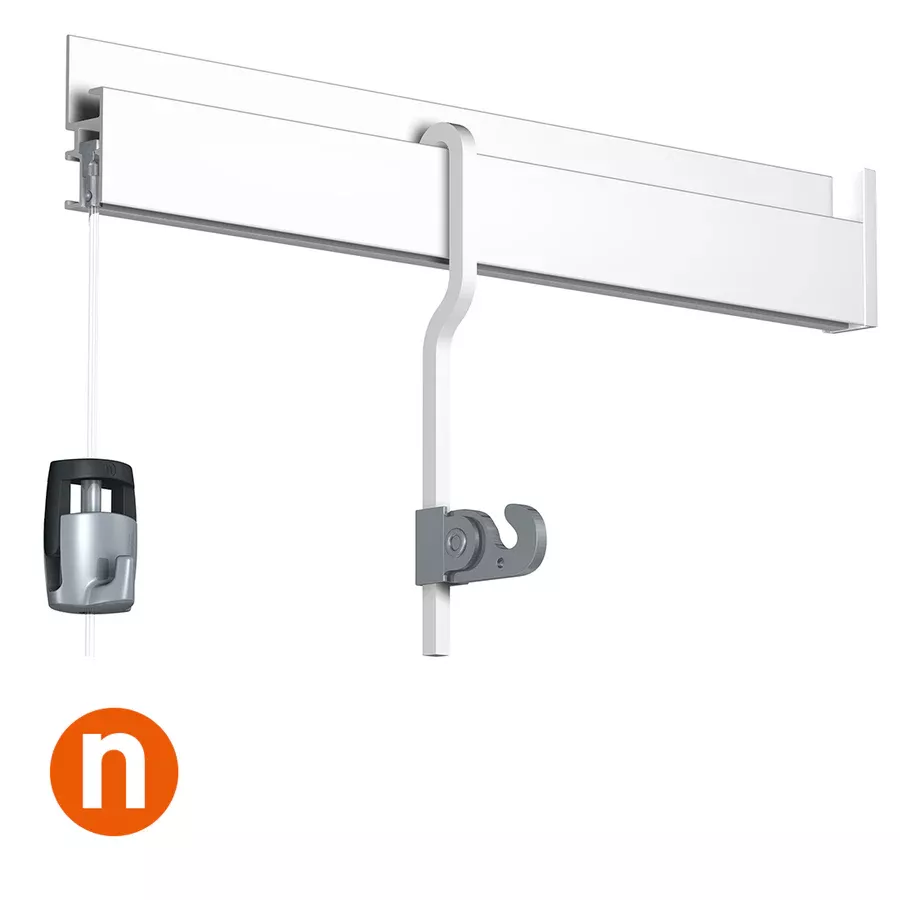
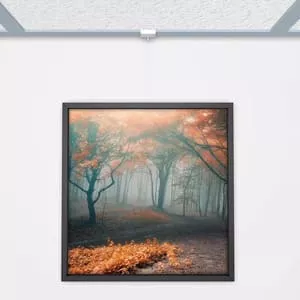
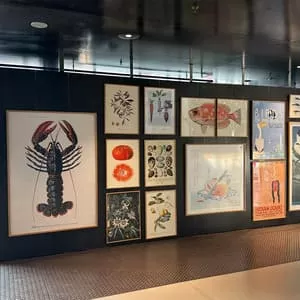
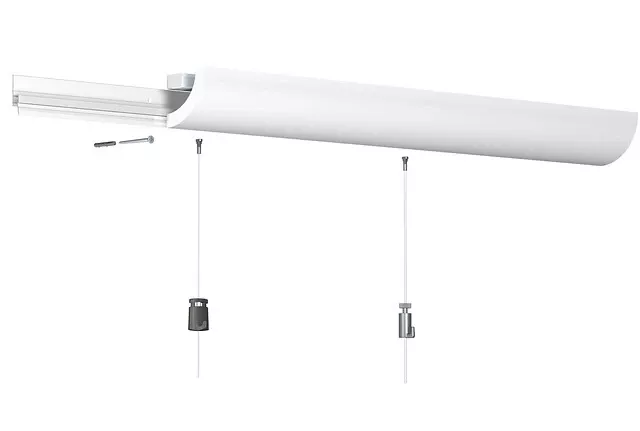
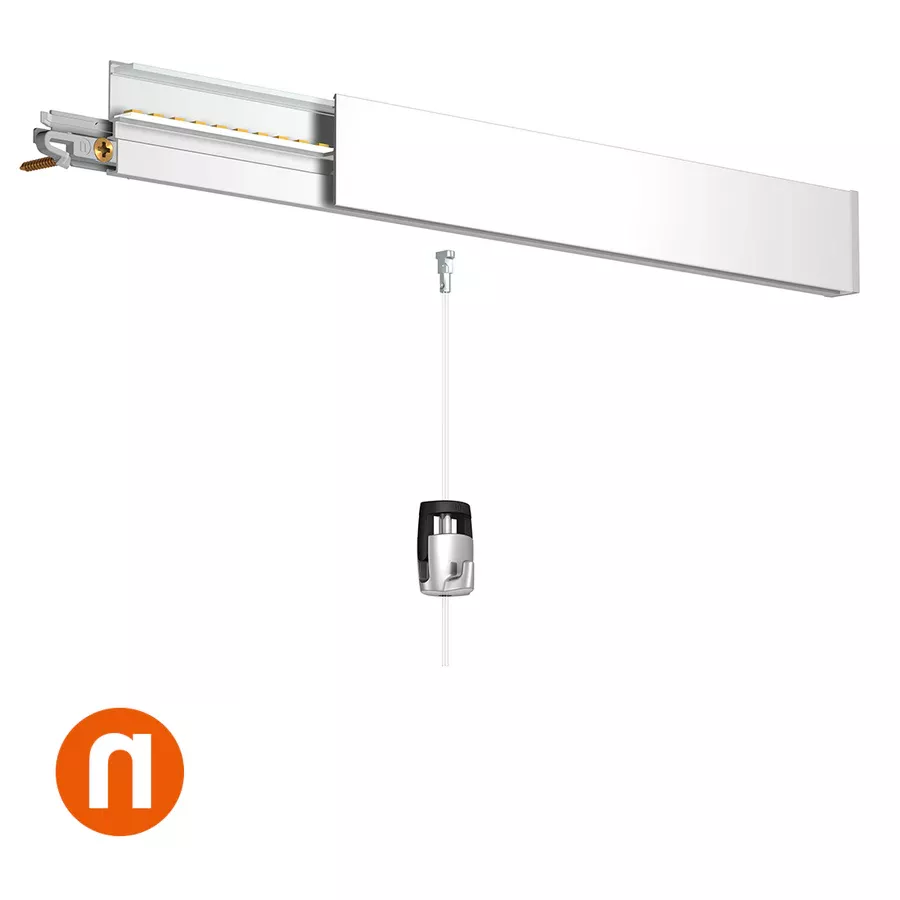
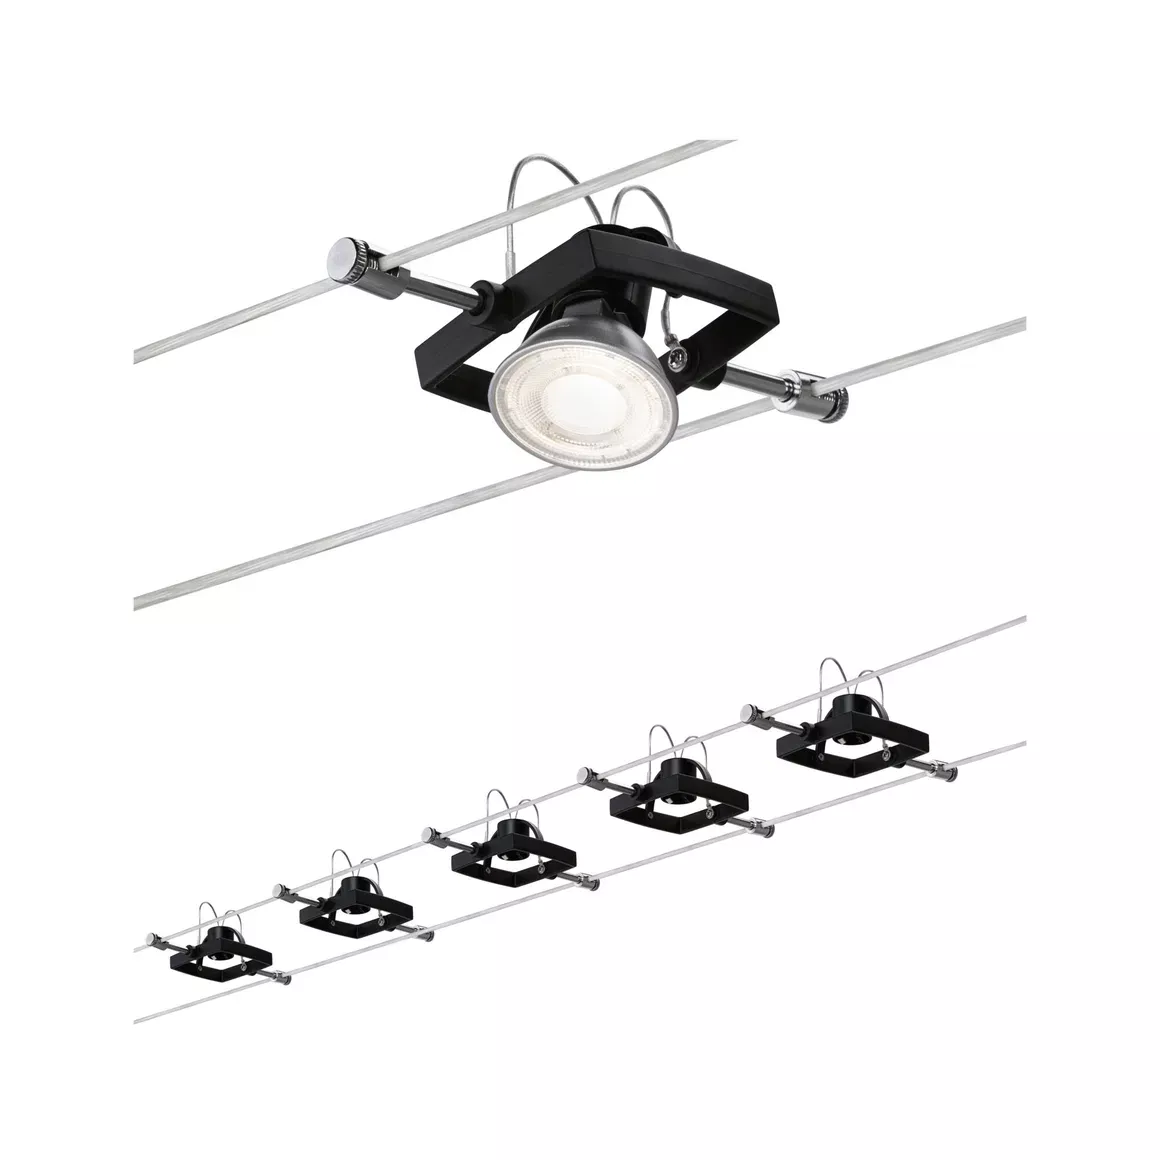
The Artiteq Combi Pro Light picture rail system is an innovative system that combines artwork suspension and lighting. Here is how to install it:
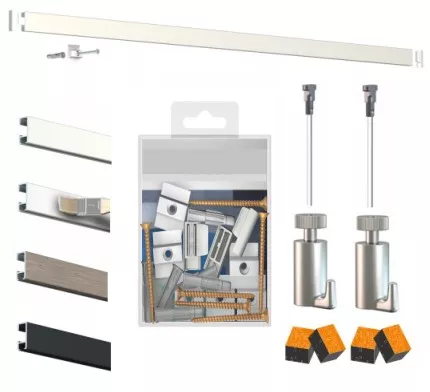
Materials needed:
-
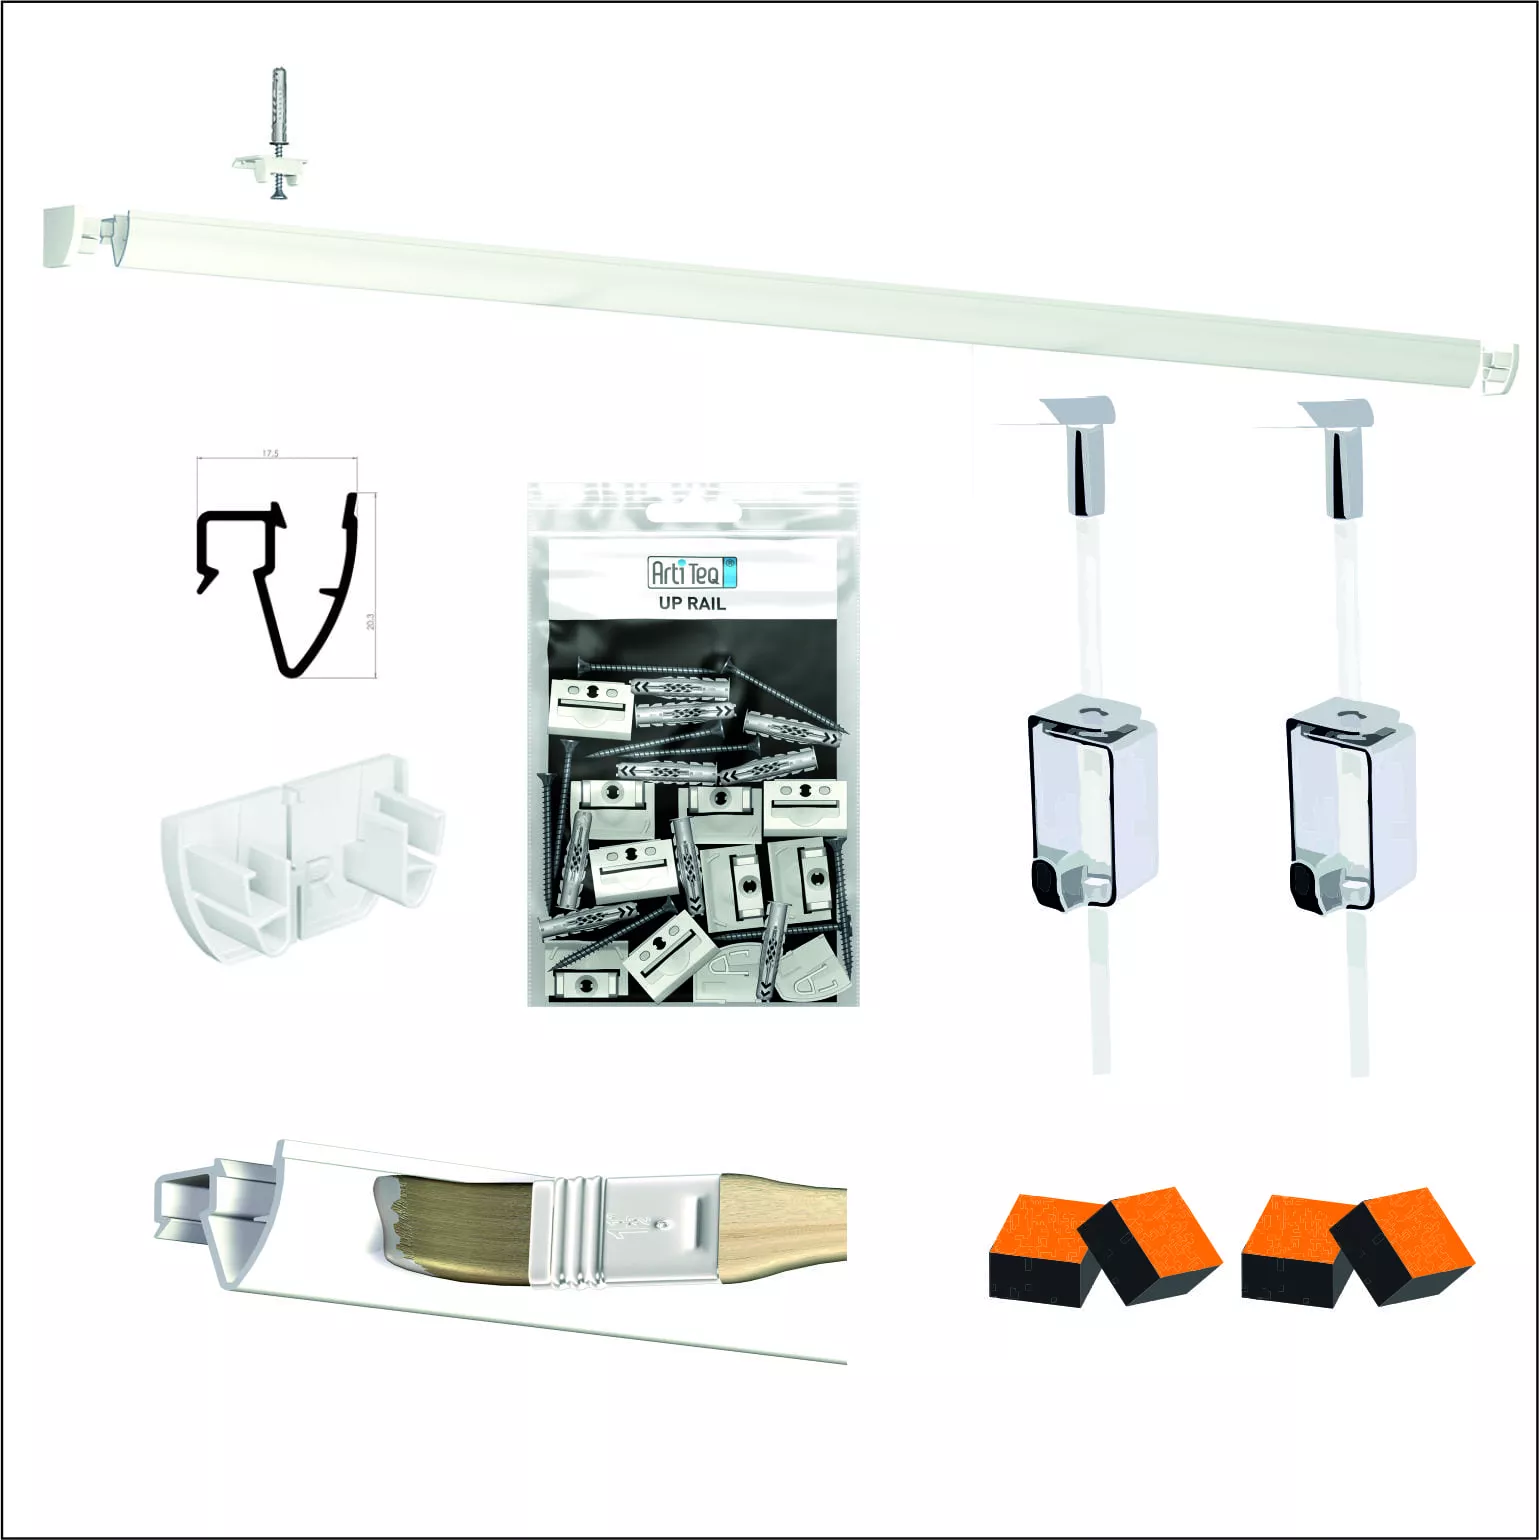
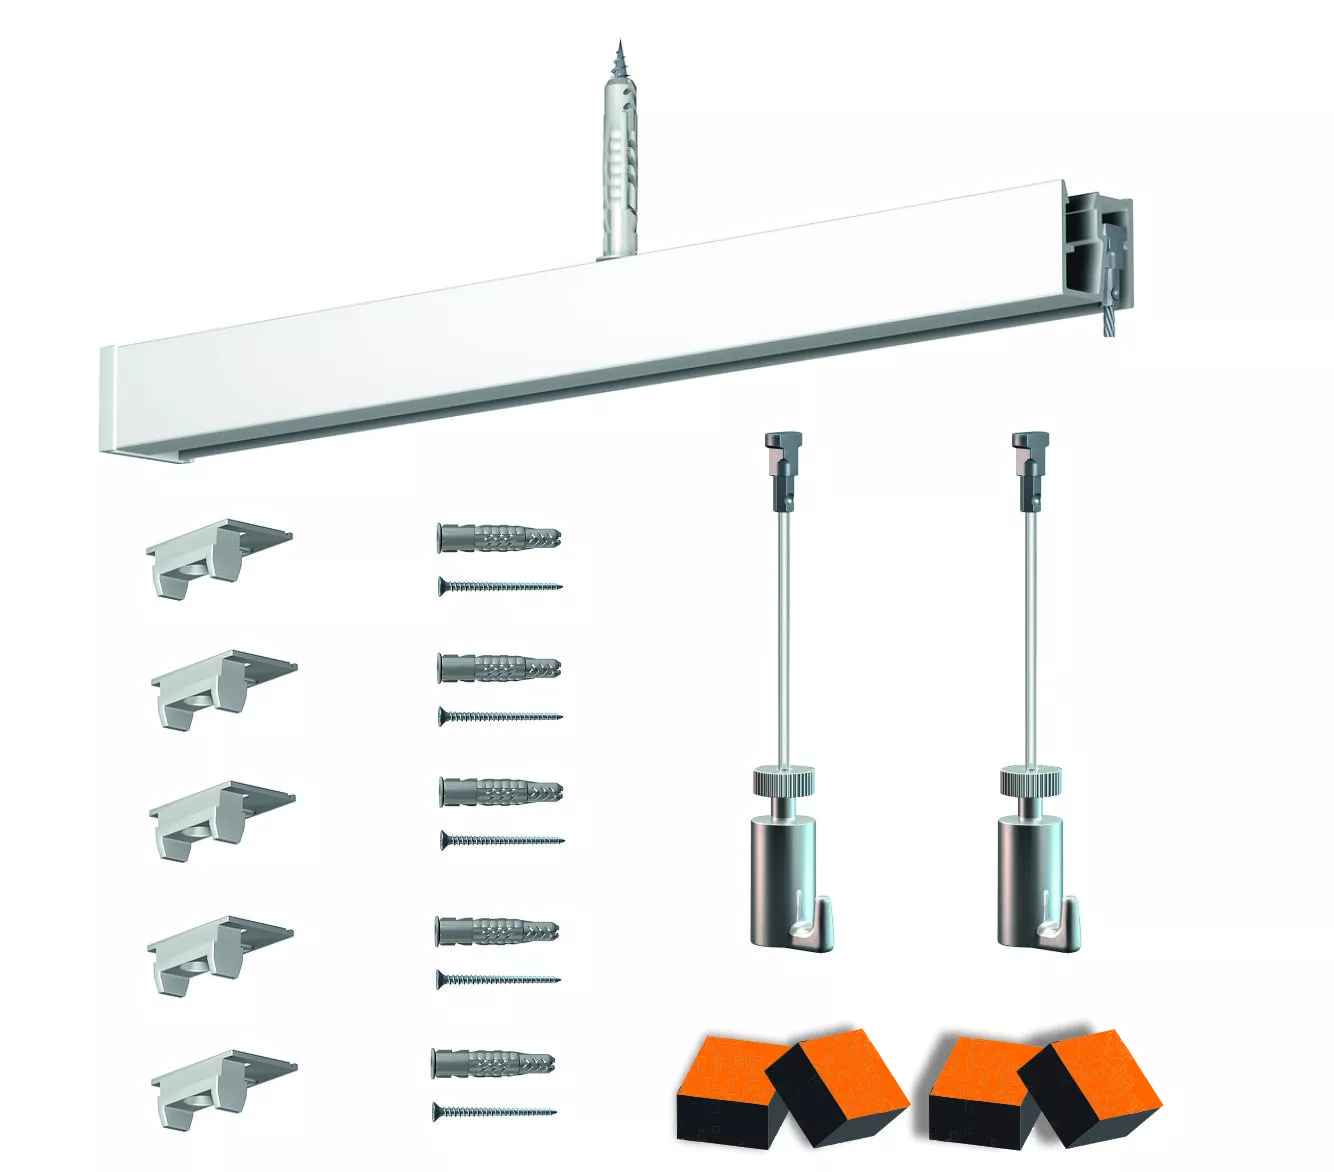
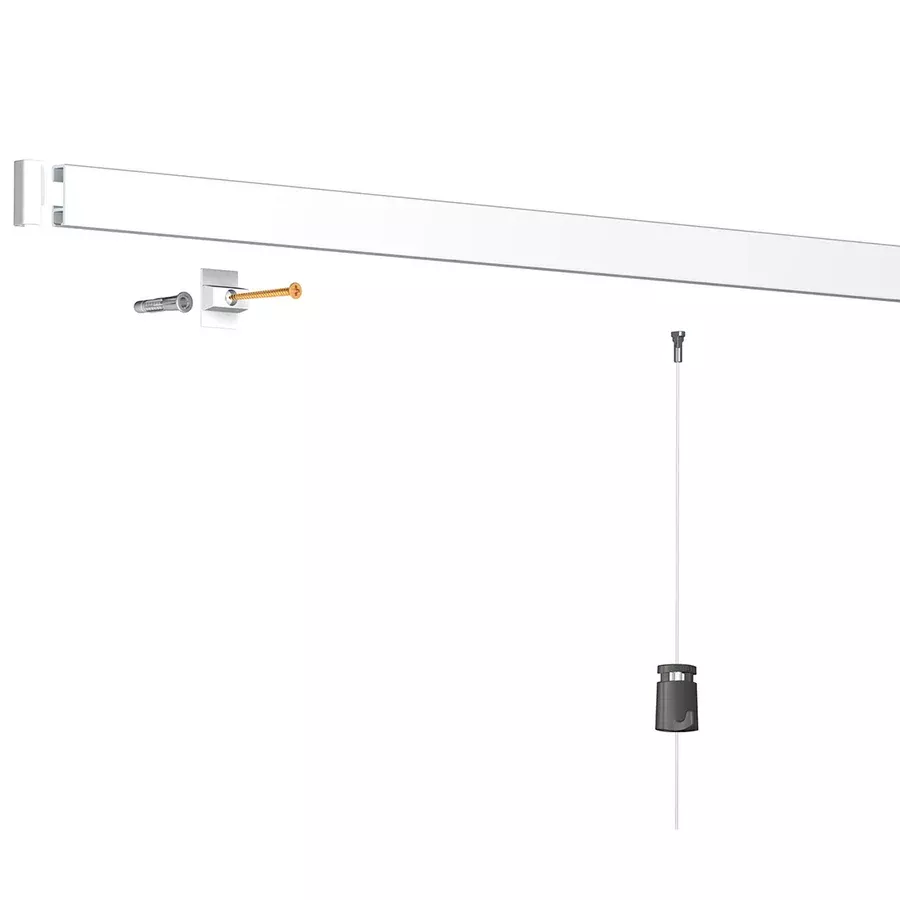
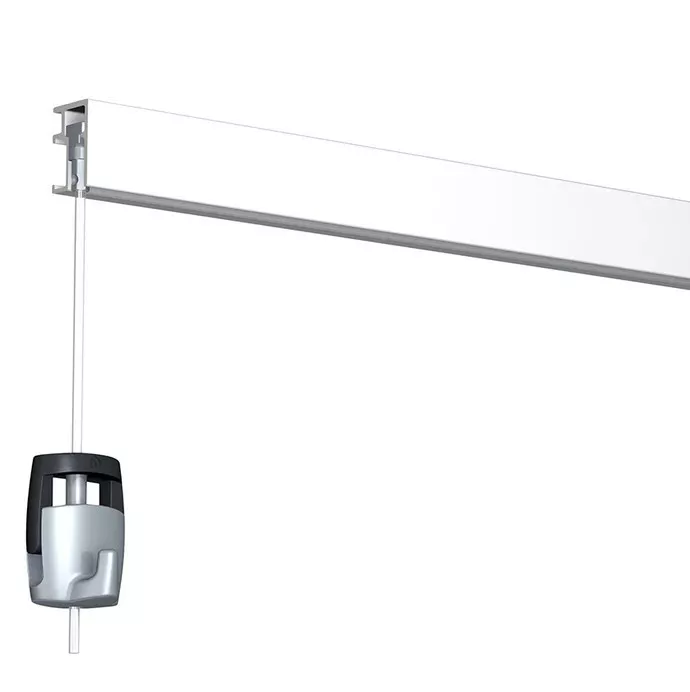
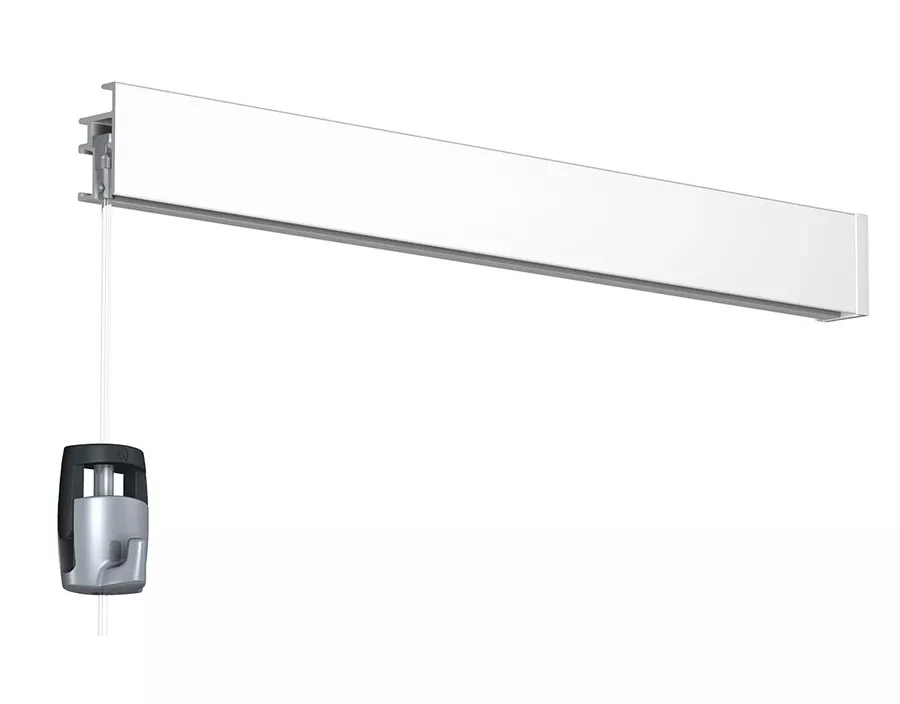
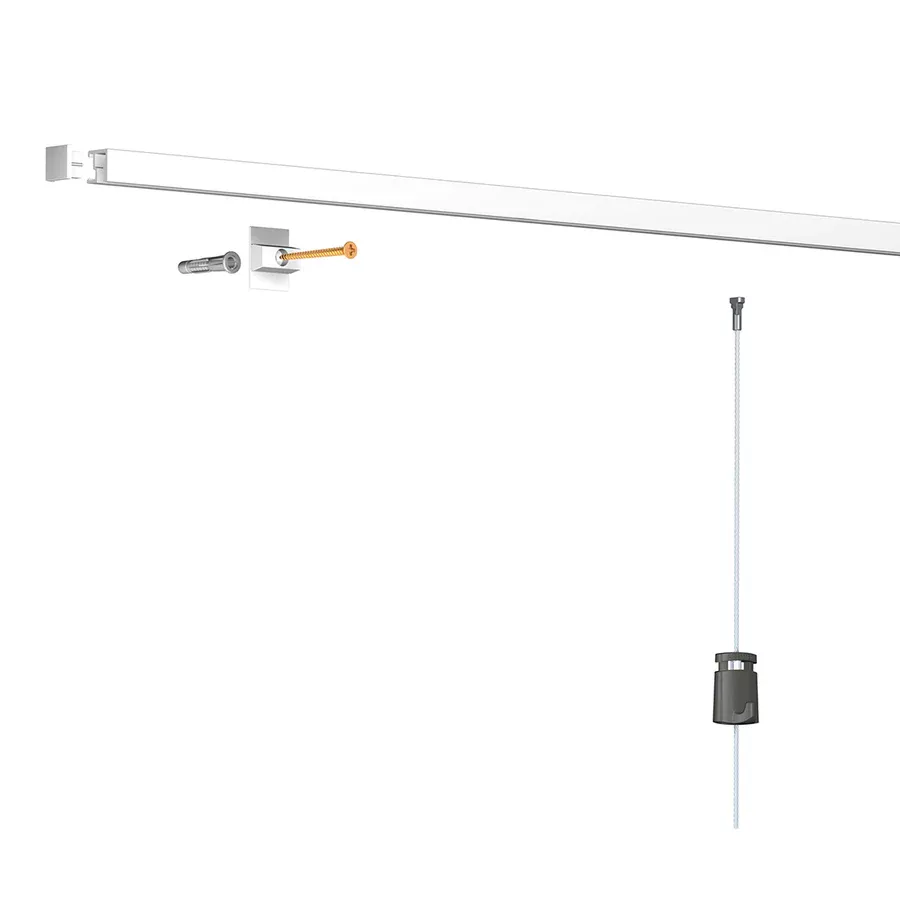
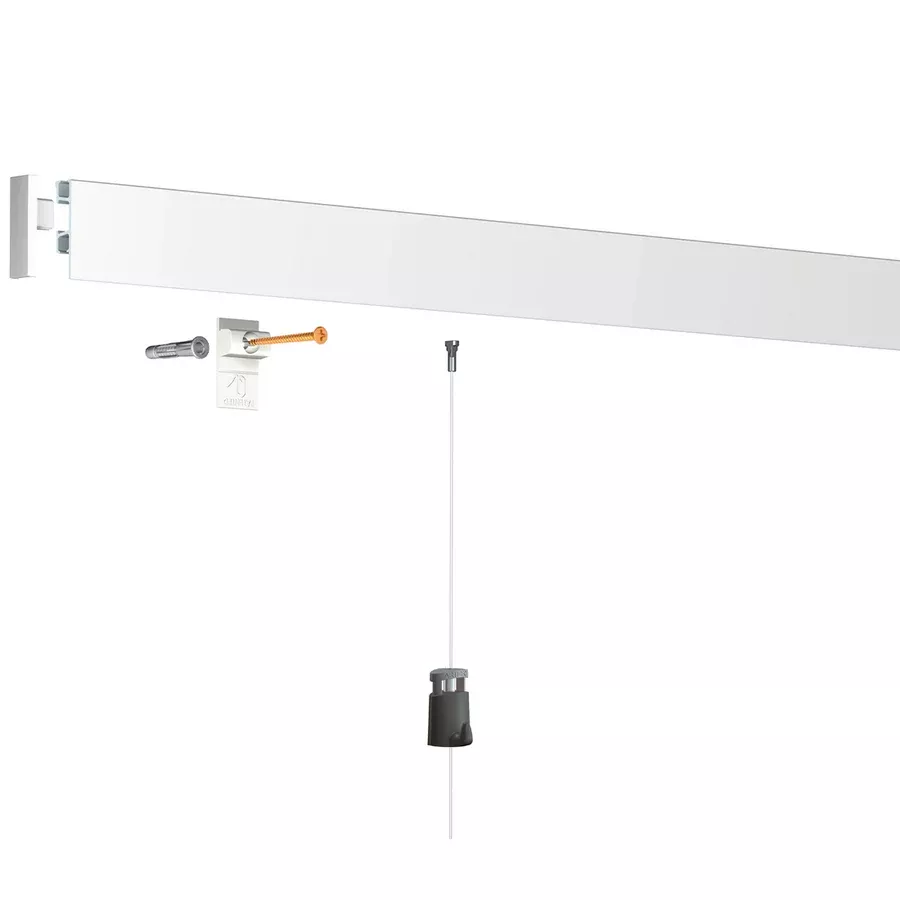
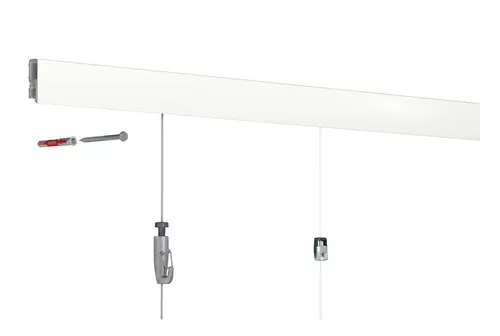
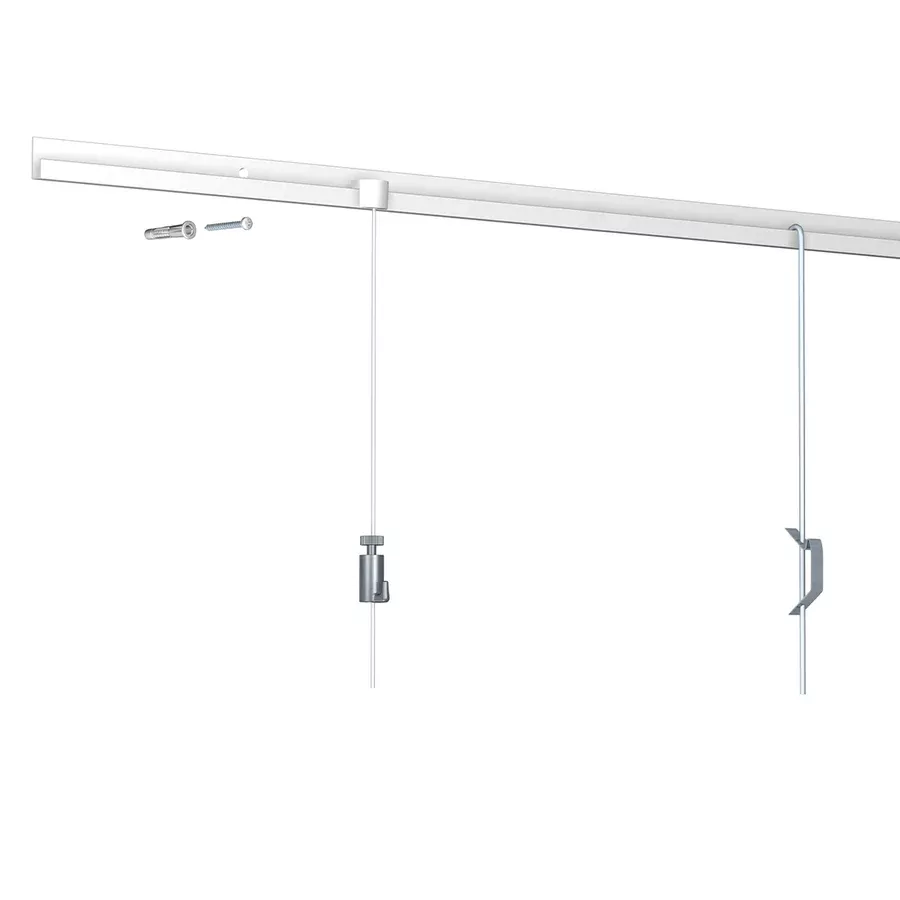
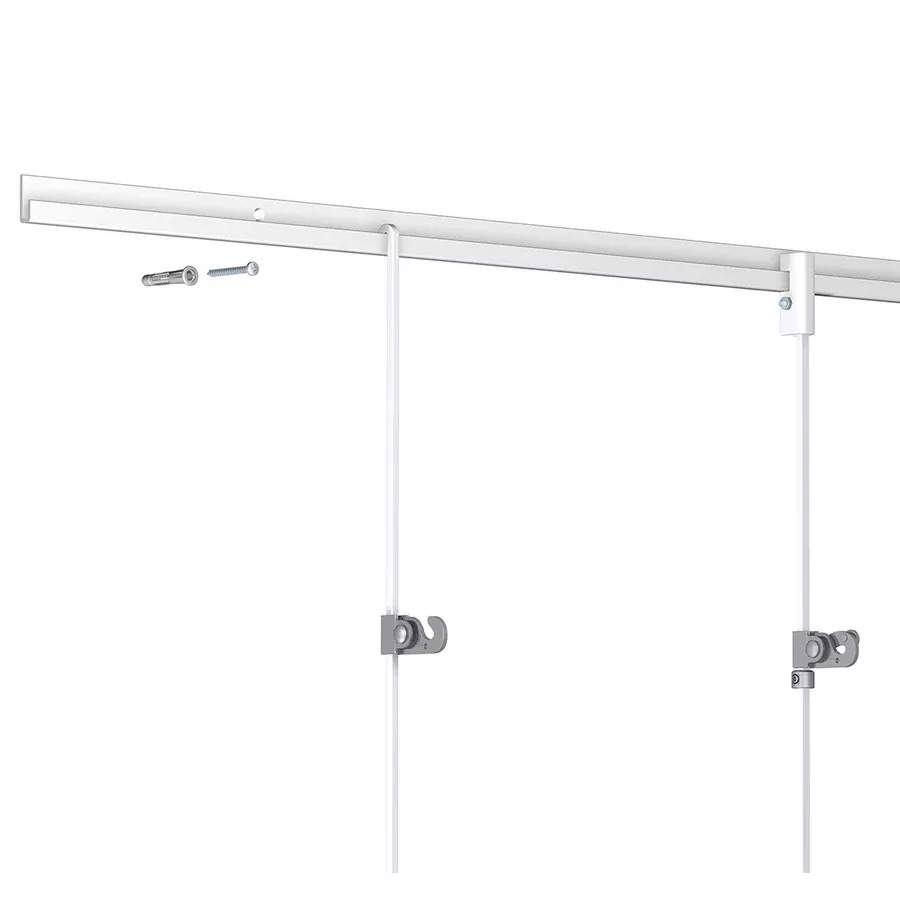
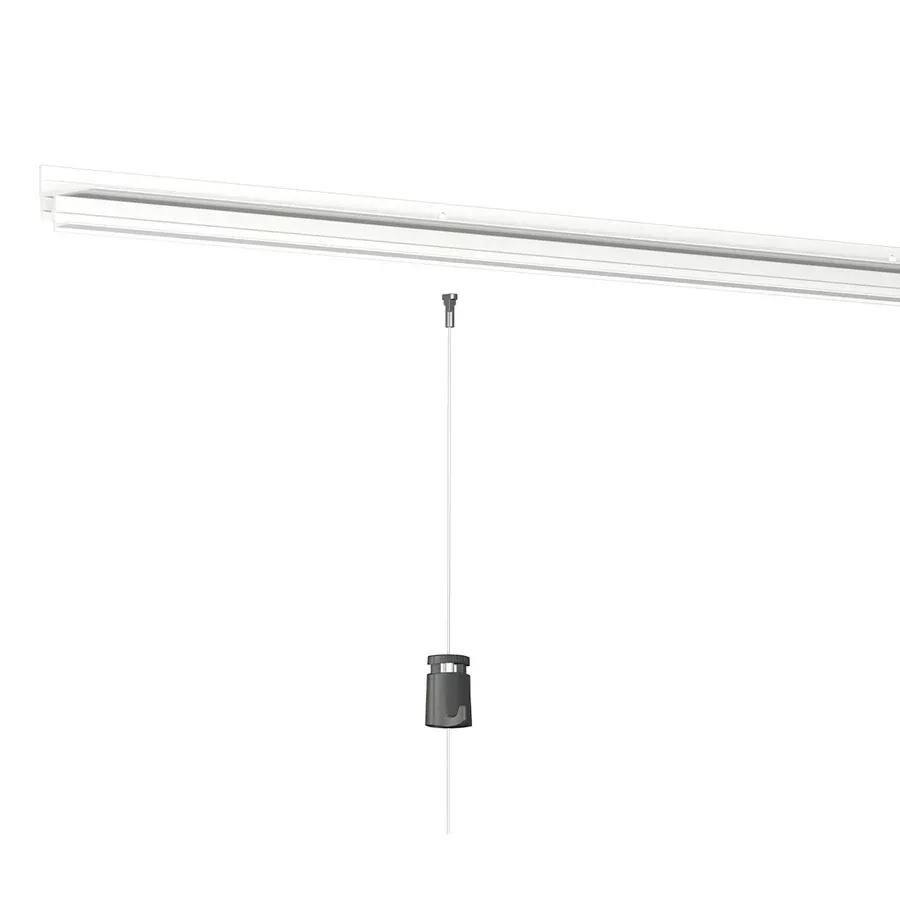
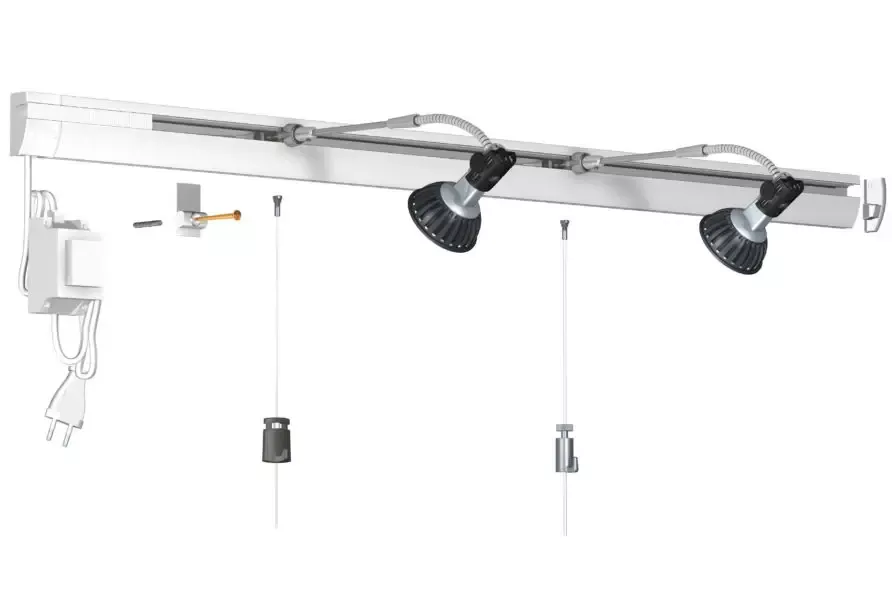
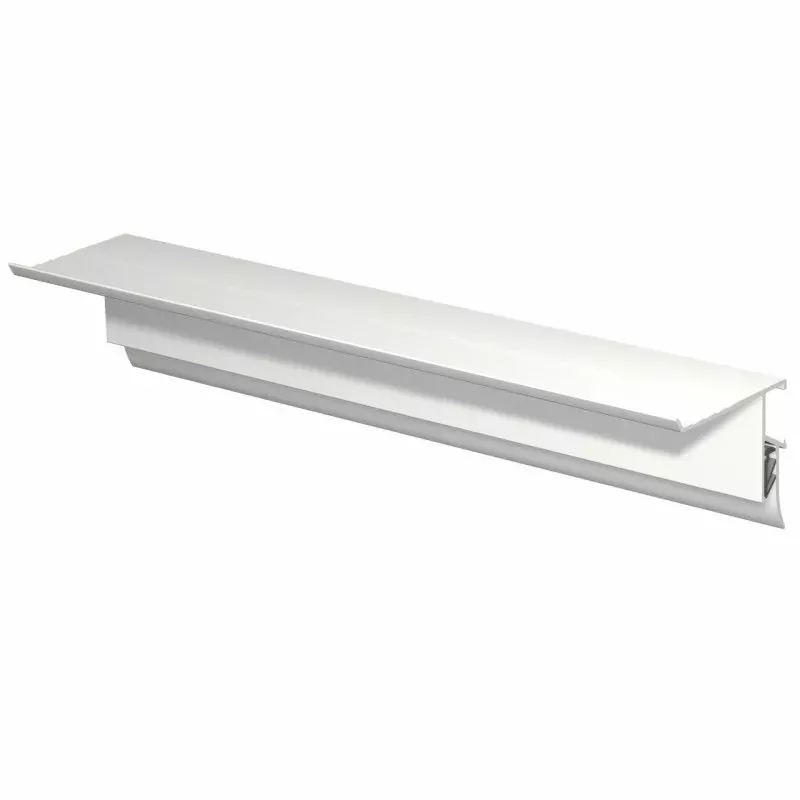
Combi Pro Light picture rail
-
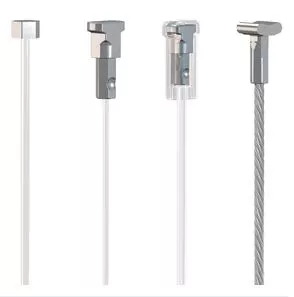
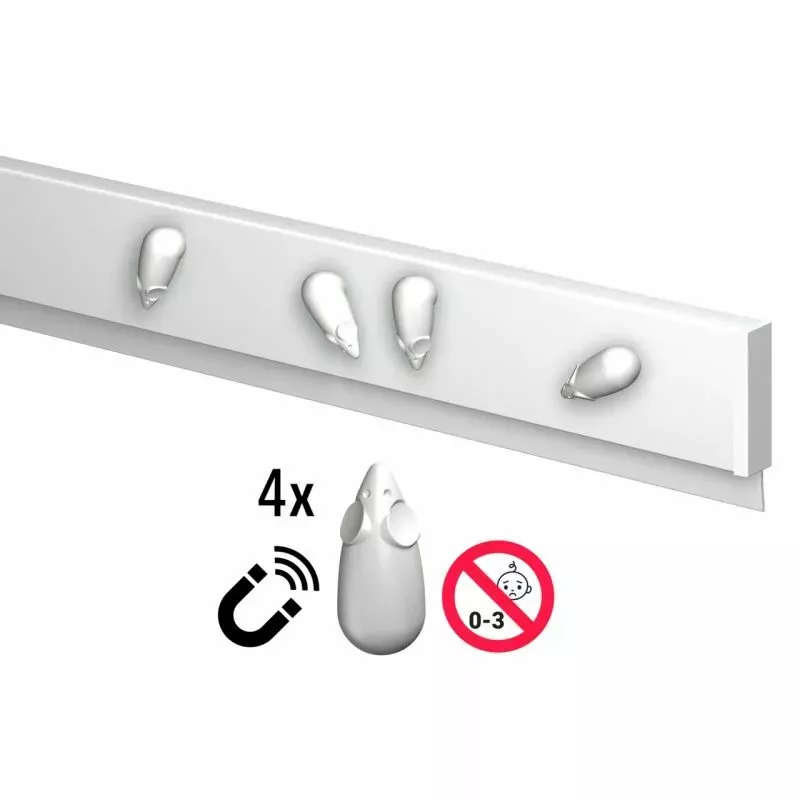
Fixing clips
-
Suitable screws and wall plugs
-
Drill with appropriate drill bits
-
Screwdriver
-
Spirit level
-
Tape measure
-
Marking pencil
-
Metal saw (if cutting is required)
-
Insulated conductor connector (sold separately)
Installation steps:
-
Preparation:
-
Choose the location for the rail, ideally near the ceiling.
-
Ensure the surface is clean and dry.
-
-
Marking fixing points:
-
Position the rail where desired and mark the positions for fixing clips approximately every 40 cm.
-
Use the spirit level to ensure a straight alignment.
-
-
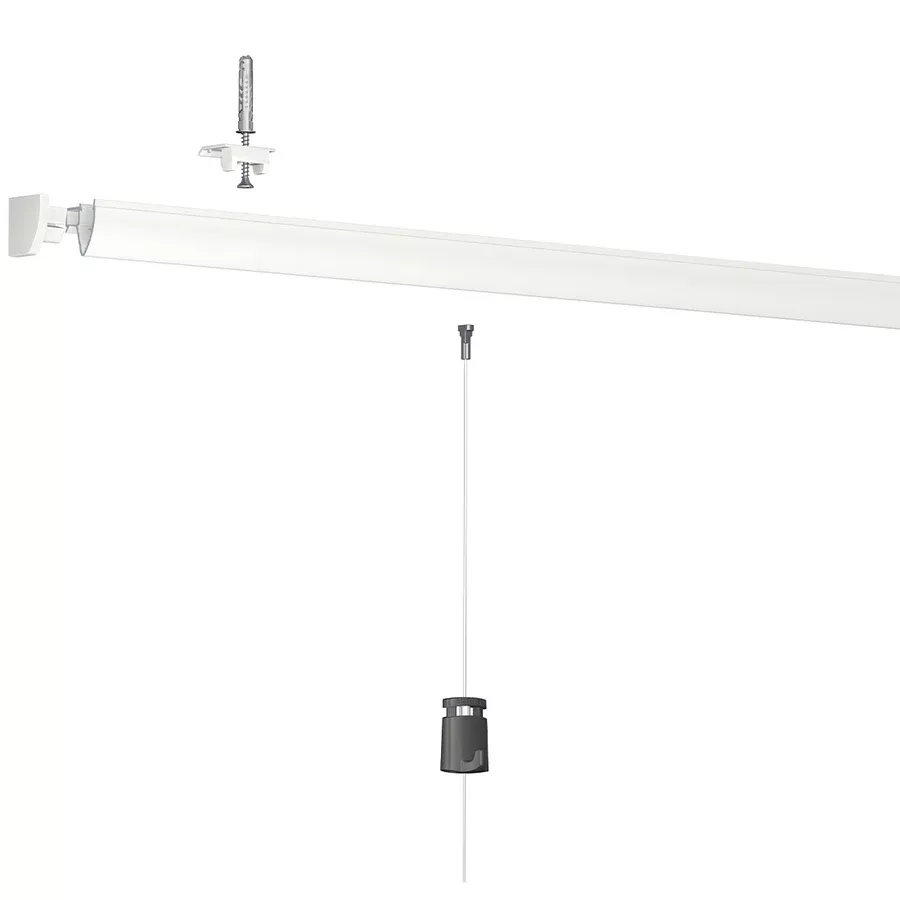
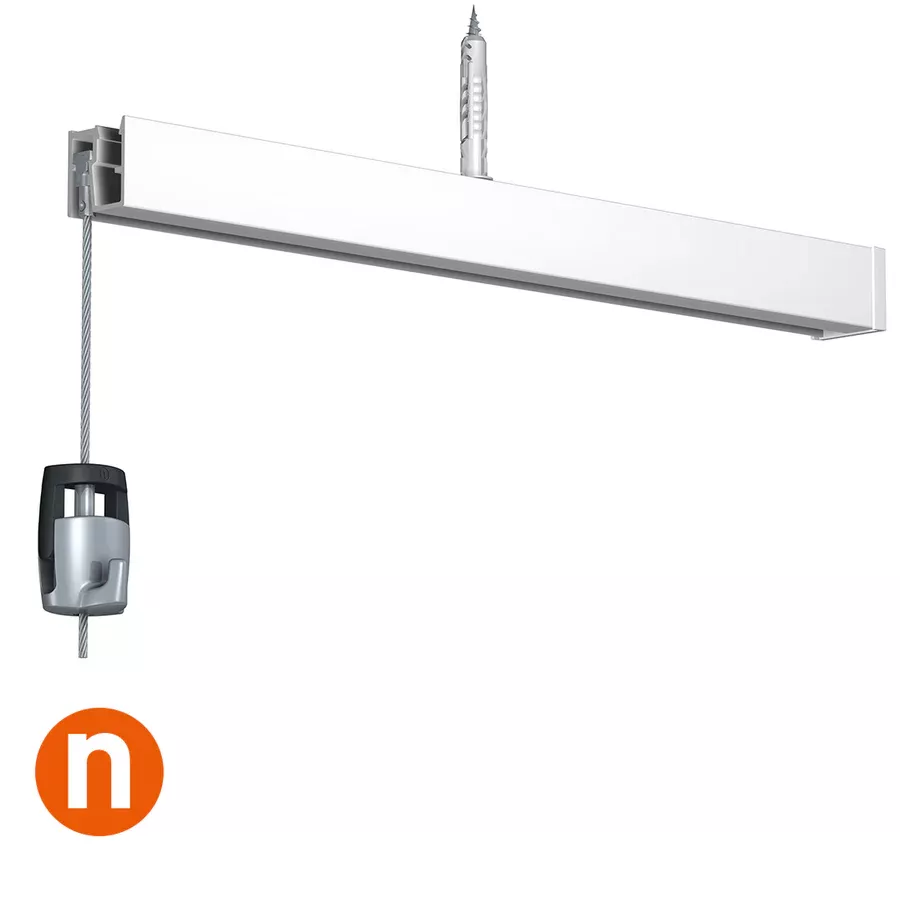
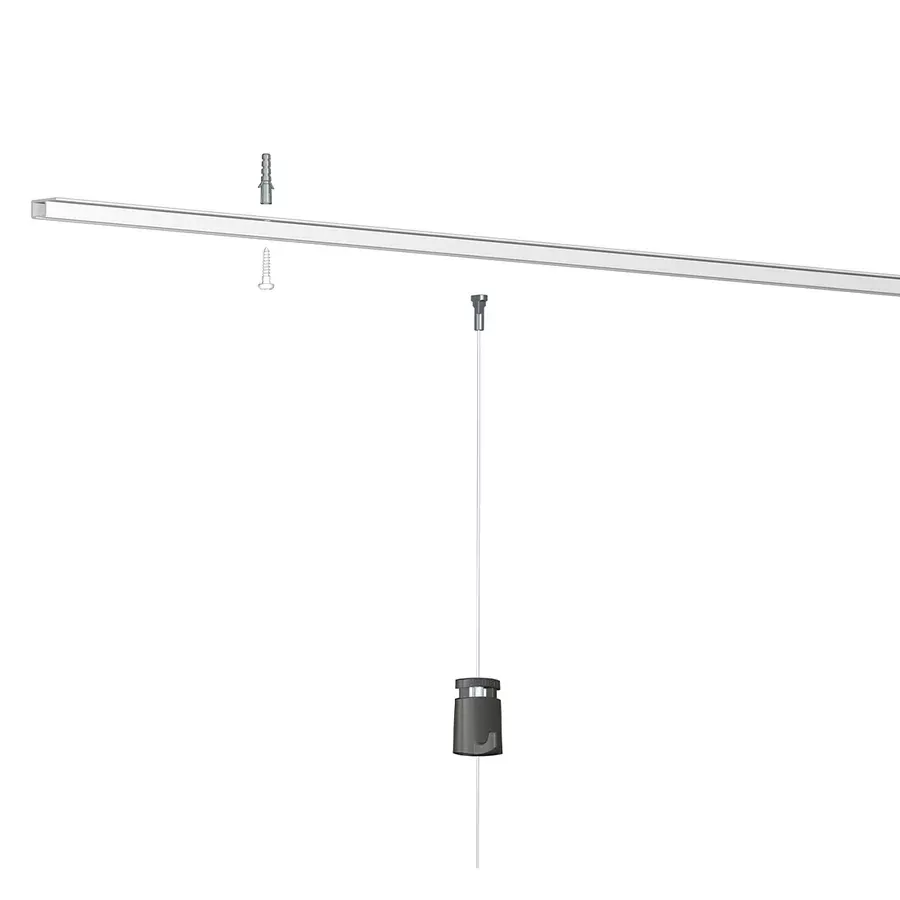
Fixing the clips:
-
Drill holes at the marked positions, depending on the type of wall.
-
Insert wall plugs if necessary.
-
Attach the clips by screwing the screws into the wall plugs or directly into the support.
-
-
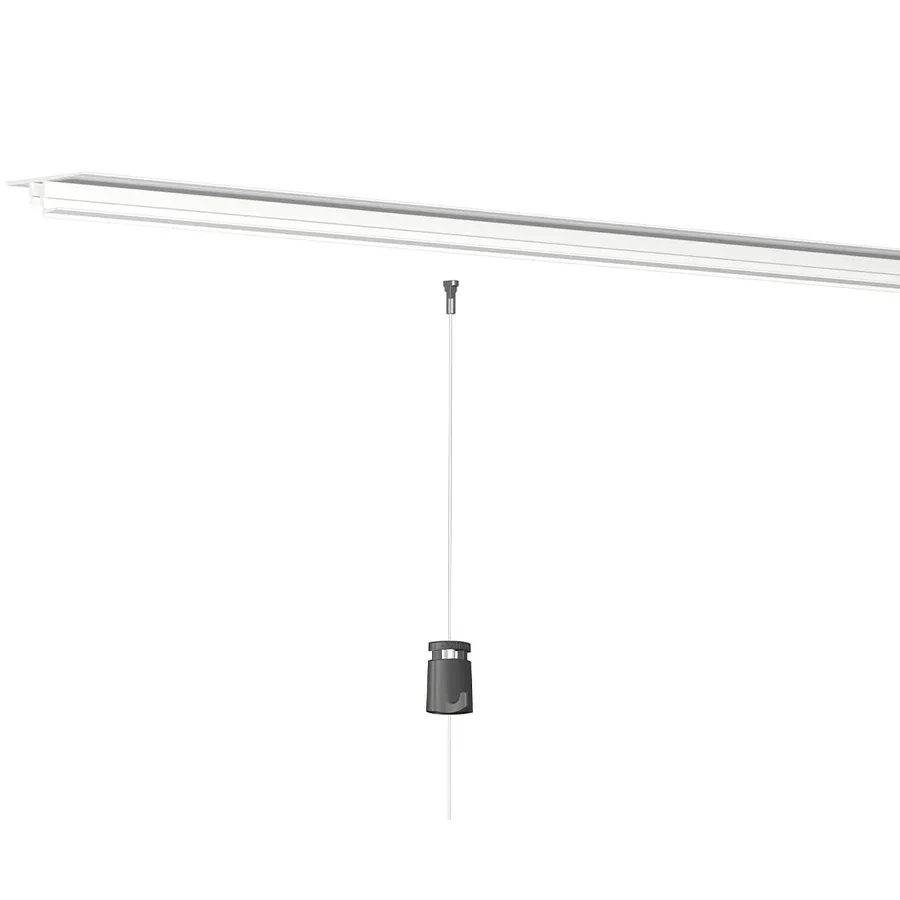
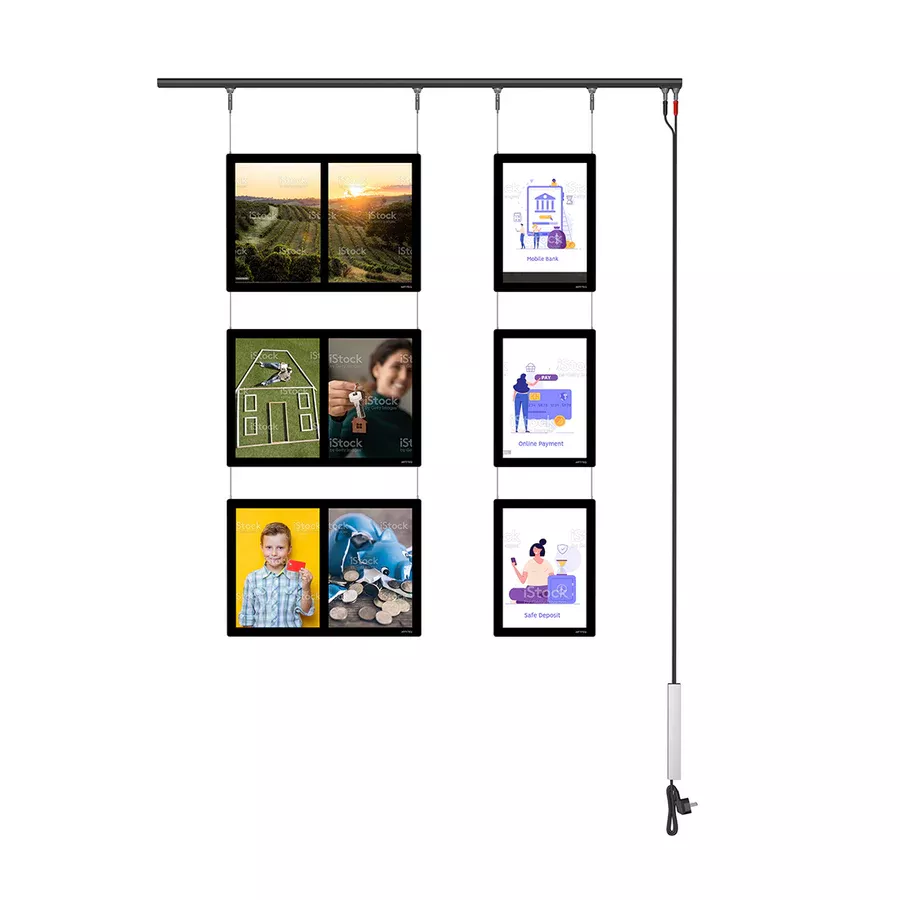
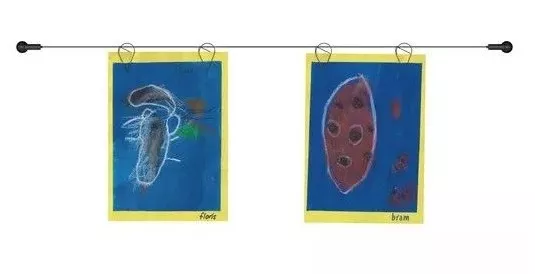
Installing the rail:
-
Place the rail onto the fixing clips.
-
Press firmly to snap the rail into place.
-
-
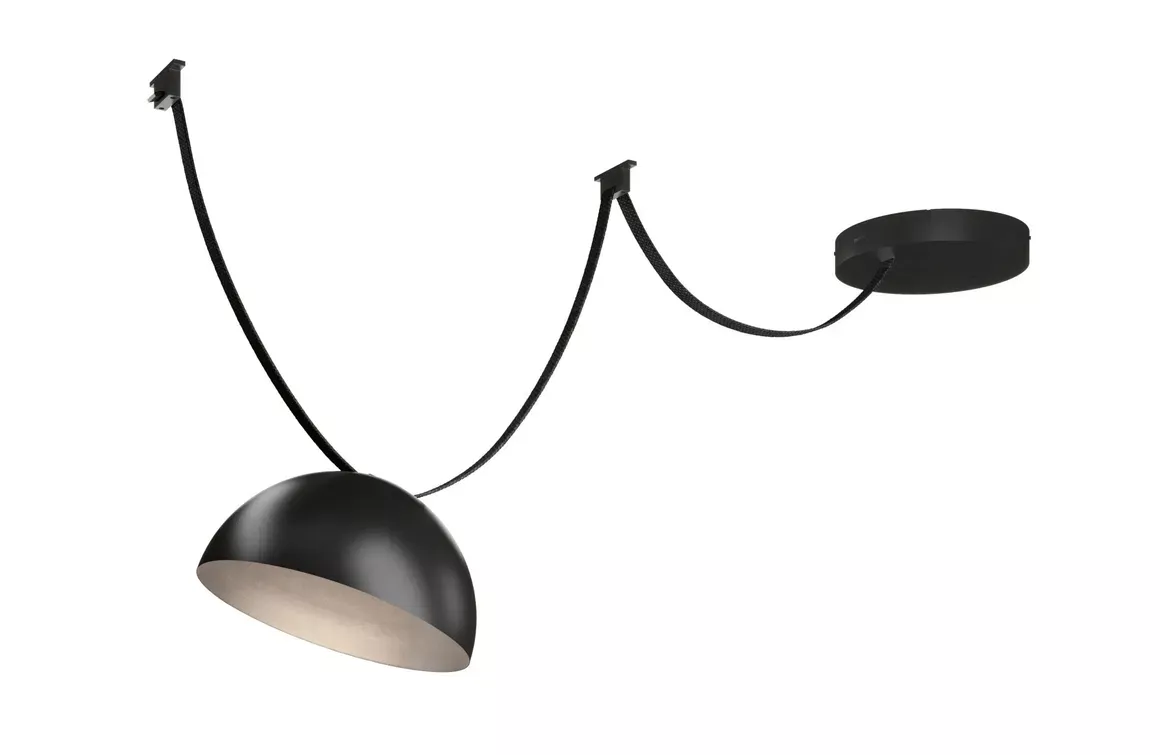
Electrical connection:
-
Connect the rail to the power supply using the insulated conductor connector.
-
Ensure the installation complies with current electrical standards.
-
-
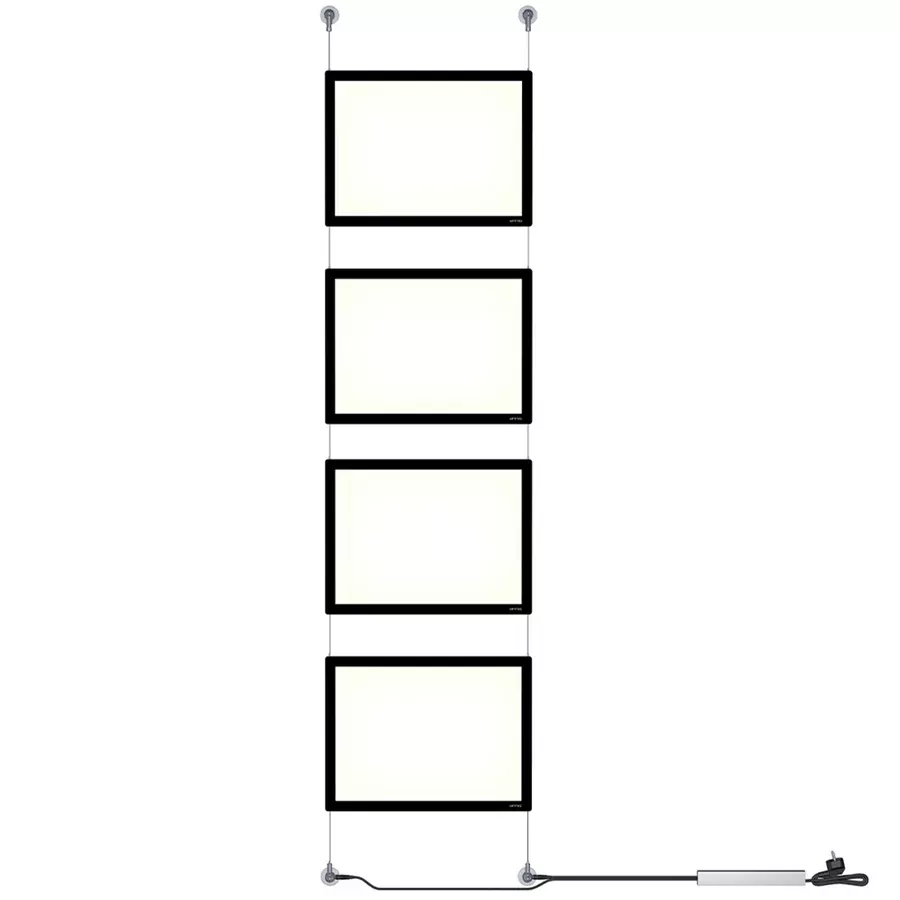
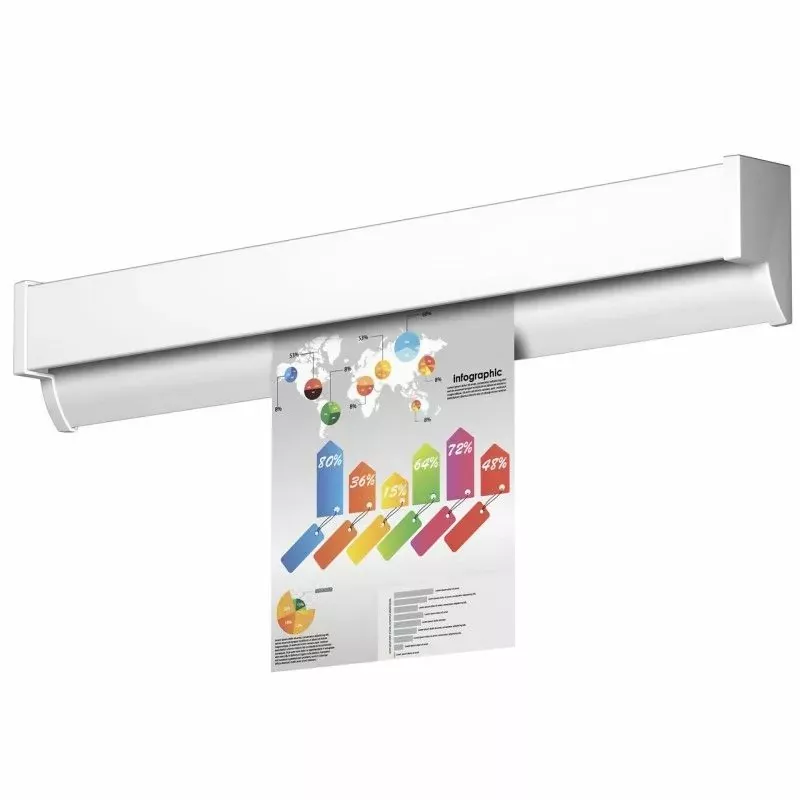
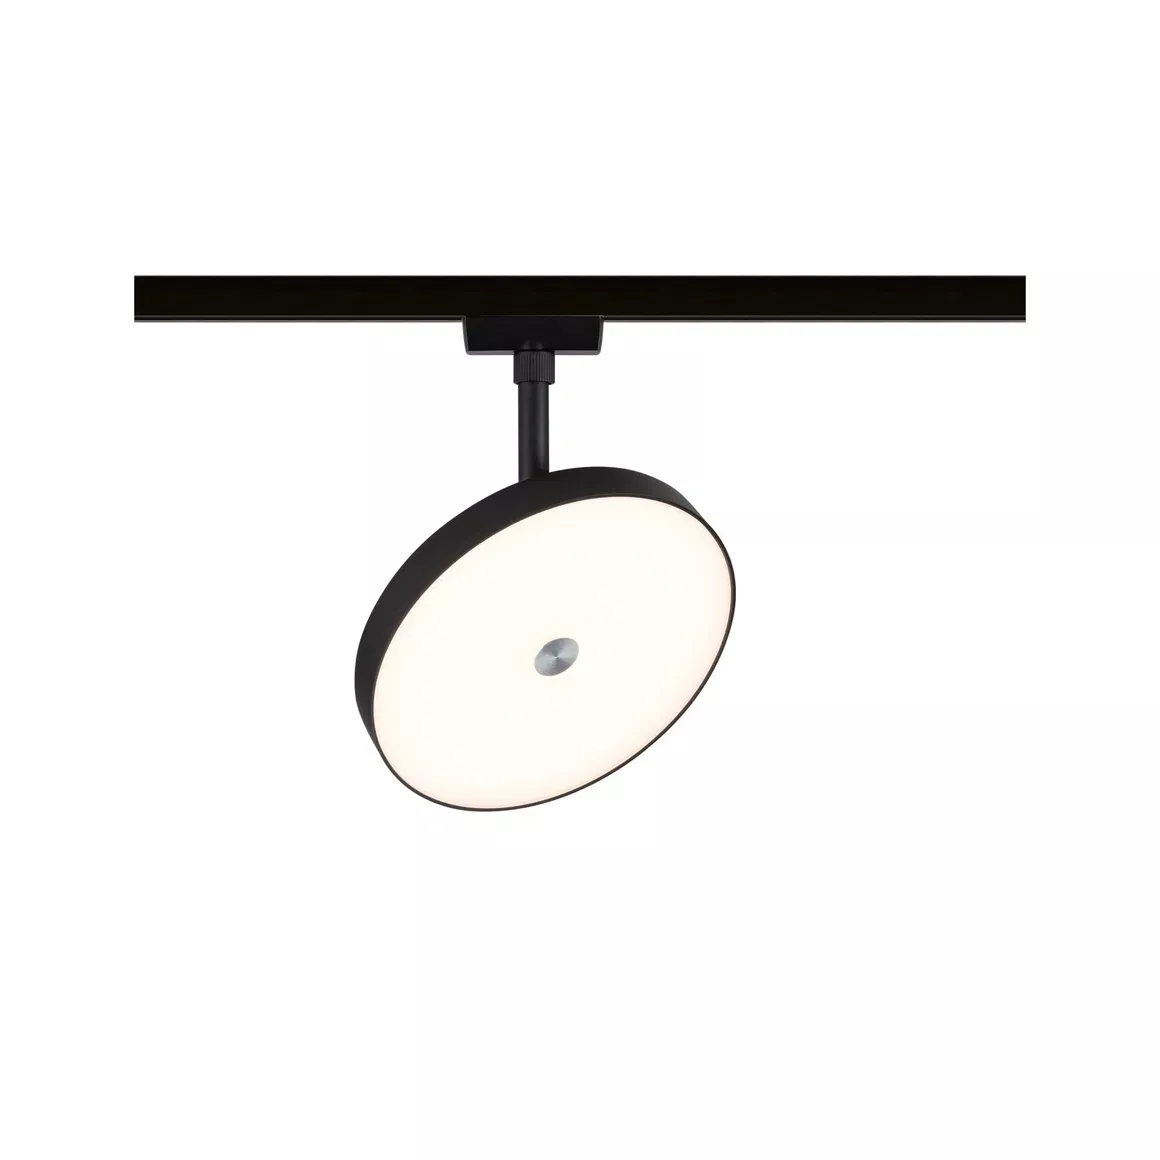
Installing the lighting fixtures:
-
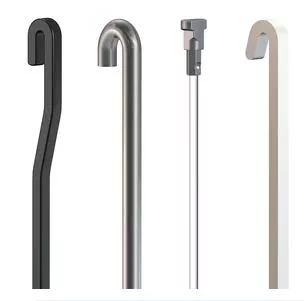
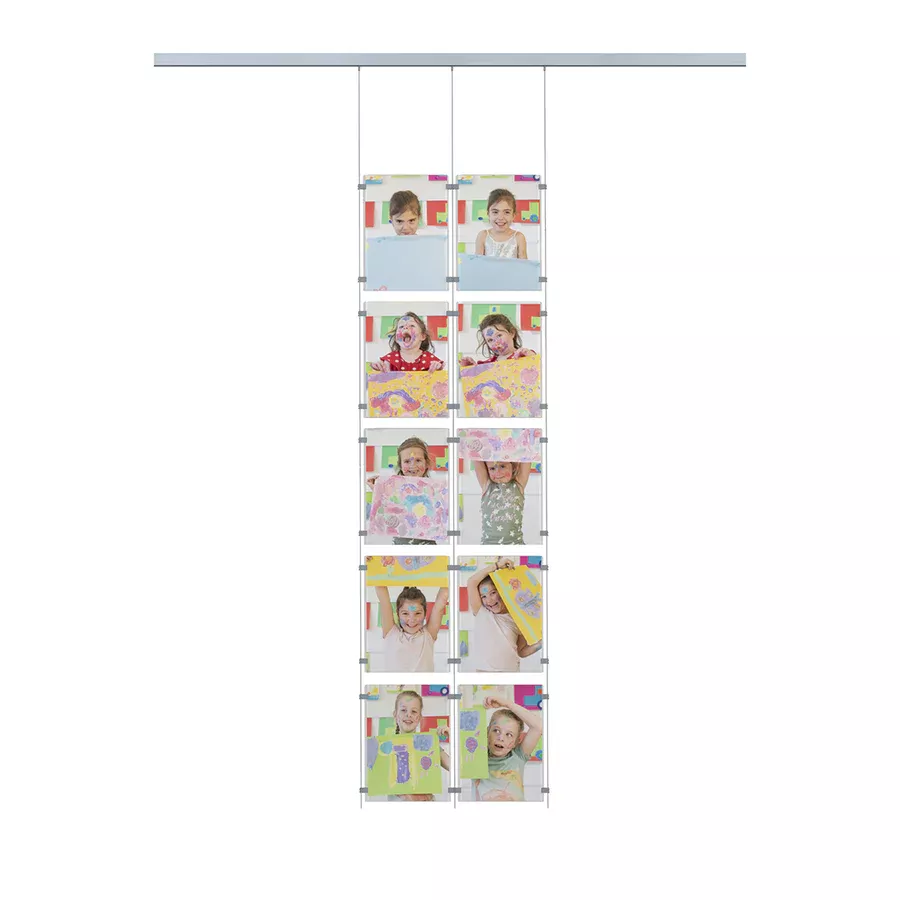
Attach the lighting fixtures to the desired location on the rail.
-
The fixtures are adjustable along the rail according to your needs.
-
Additional tips:
-
For a secure fixing, use the fixing clips provided with the rail.
-
If the wall is plasterboard, use suitable wall plugs to ensure a secure fixing.
-
The Combi Pro Light rail can be cut to the desired length using a metal saw.
-
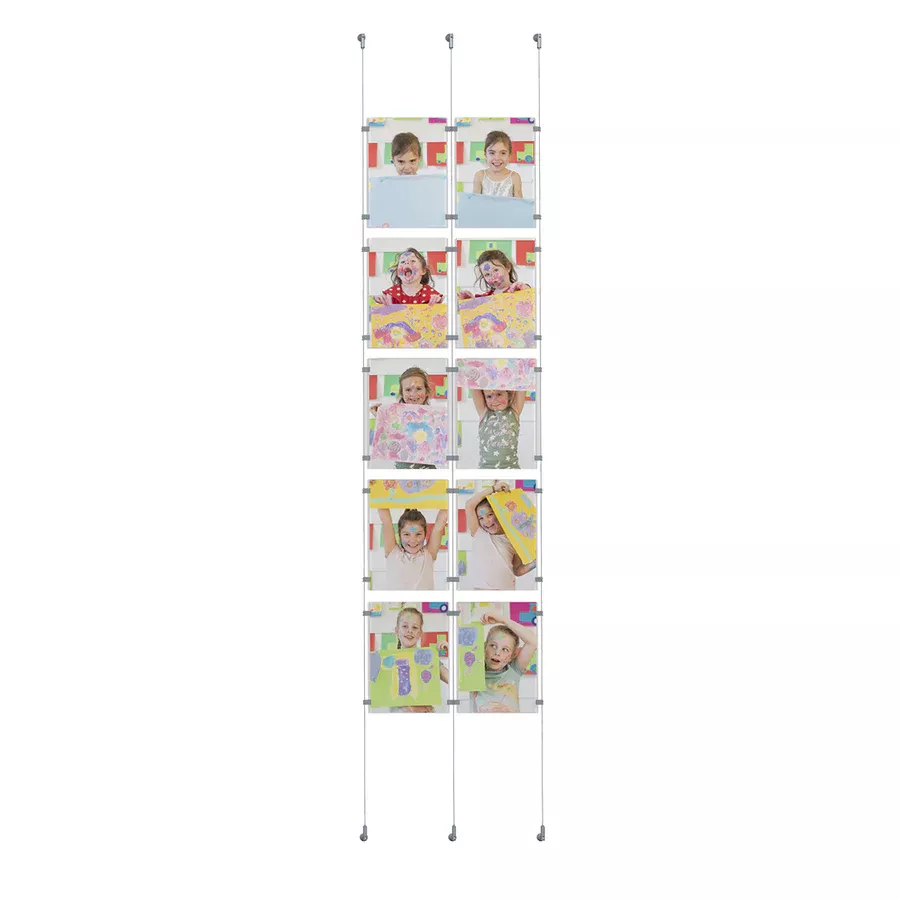
For more flexibility, the lighting fixtures can be moved along the rail according to your needs.
For visual assistance, watch the installation video
Share this content