


How to install the Artiteq Inforail magnetic picture rail?
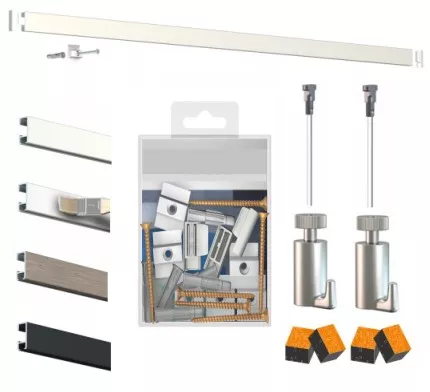
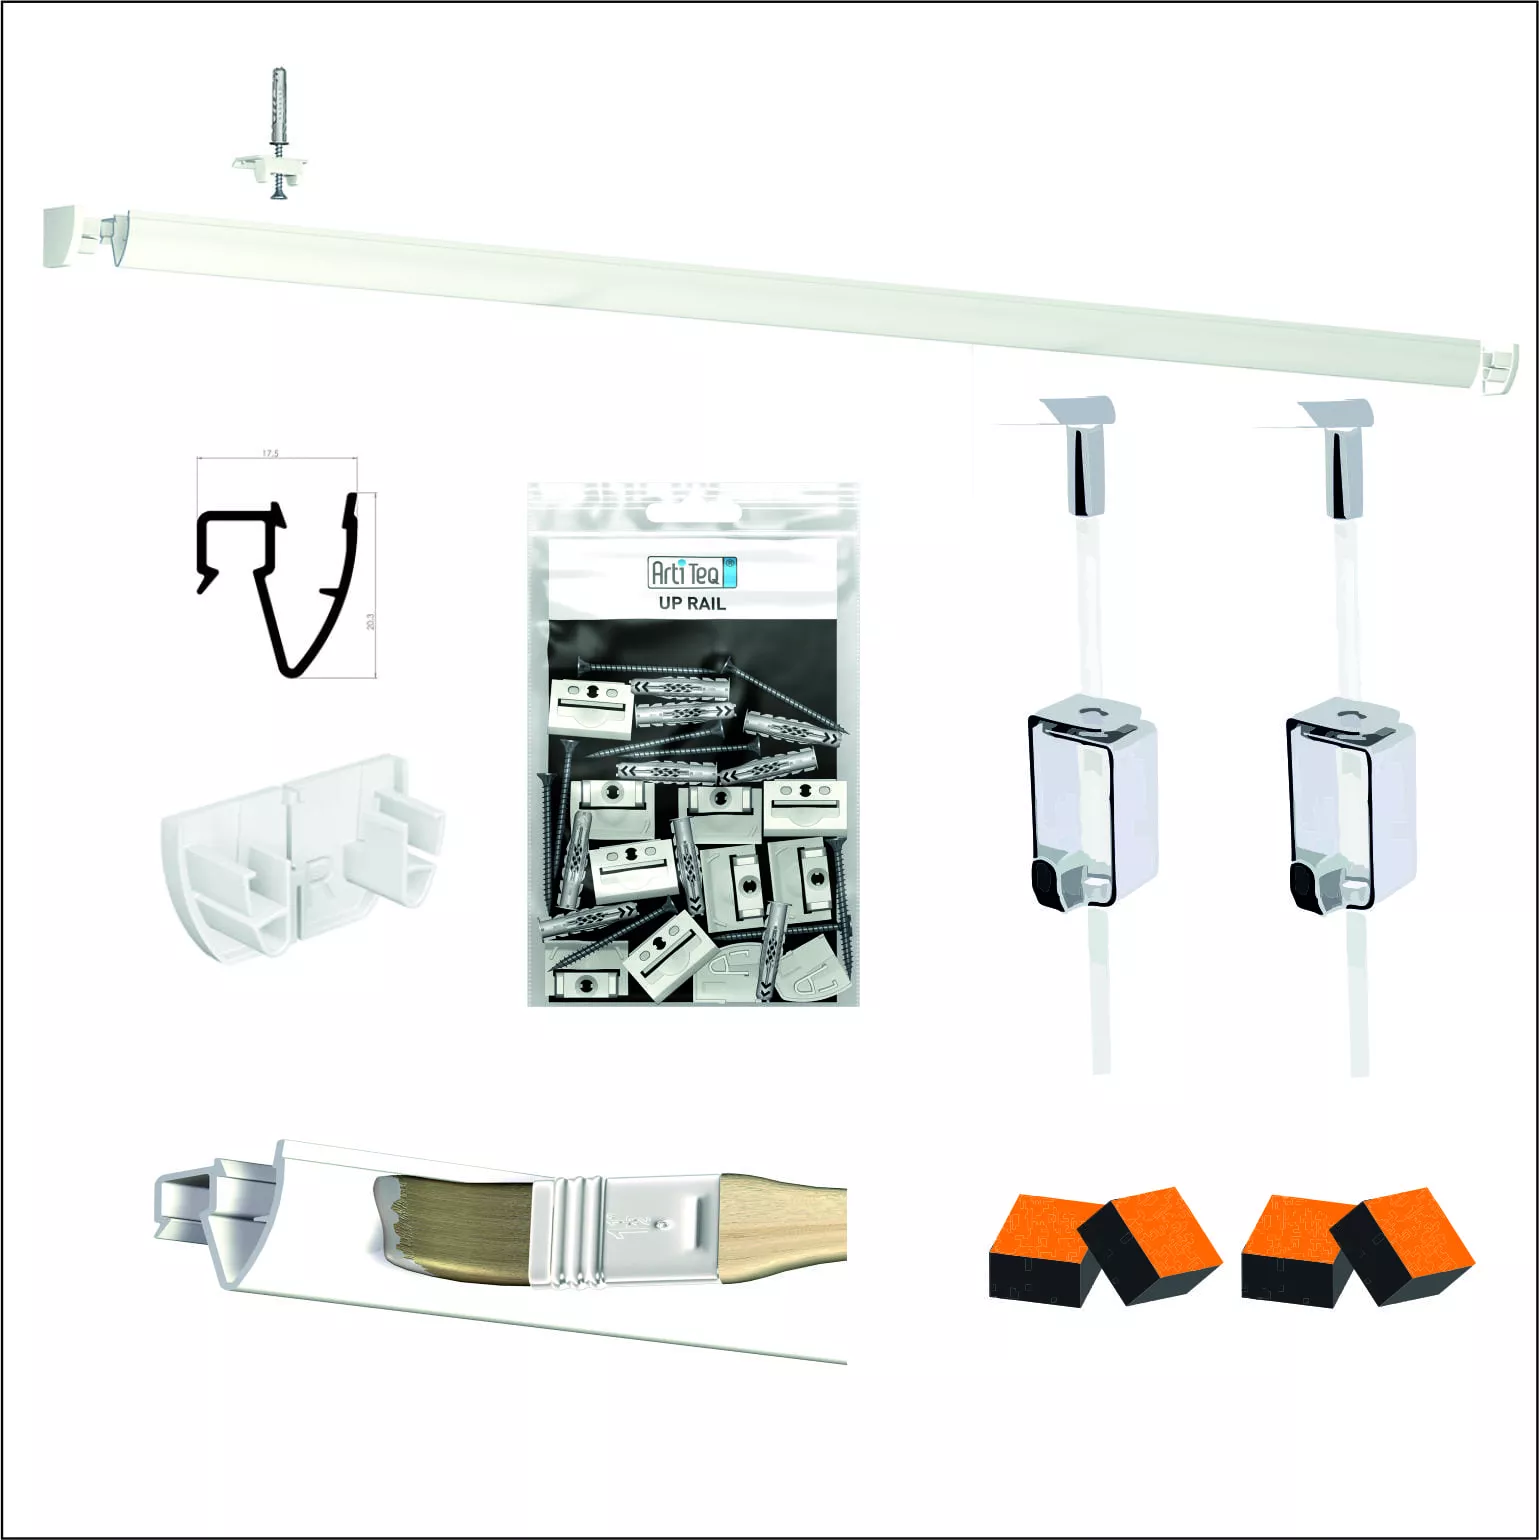
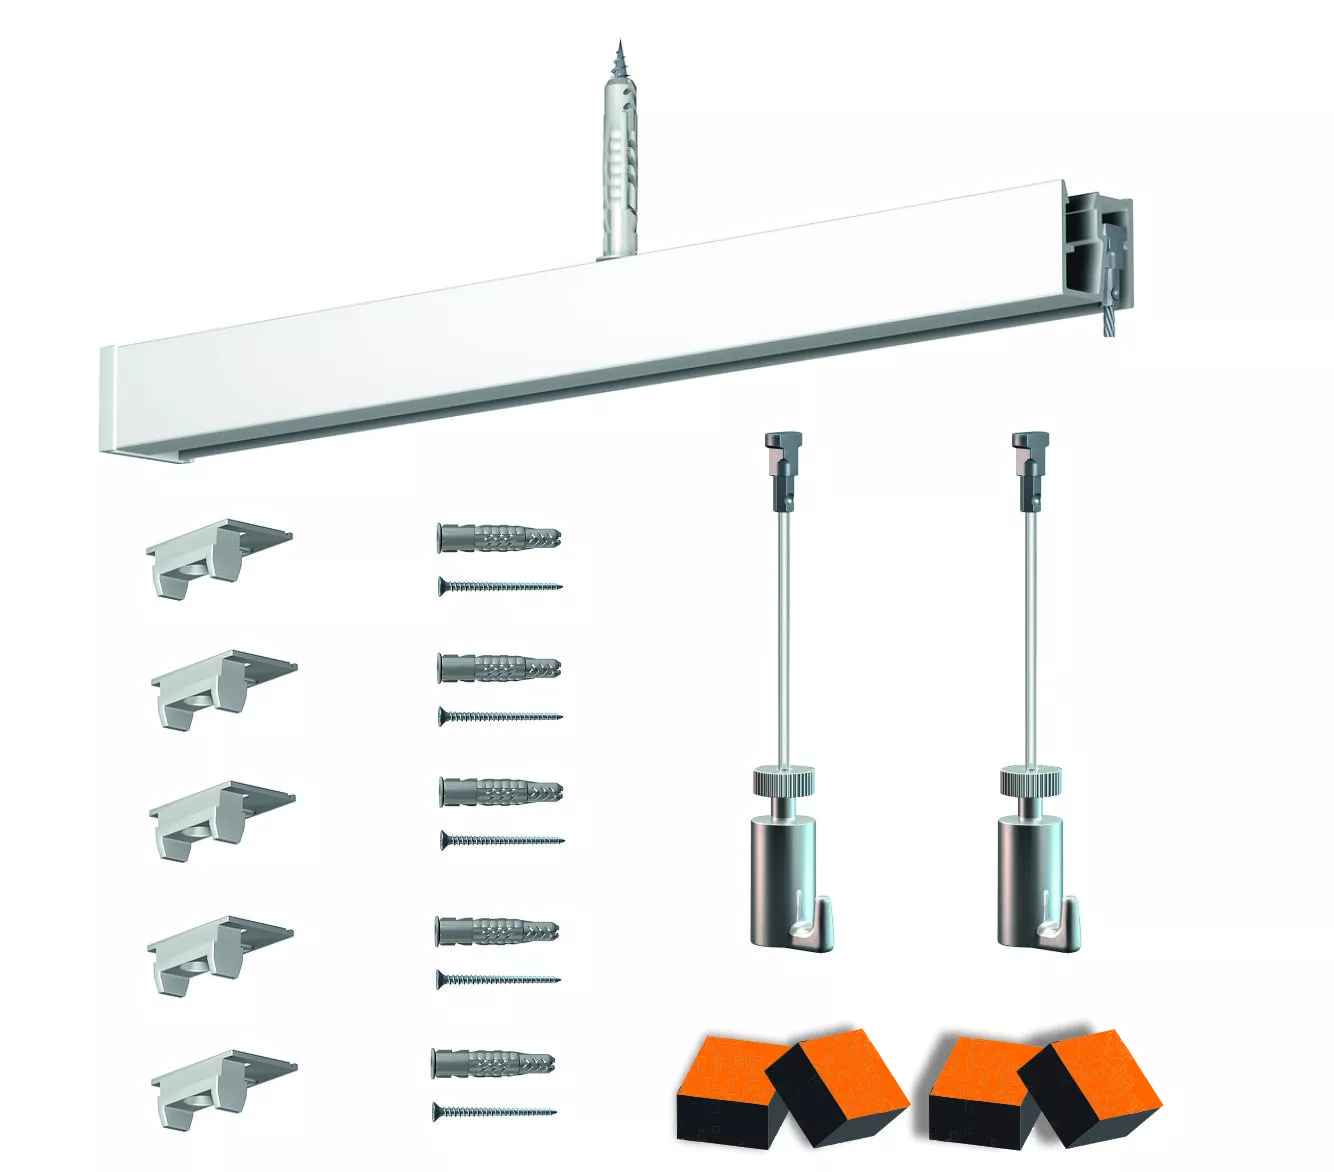
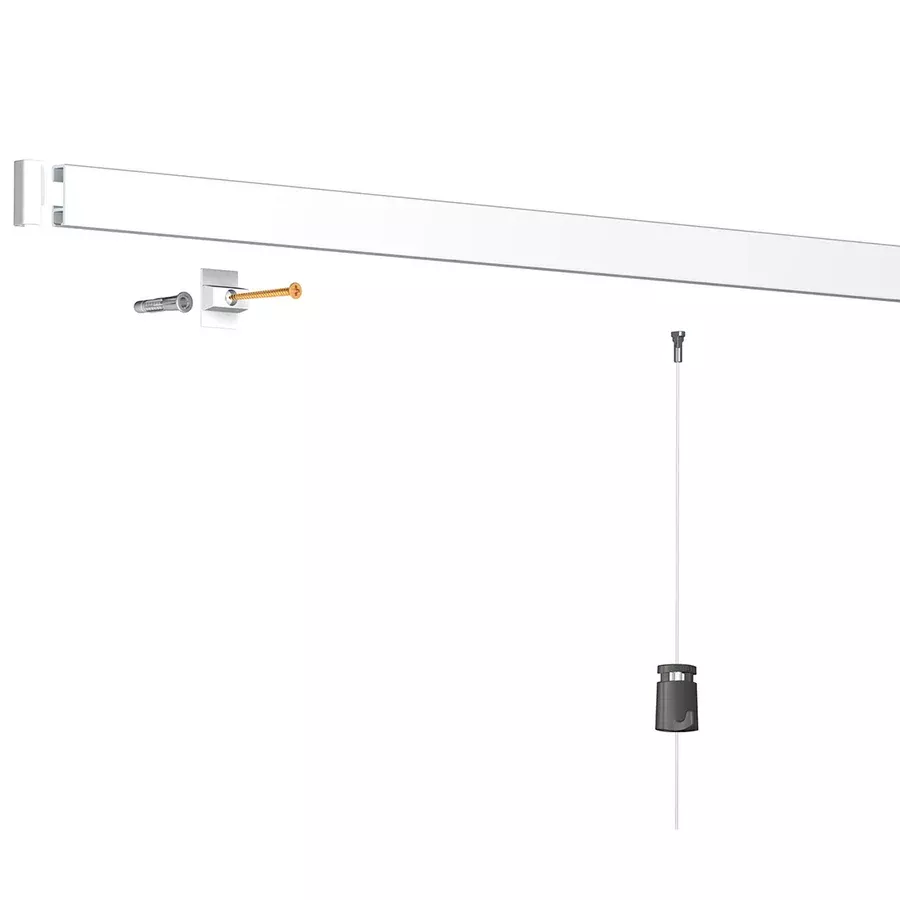
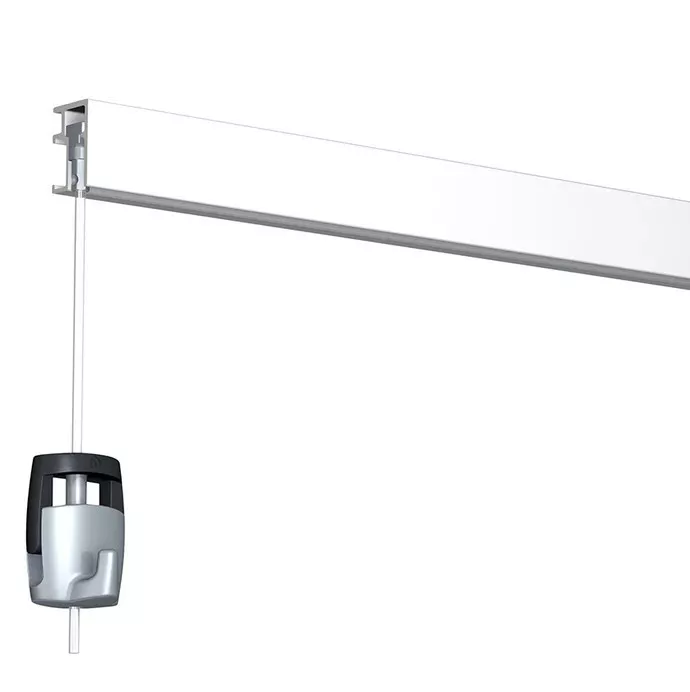
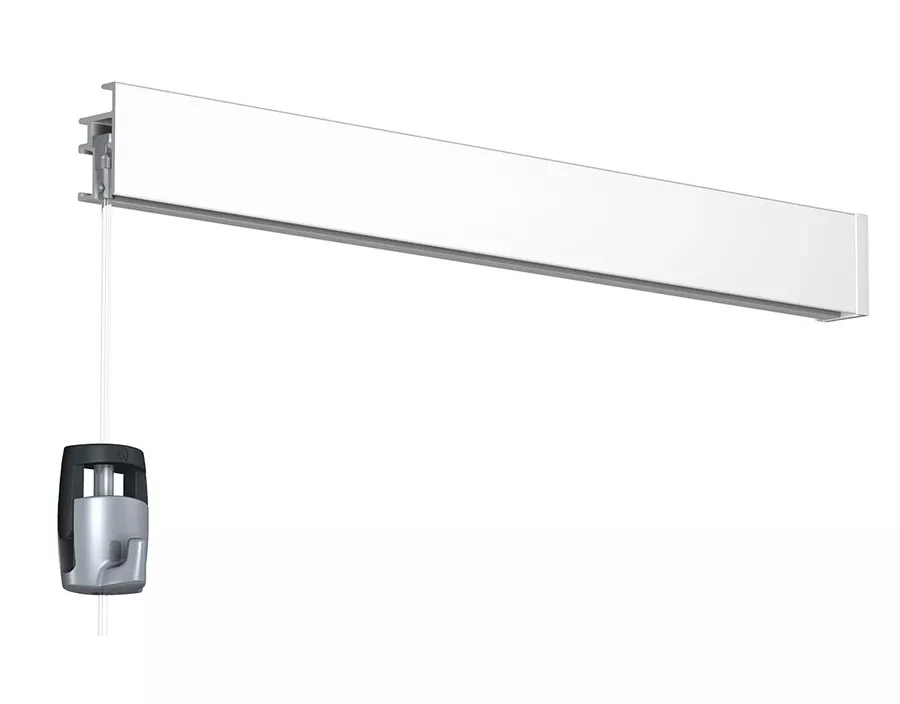
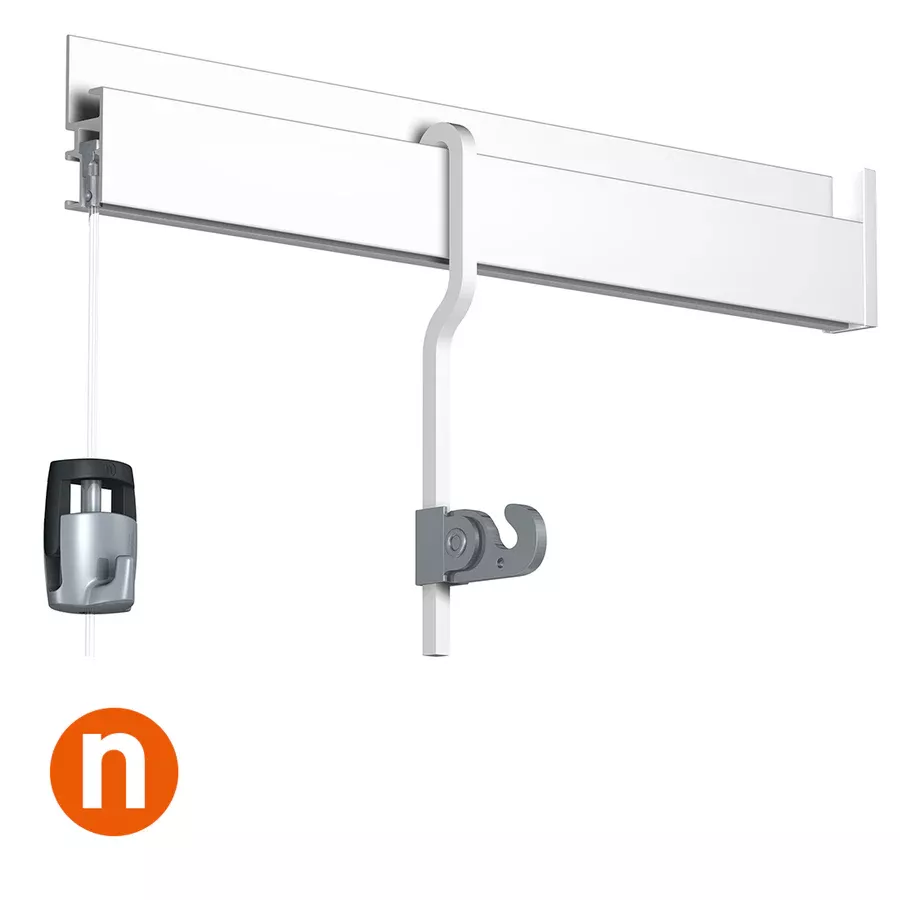
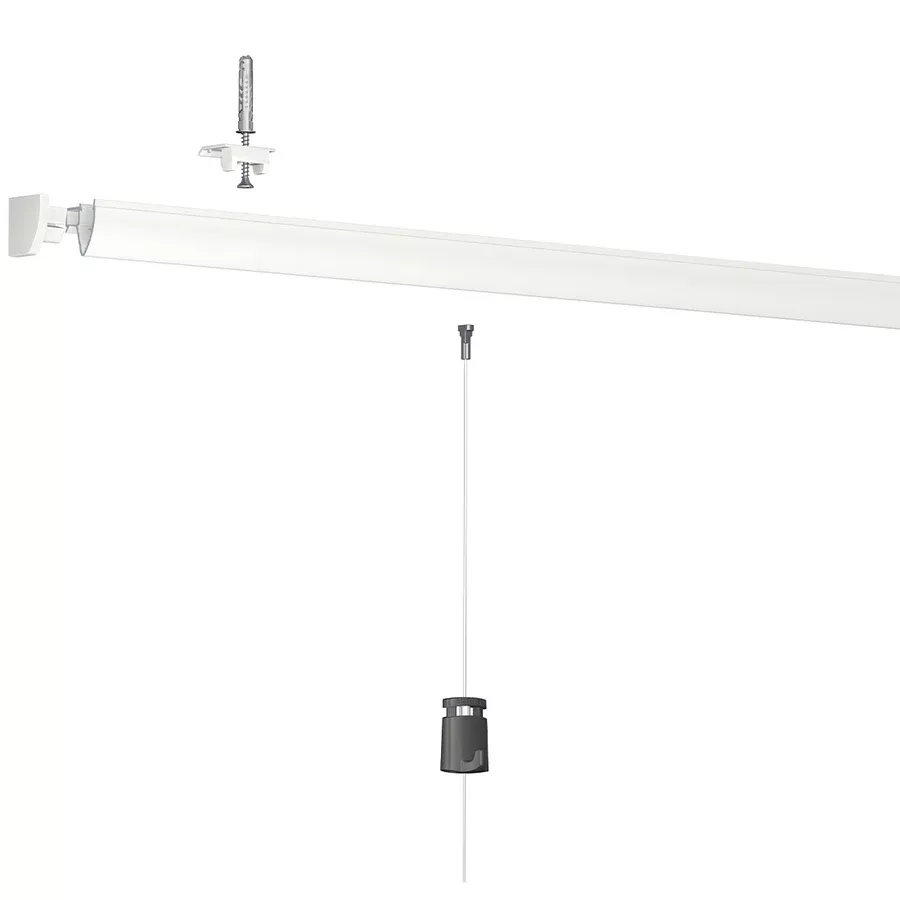
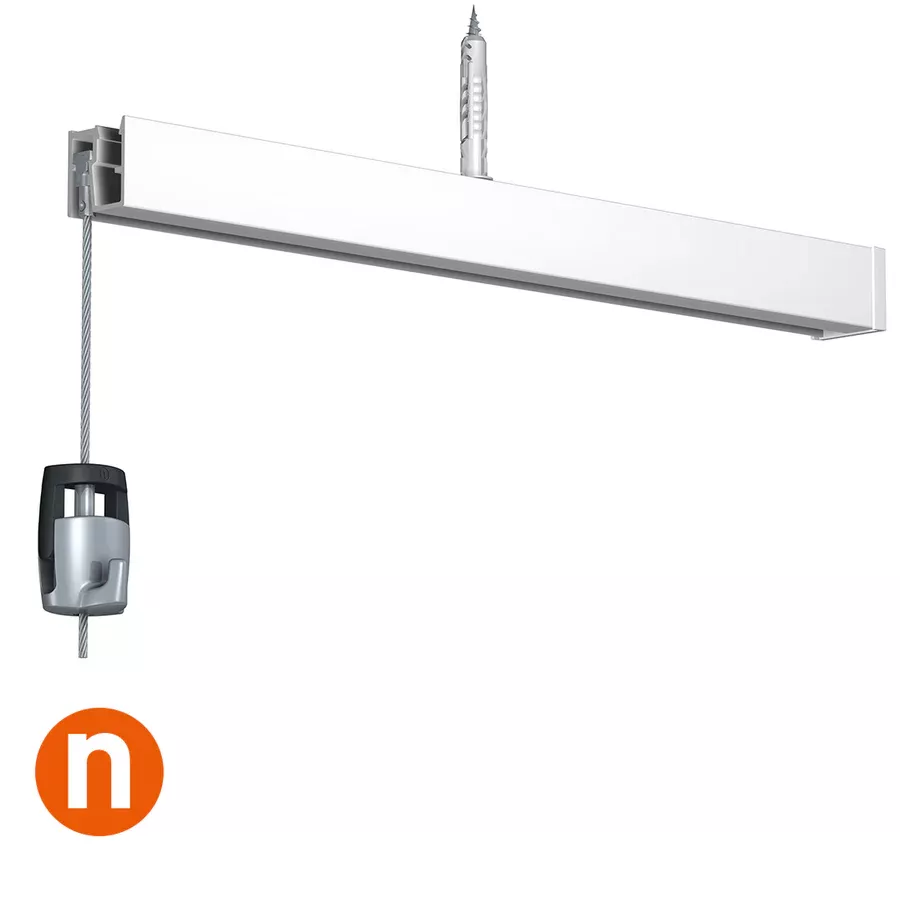
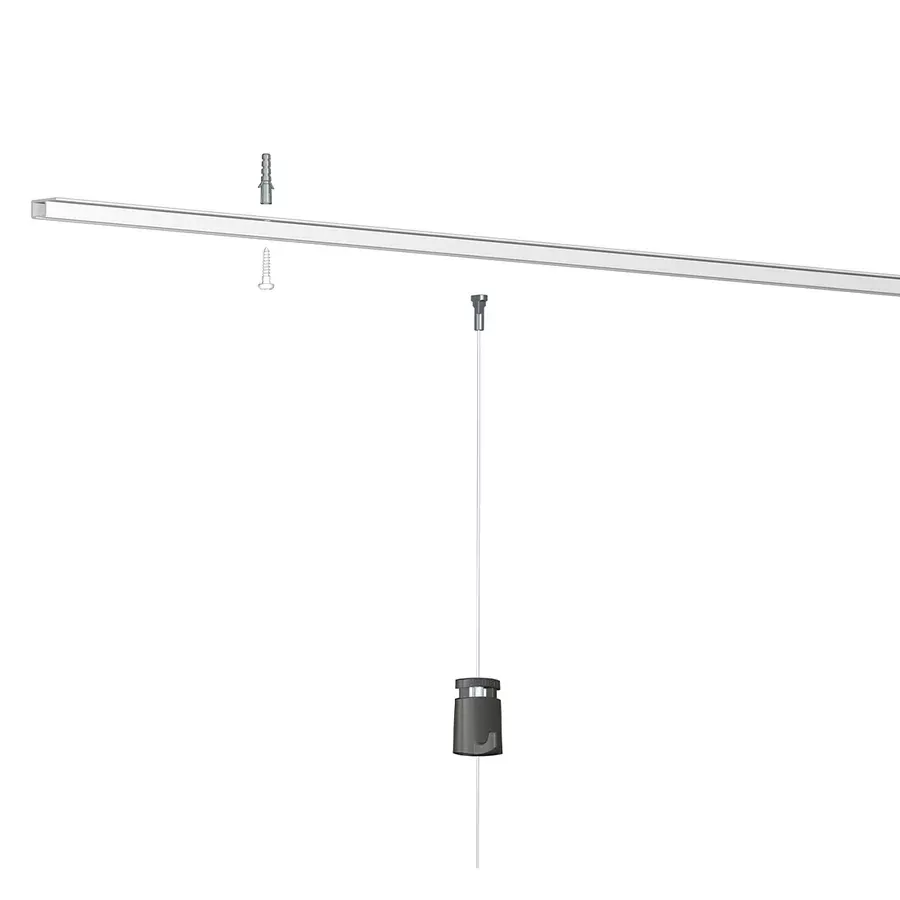
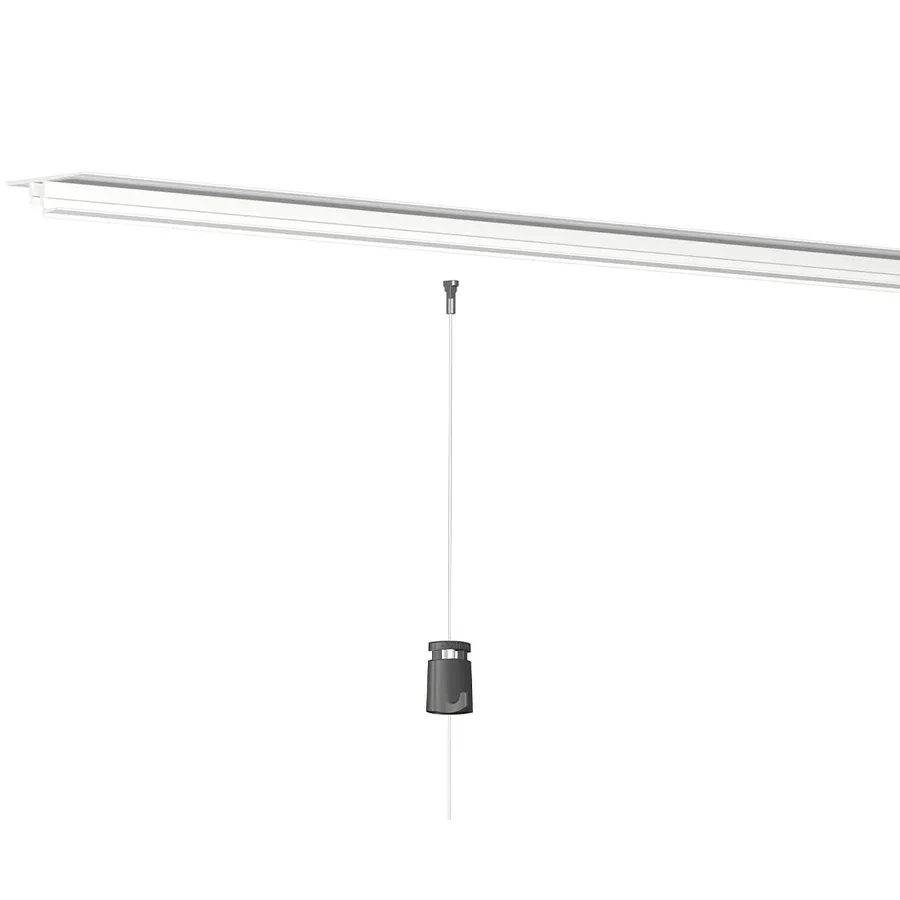
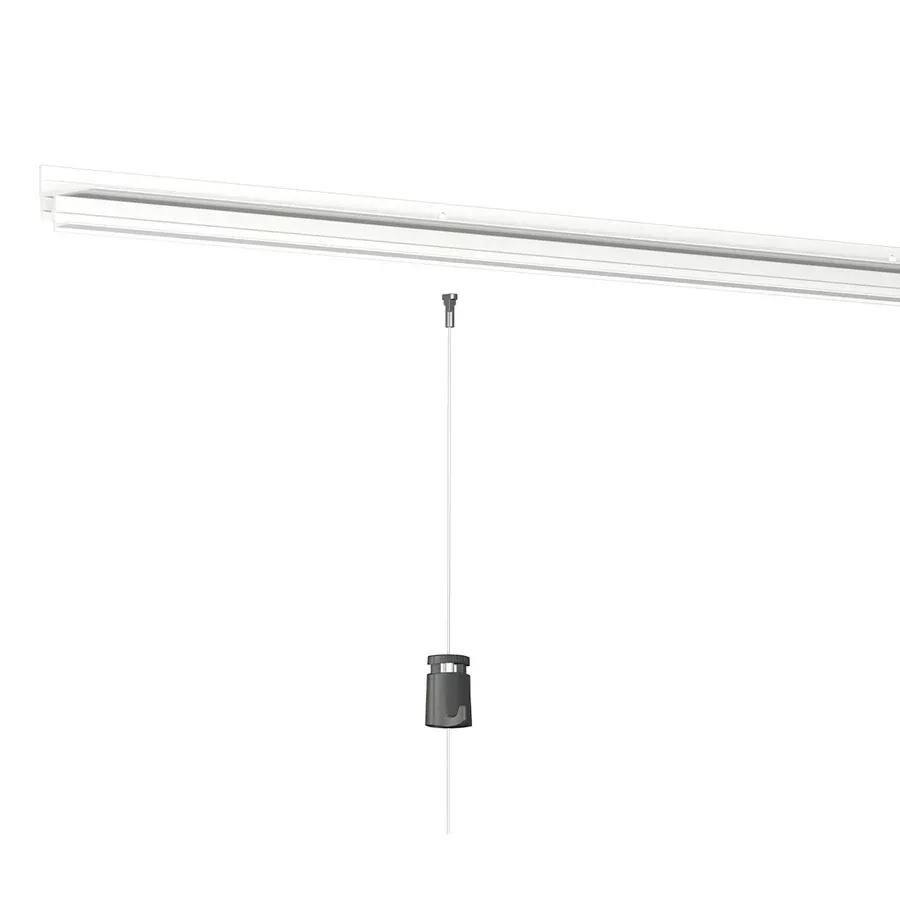
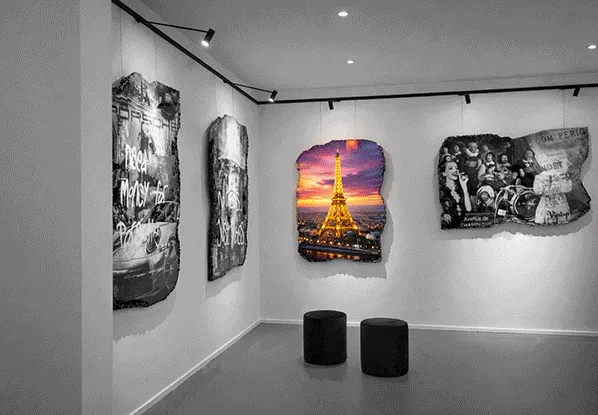
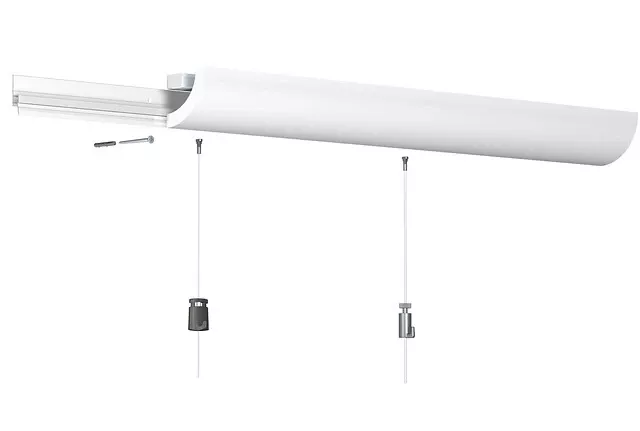
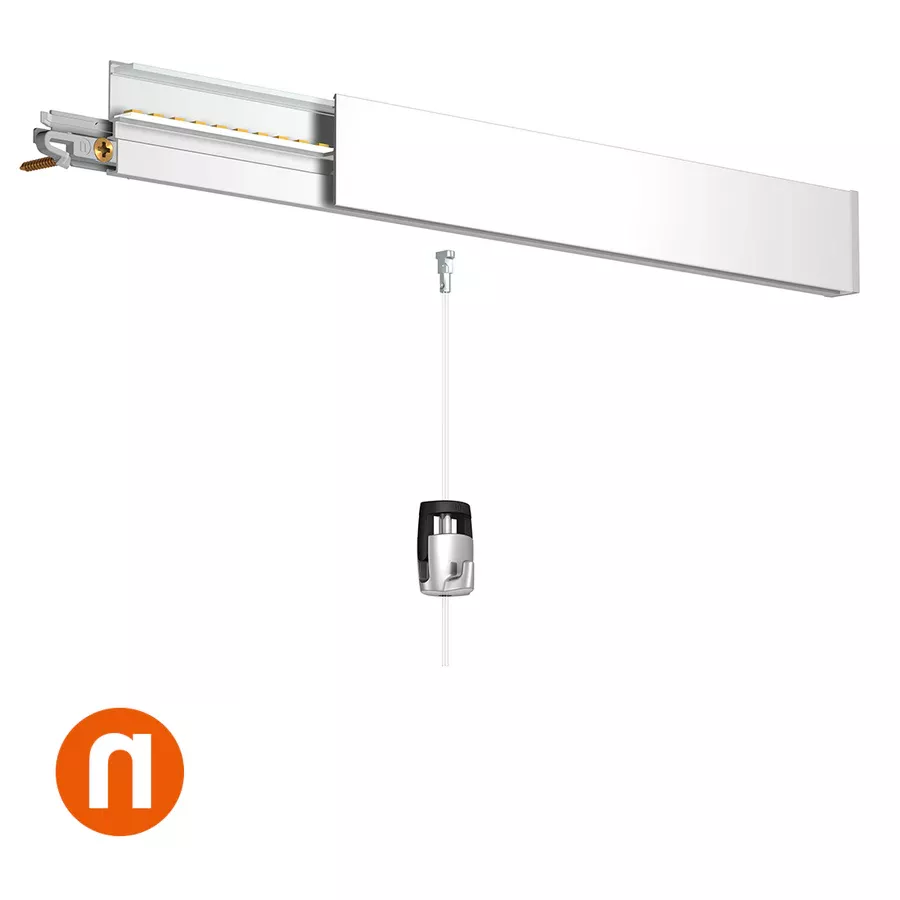
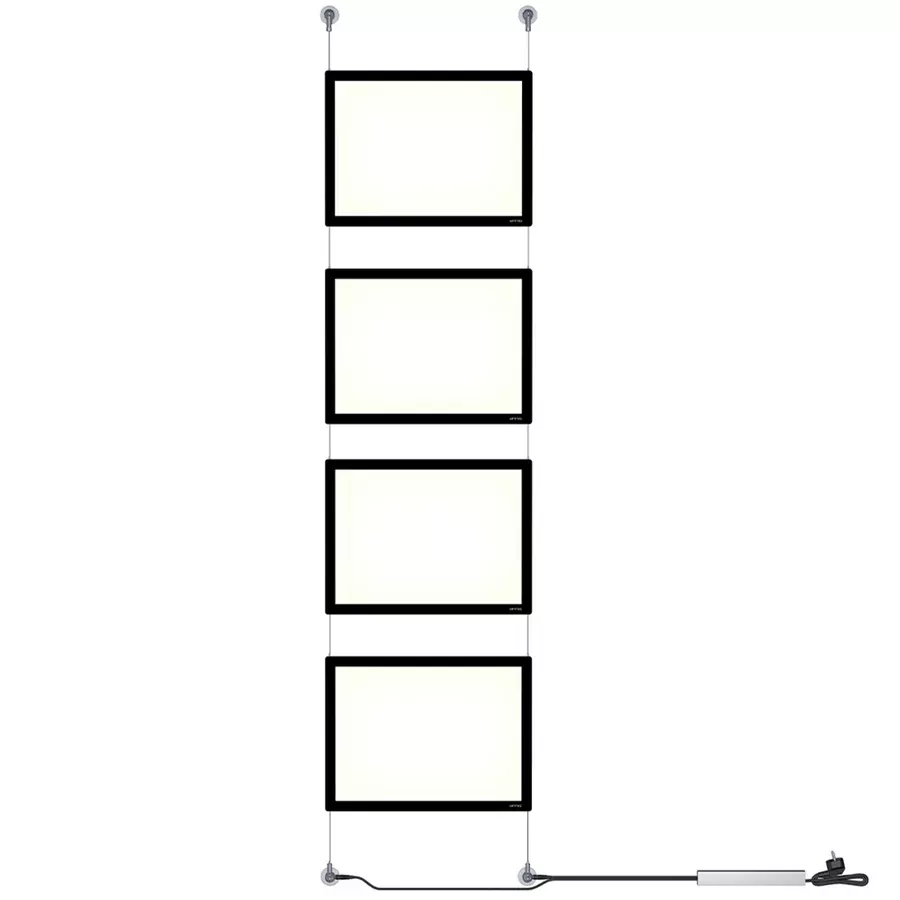
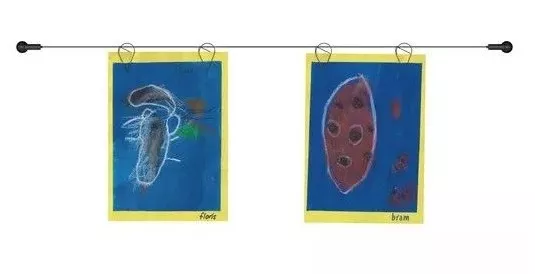
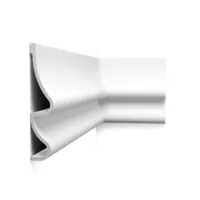
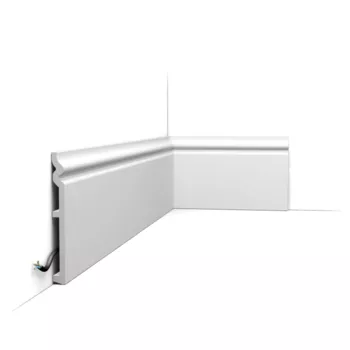
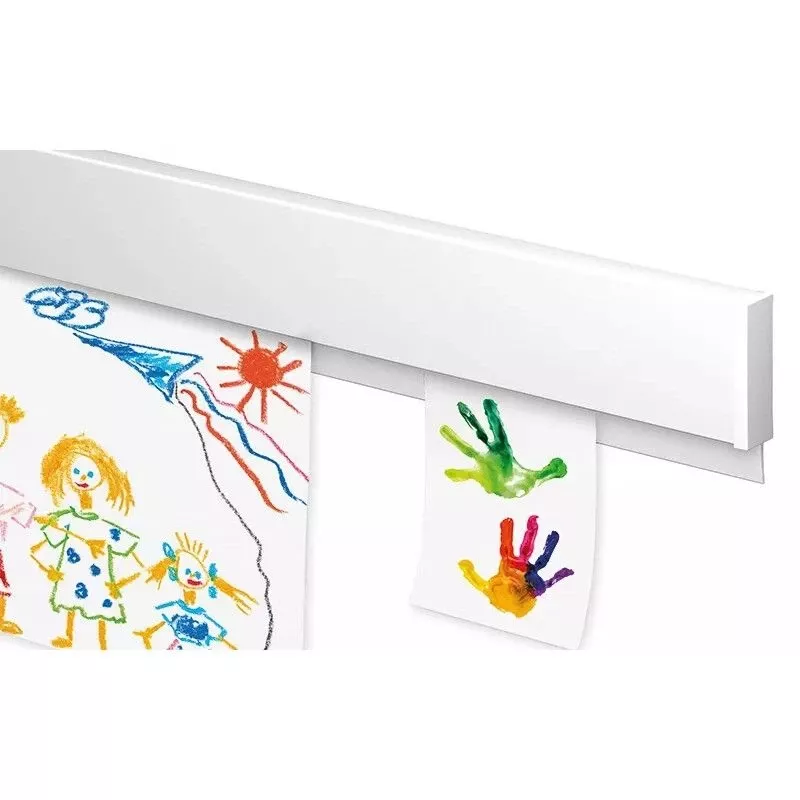
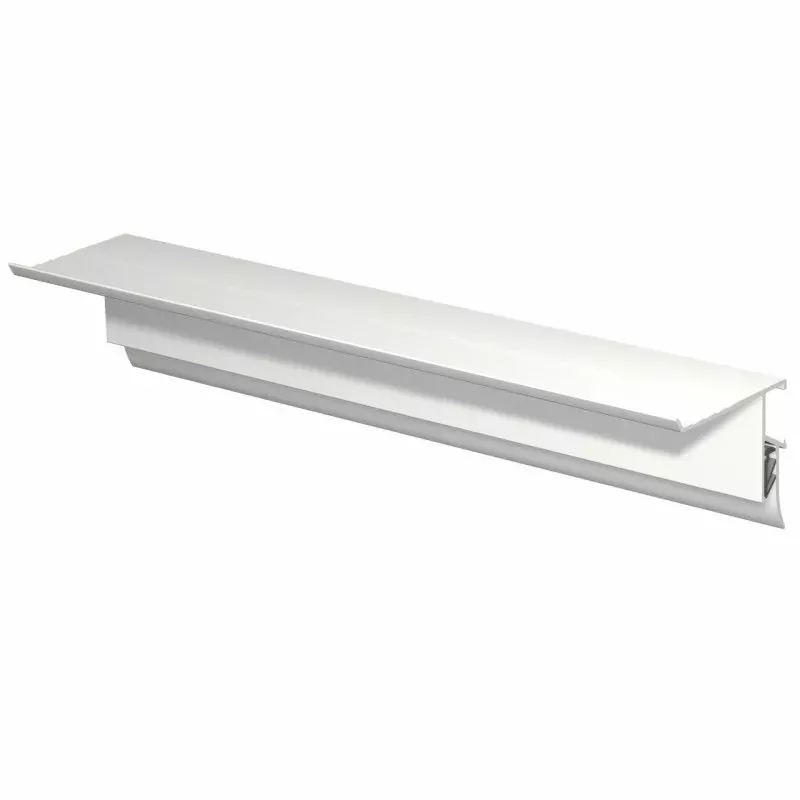
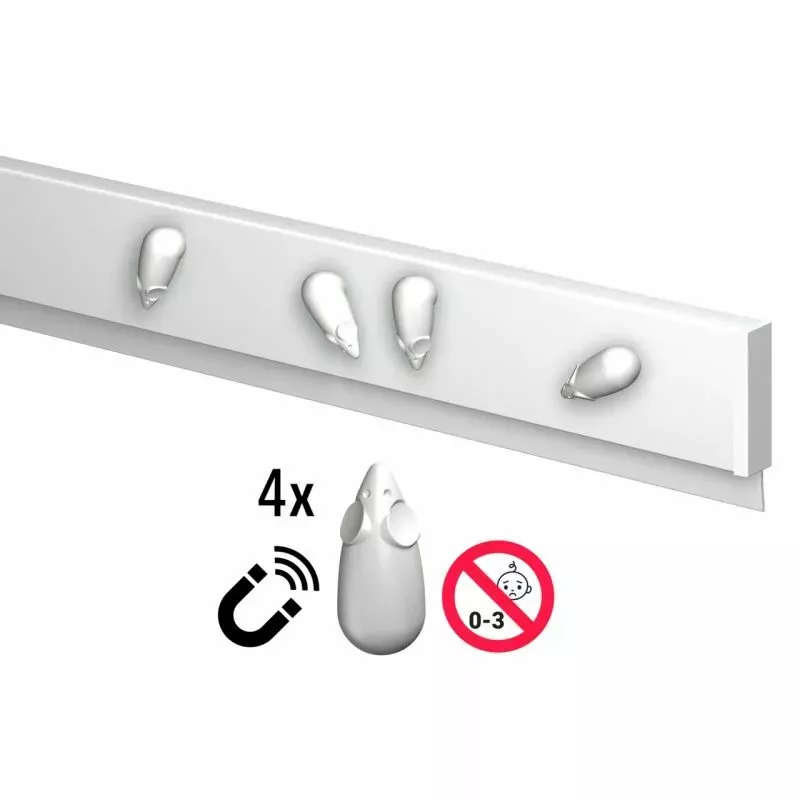
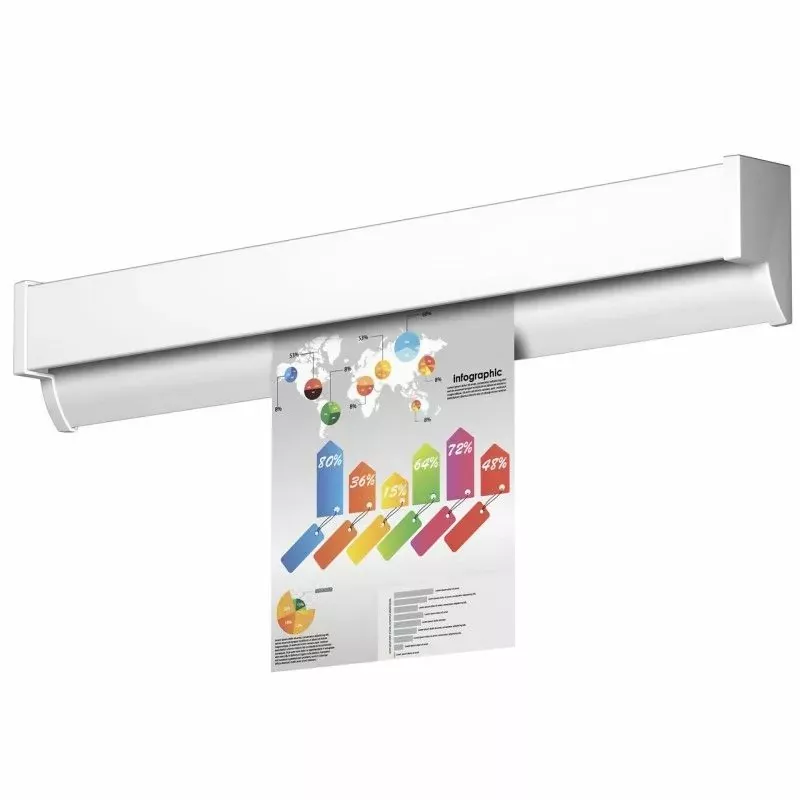
The Info Rail Magnetic picture rail by Artiteq is a variant of the classic Info Rail, with an integrated magnetic strip on top to allow hanging objects with magnets in addition to documents inserted in the rail.
The installation process remains very similar to that of the standard Info Rail. Here is a step-by-step guide:
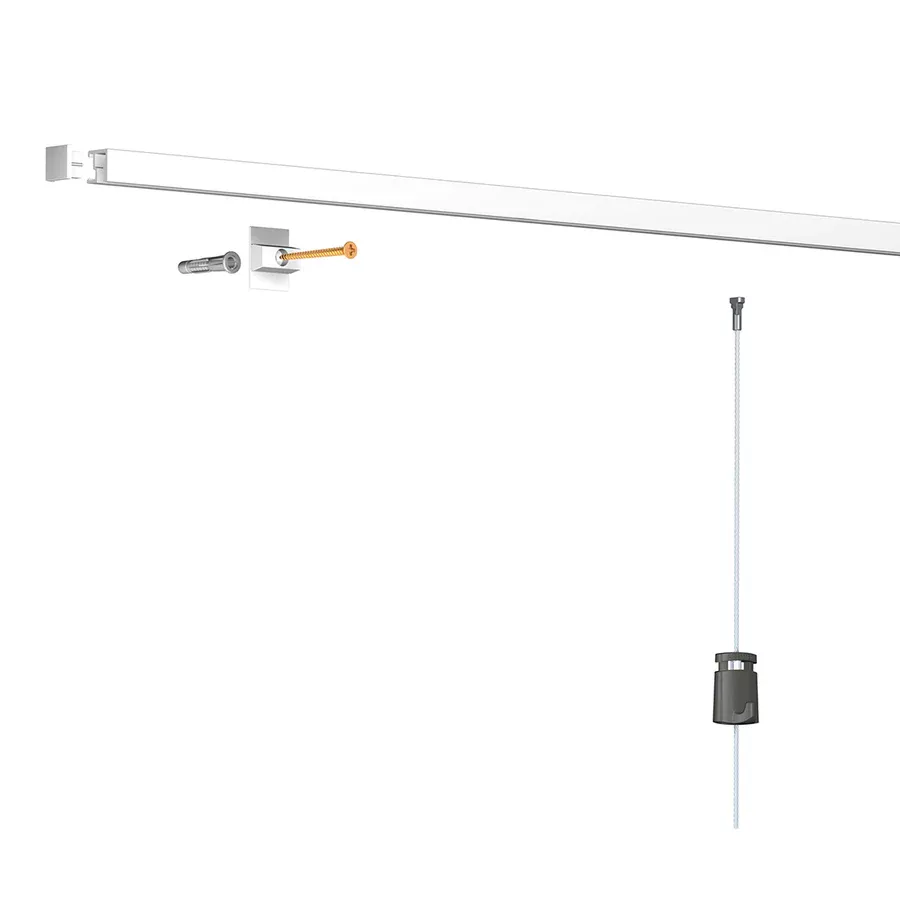
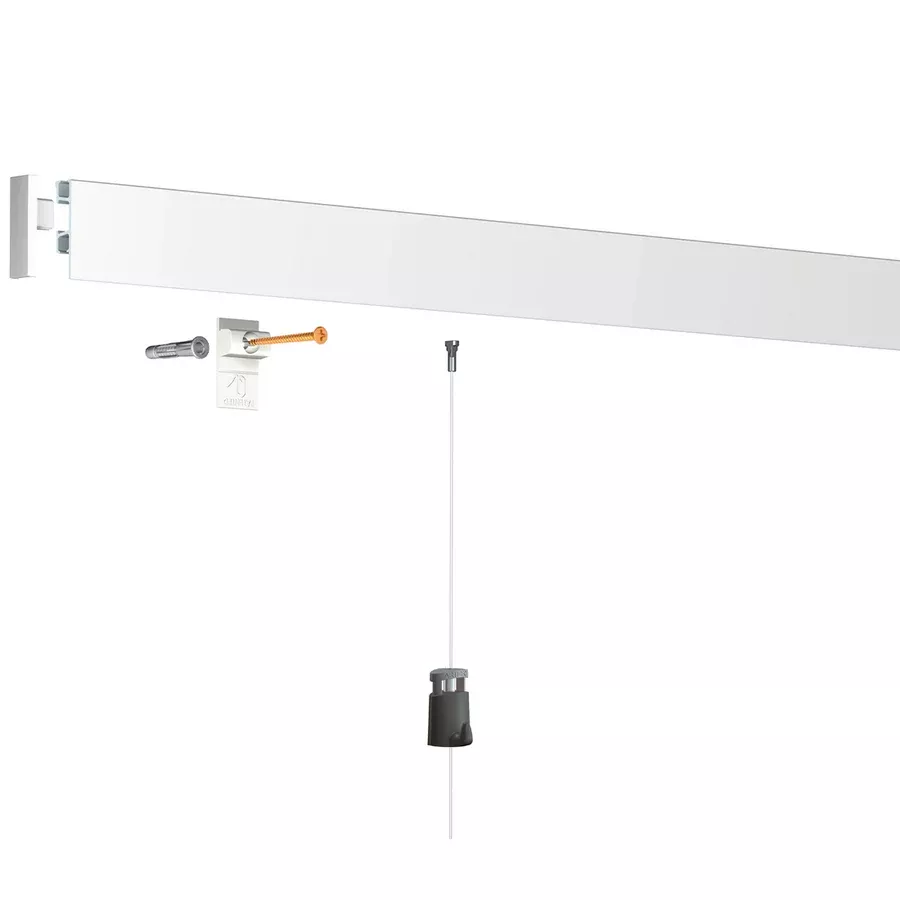
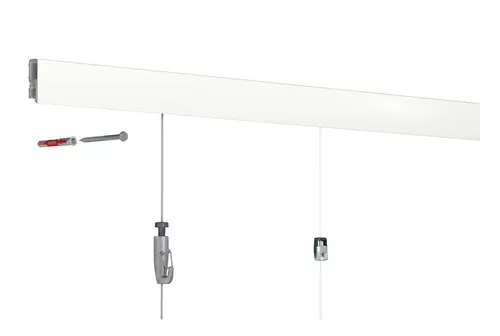
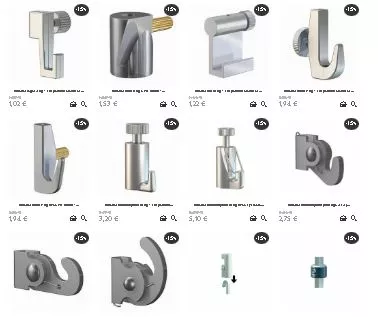
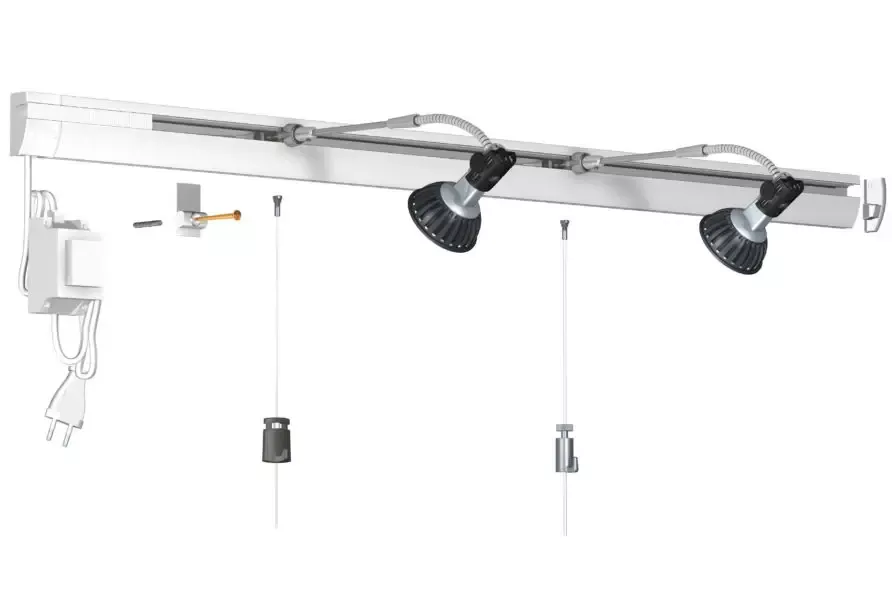
?️ Required Materials
-
Info Rail Magnetic (1m, 2m, or 3m)
-
Mounting clips (usually included)
-
Screws + wall plugs suitable for your wall
-
Drill + level + screwdriver
-
Pencil for marking
? Installation Steps
1. Choose and mark the location
-
Determine the desired height.
-
Use a bubble level to draw a perfectly straight line.
2. Place the mounting clips
-
Position a clip approximately every 40cm.
-
Mark the screw locations.
3. Drill and insert wall plugs
-
Drill holes (use a drill bit suitable for your wall: concrete, plaster, brick…).
-
Insert the plugs (except in wooden studs).
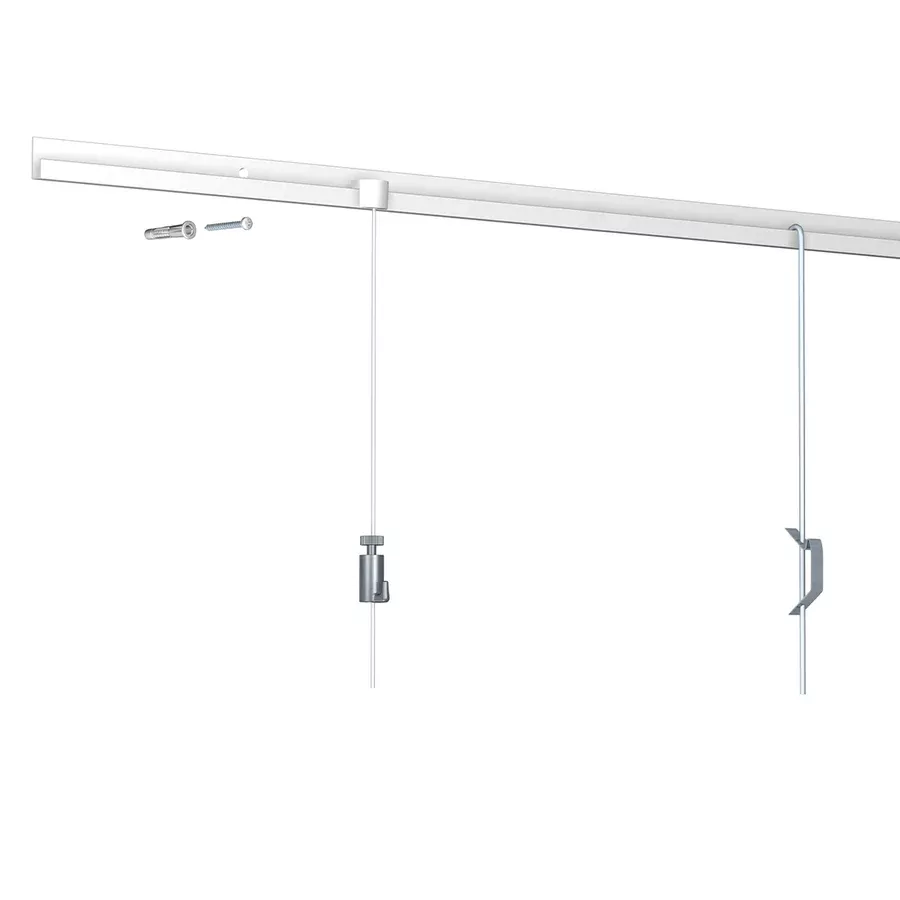
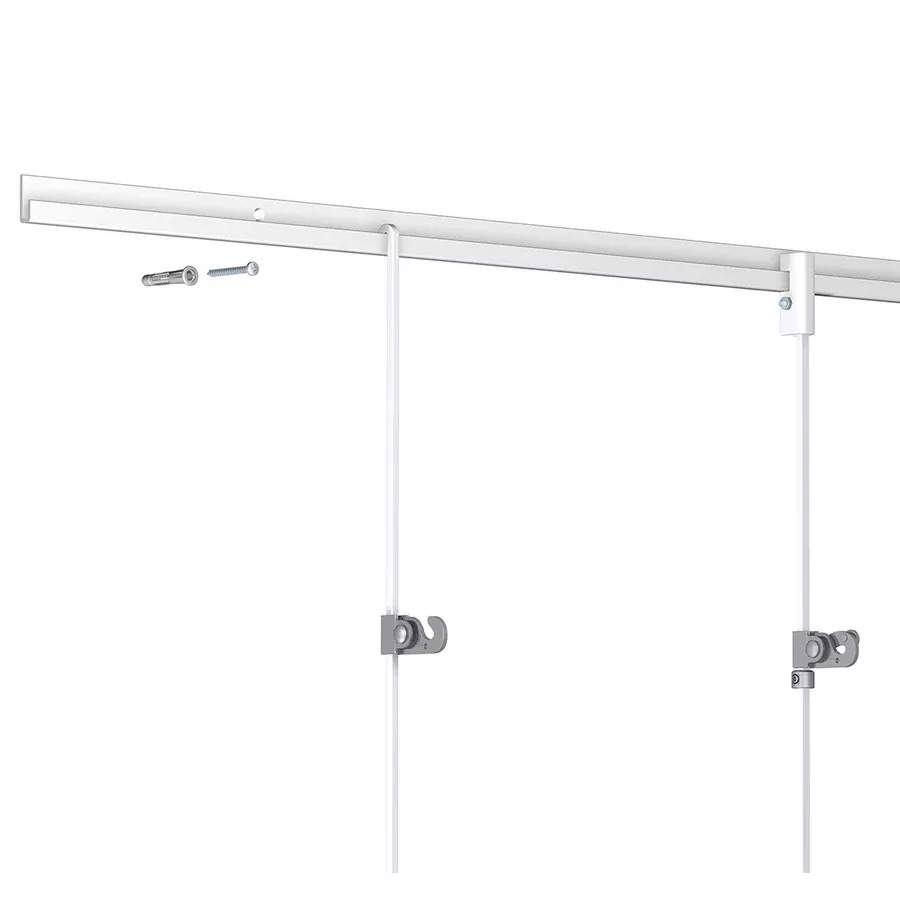
4. Attach the clips
-
Screw the clips into the wall. They should be tight and level.
5. Clip the picture rail
-
Place the rail on the clips and push firmly until it "clicks".
-
Make sure the rail is fully engaged along its length.
6. Test the hanging
-
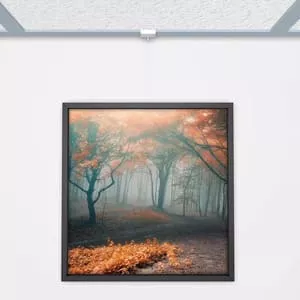
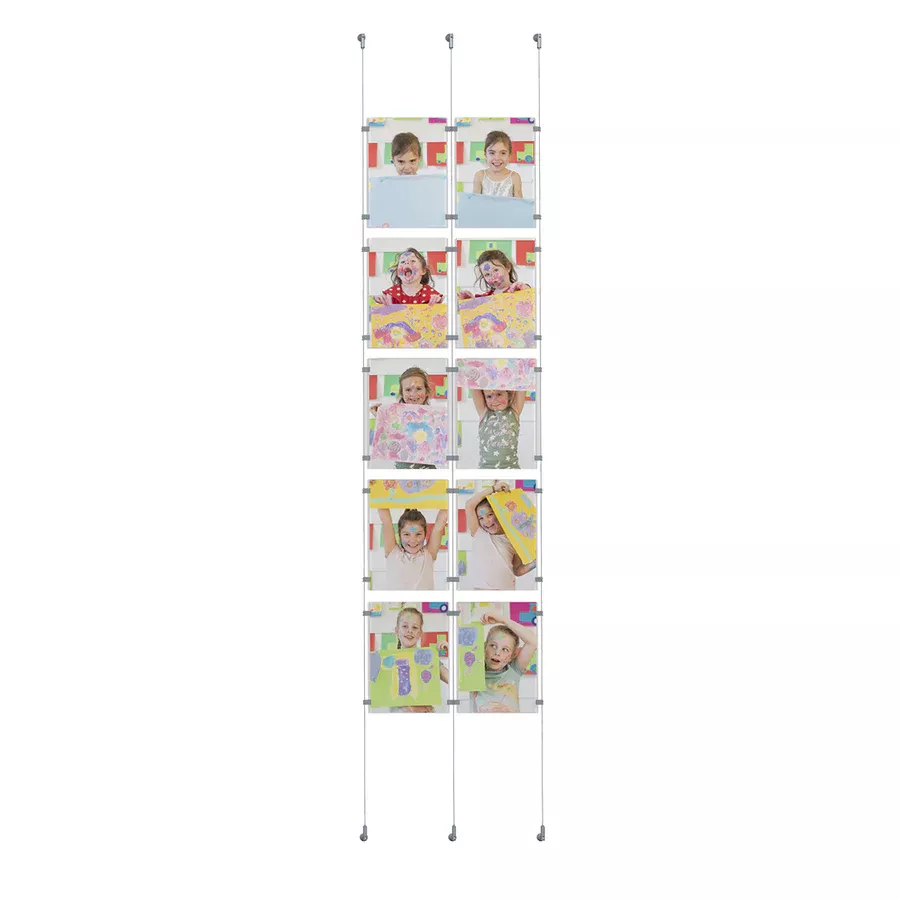
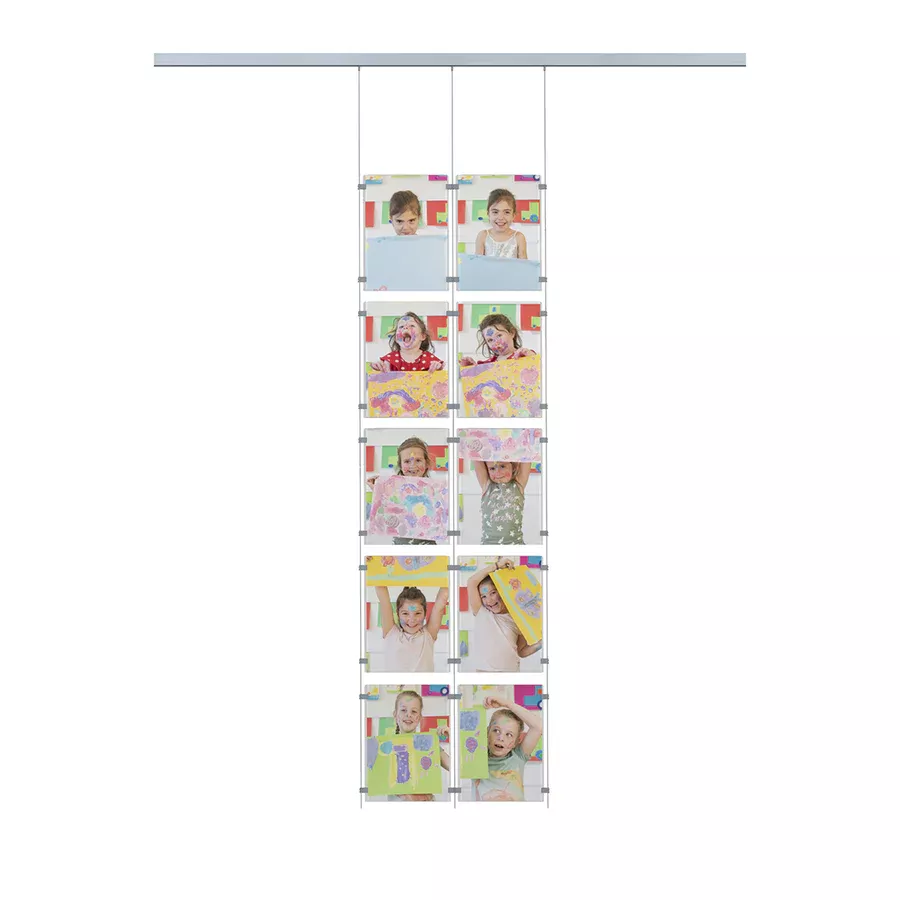
Insert a few documents into the rail.
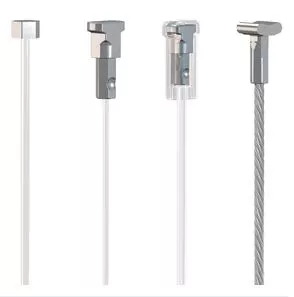
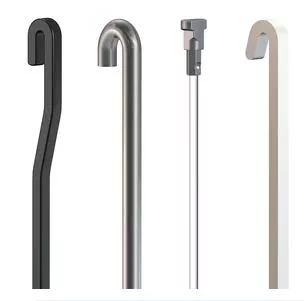
-
Test the magnetic strip with magnets (small neodymium magnets recommended for strong hold).
? Helpful Tips
-
The rail can be cut to the right length with a hacksaw.
-
The rails are interlocking if you want a continuous line on a long wall.
-
You can combine with customized magnets for aesthetics or communication (logos, icons…).
Share this content