


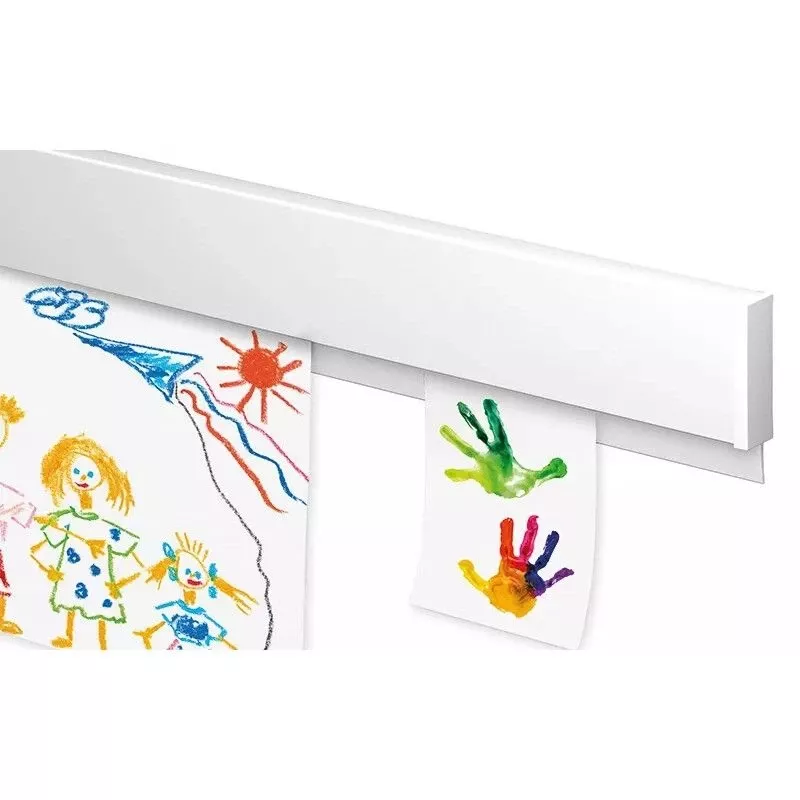

How to install the Artiteq Inforail me clip picture rail system?
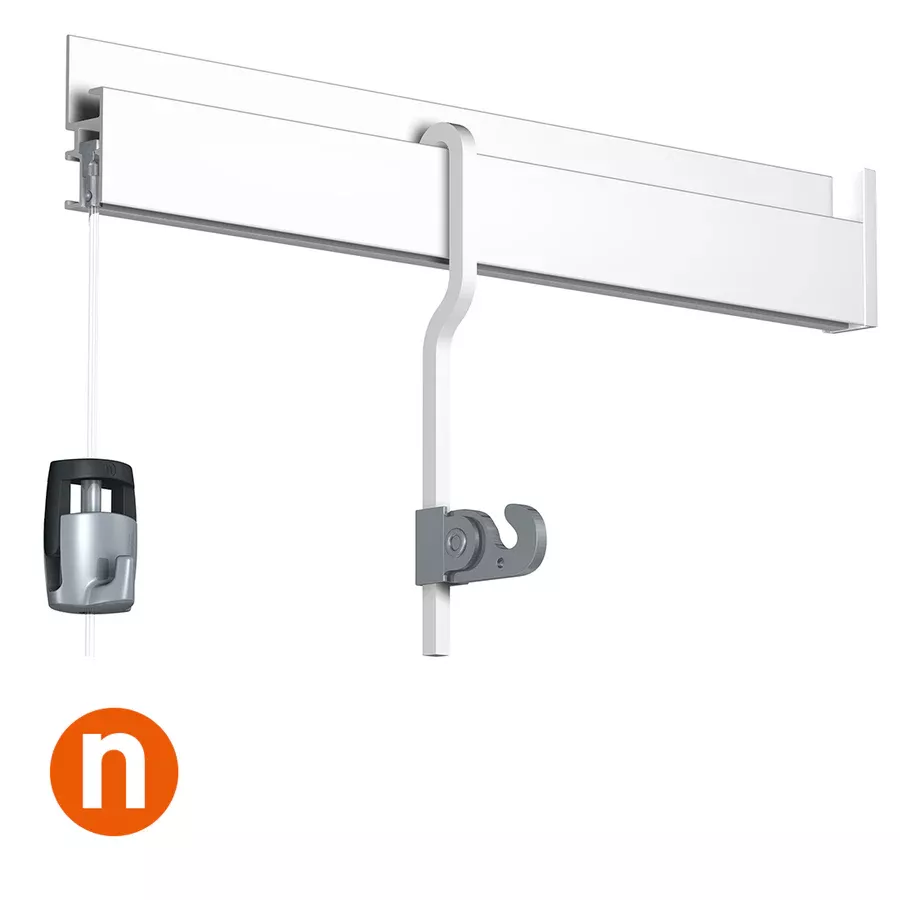
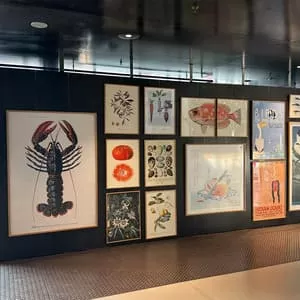
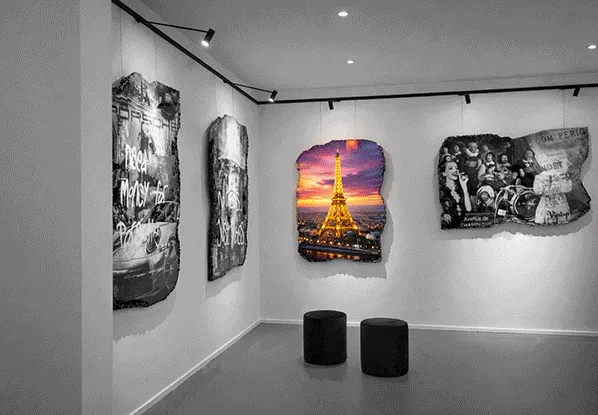
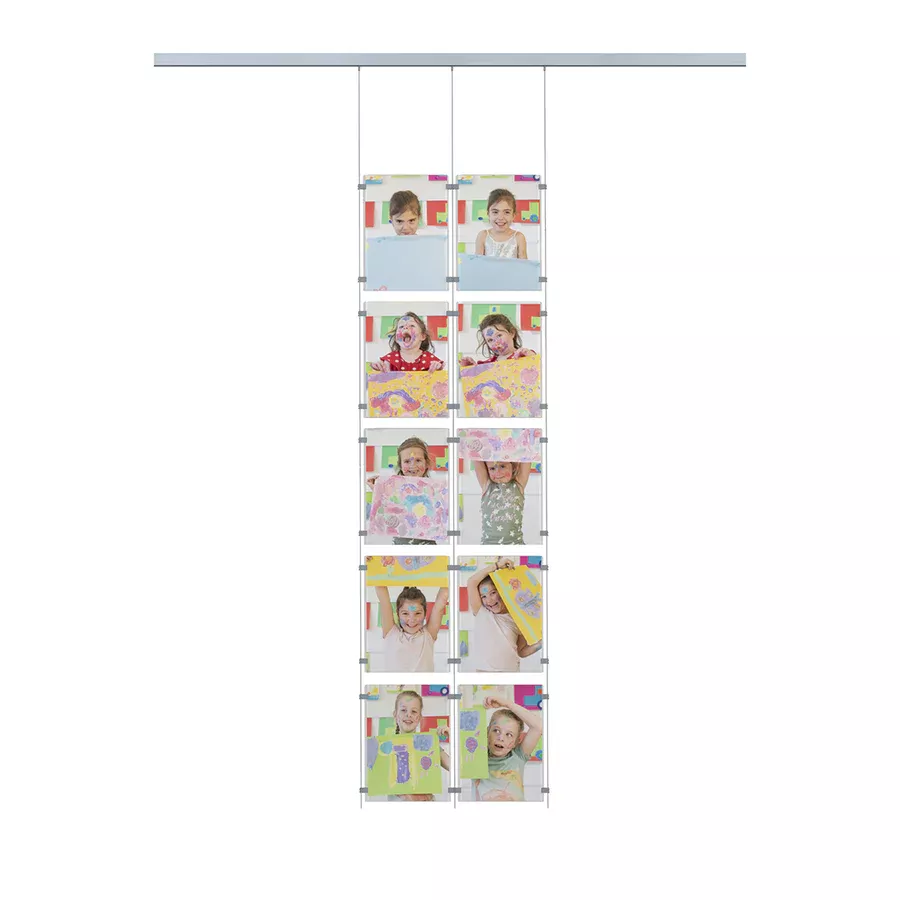
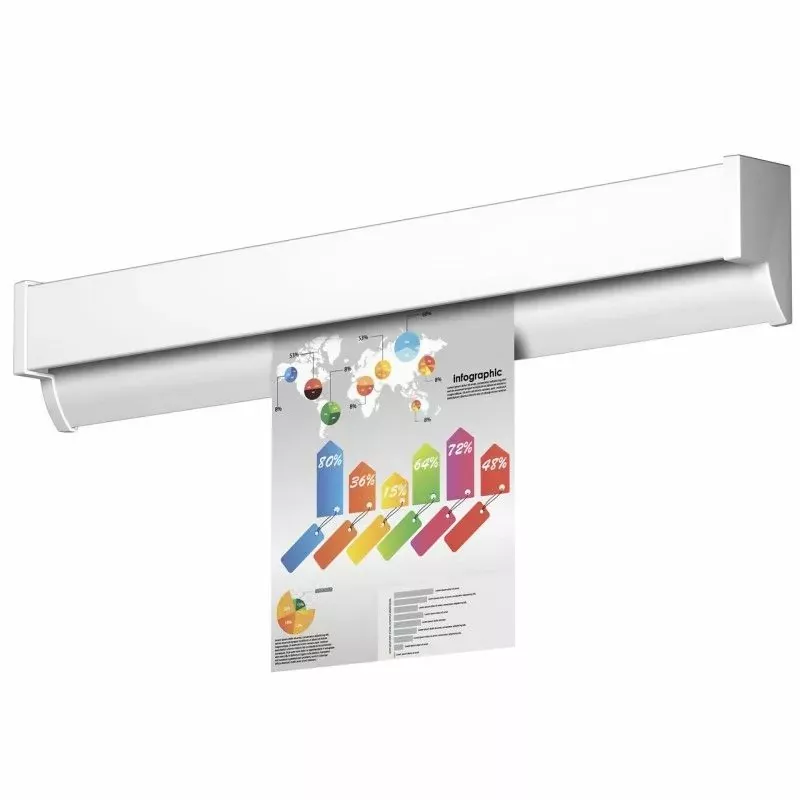
The Info Rail "Me Clip" cimaise from Artiteq is a special version of the Info Rail designed to allow each user to have their own display space, thanks to customizable clips. Very practical for schools, collaborative offices, or creative spaces.
Here is how to install the Info Rail Me Clip cimaise?
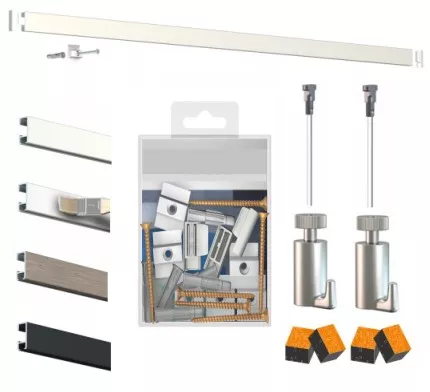
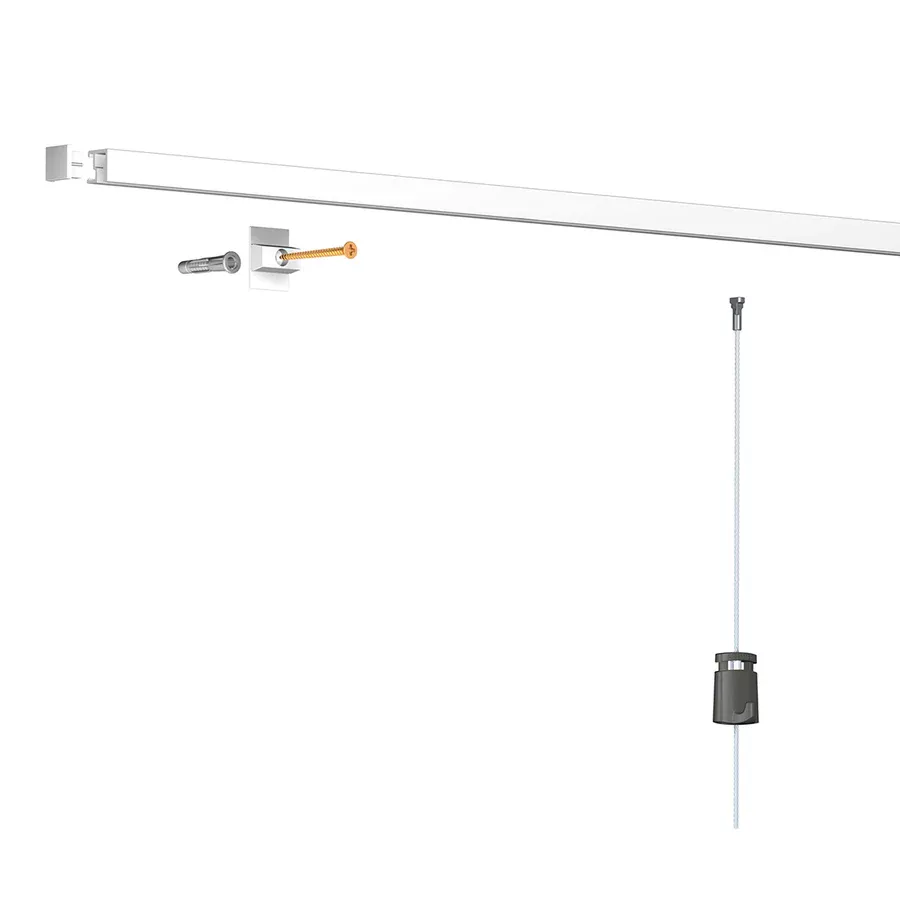
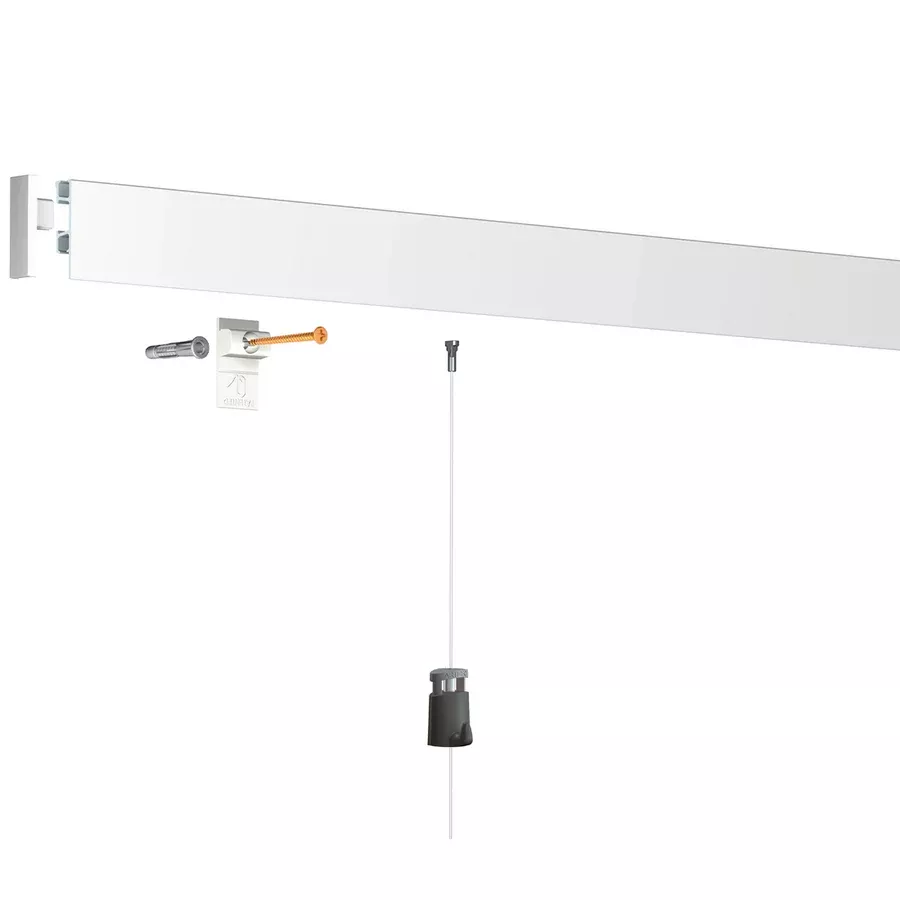
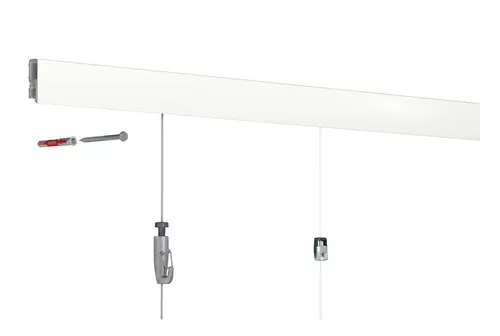
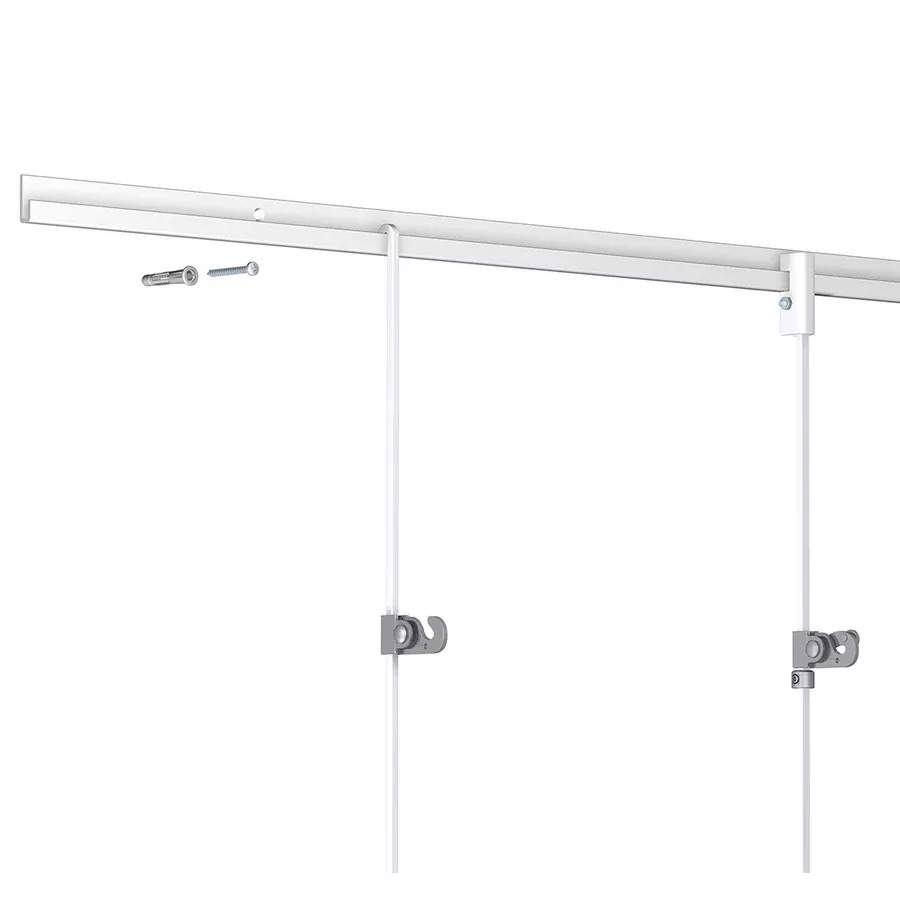
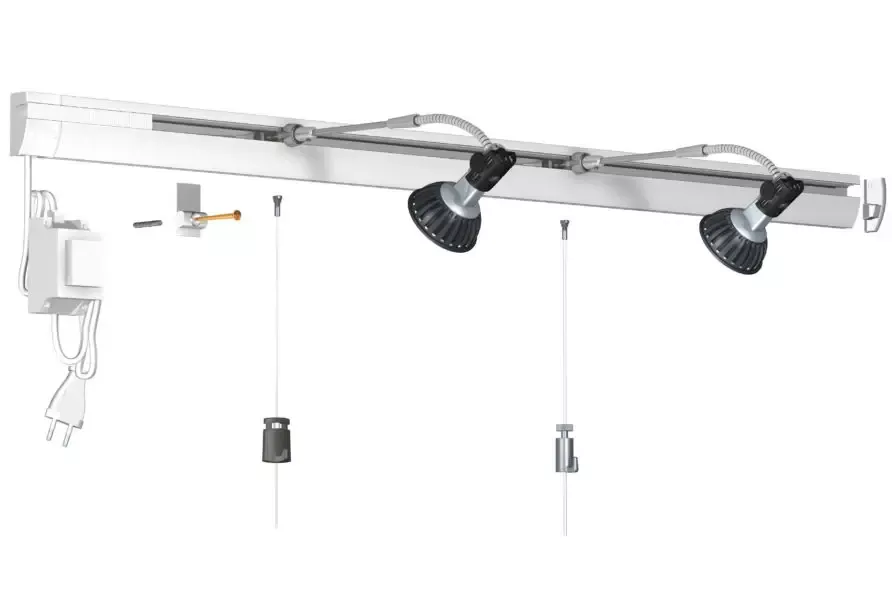
?️ Necessary materials
-
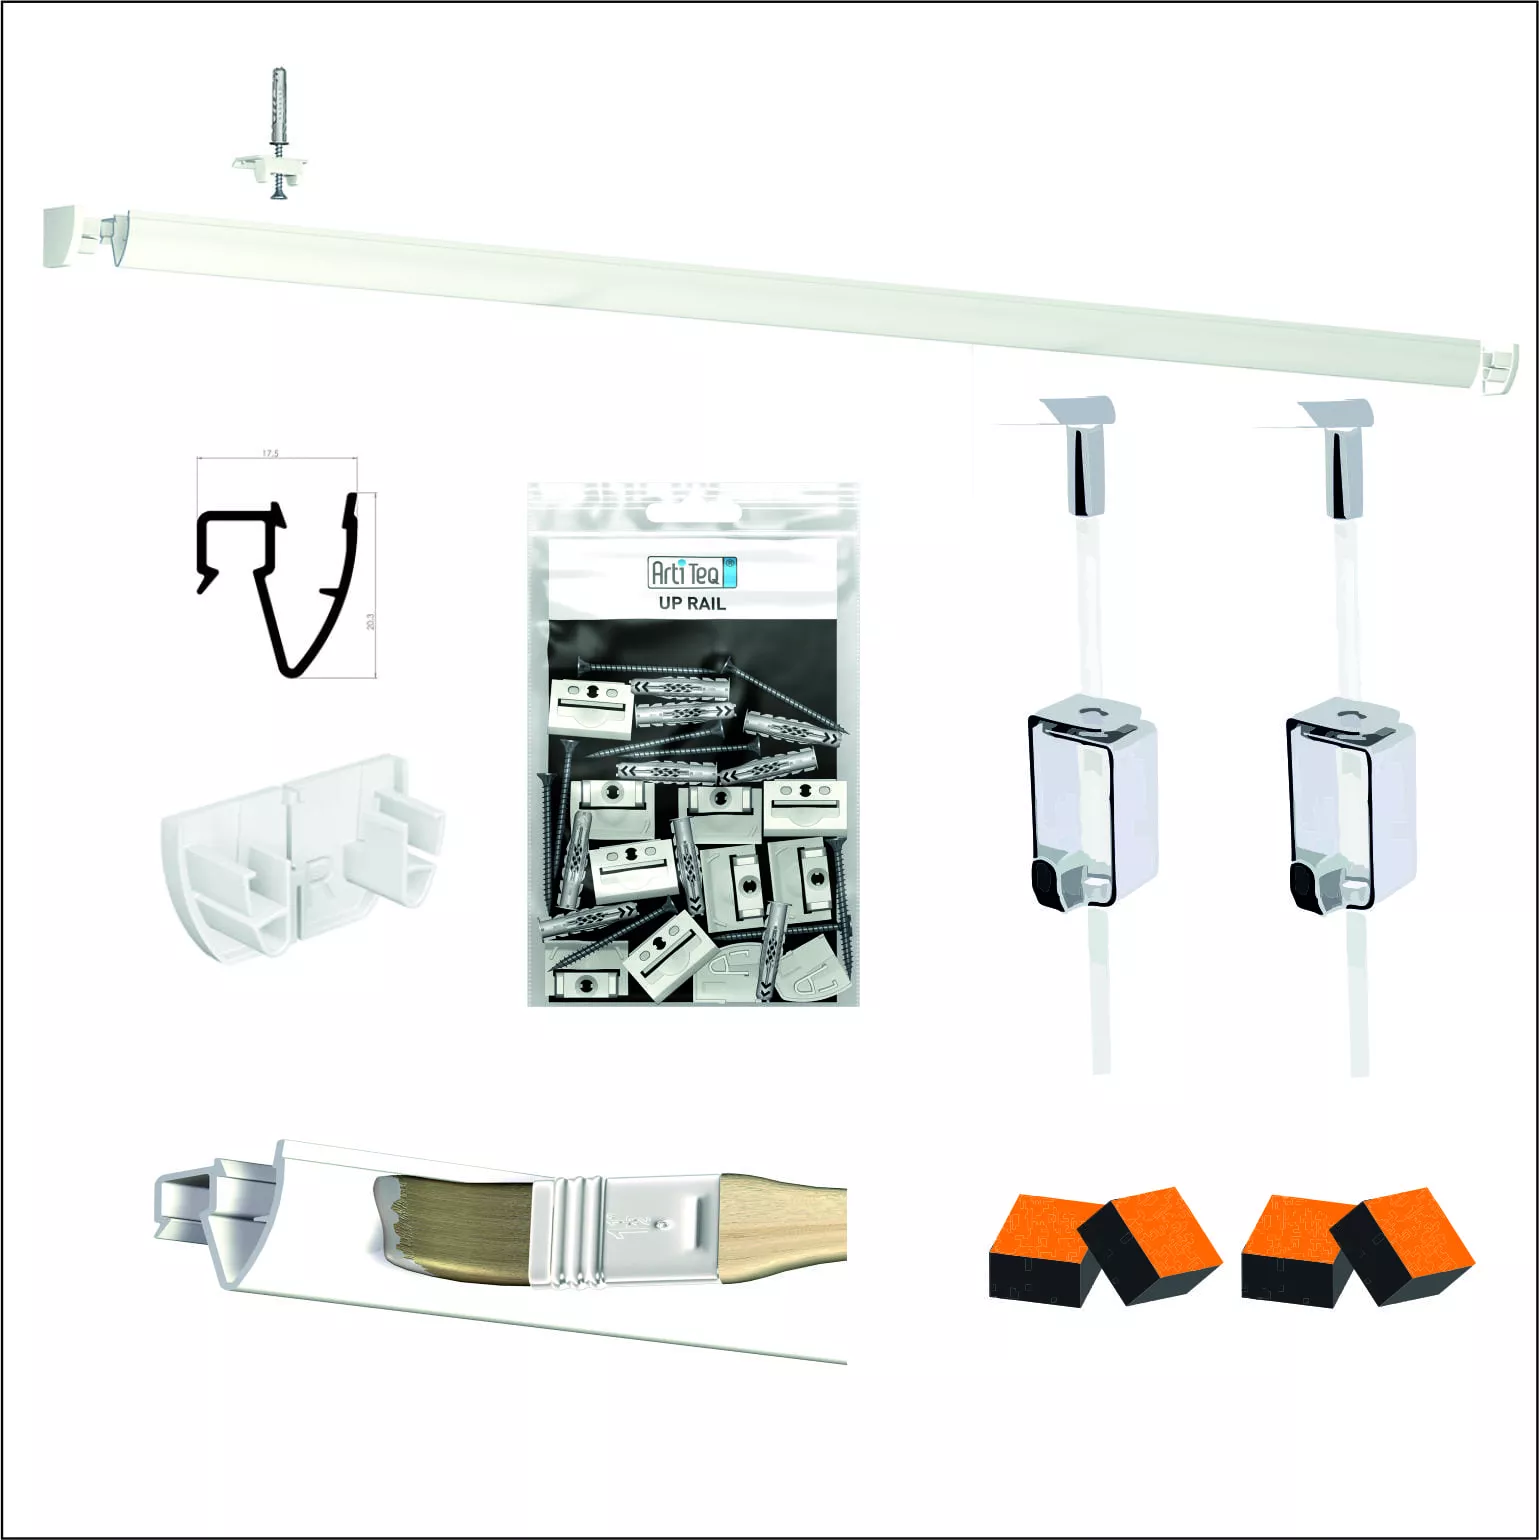
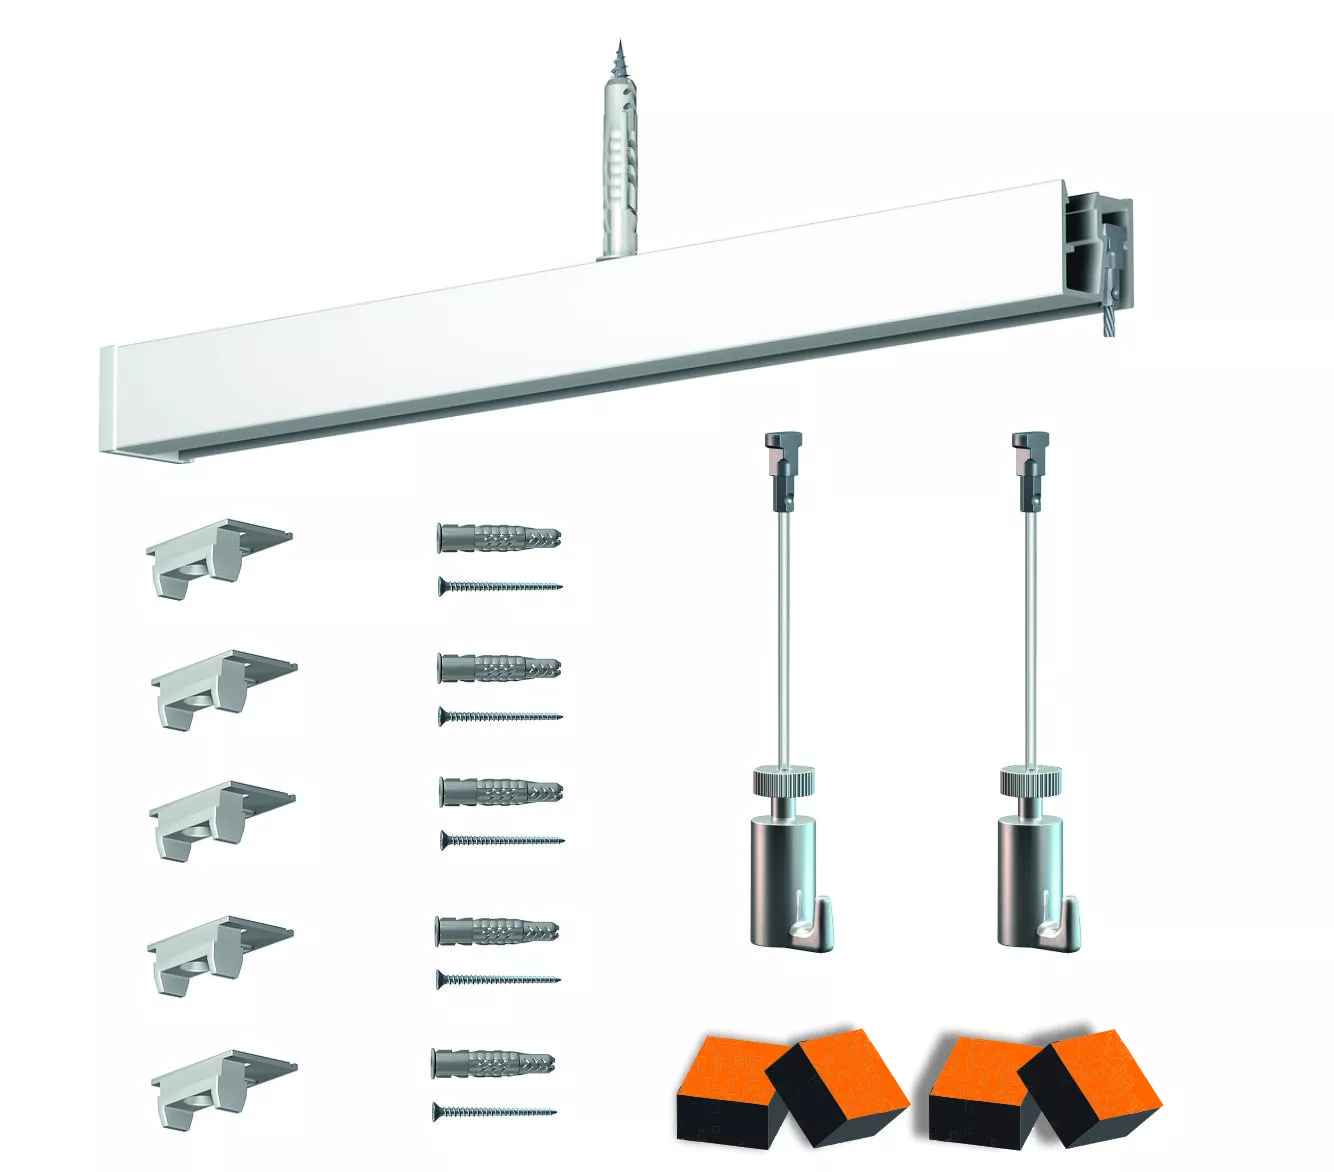
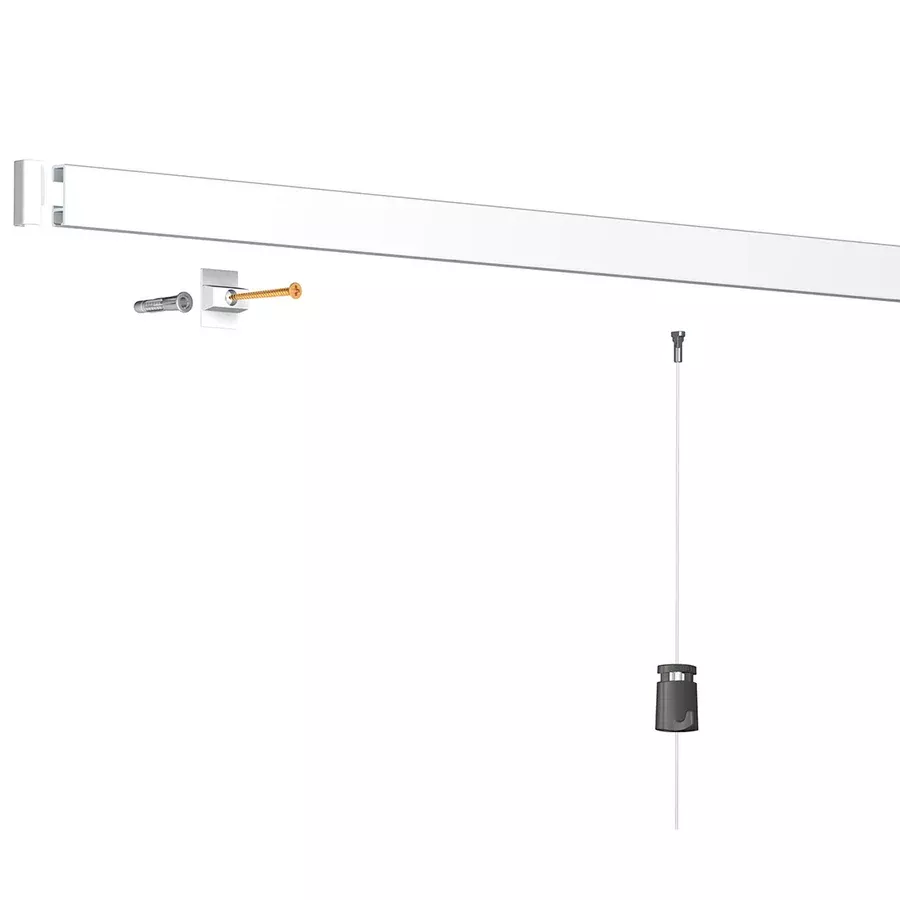
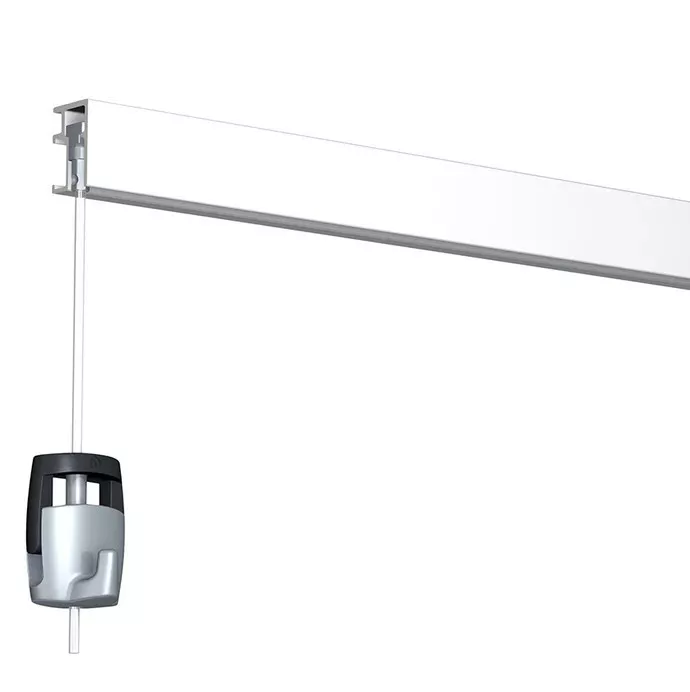
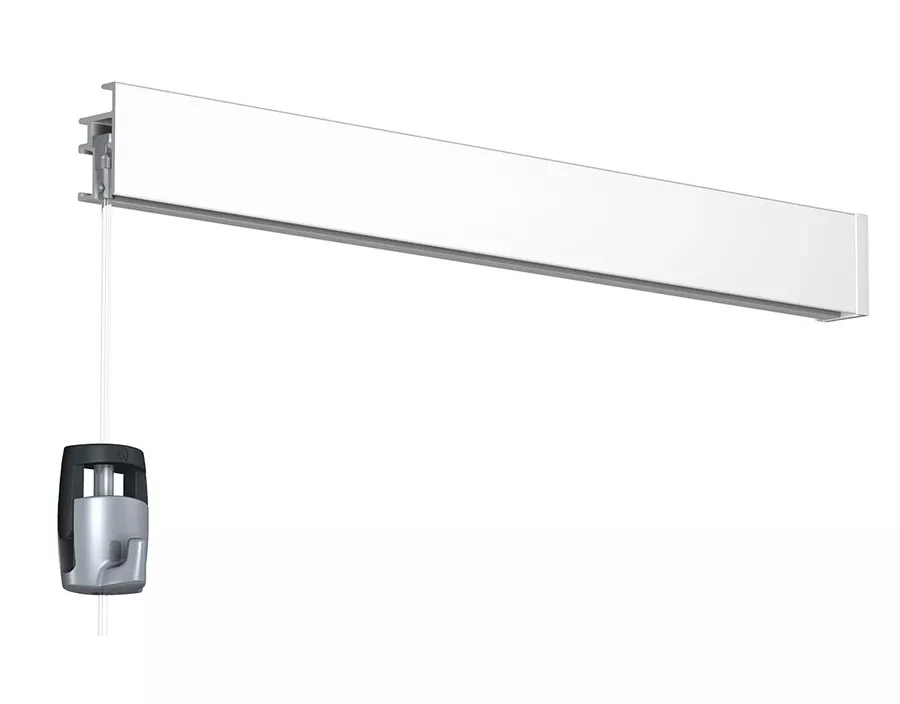
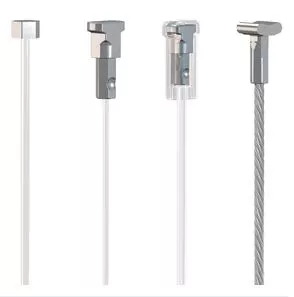
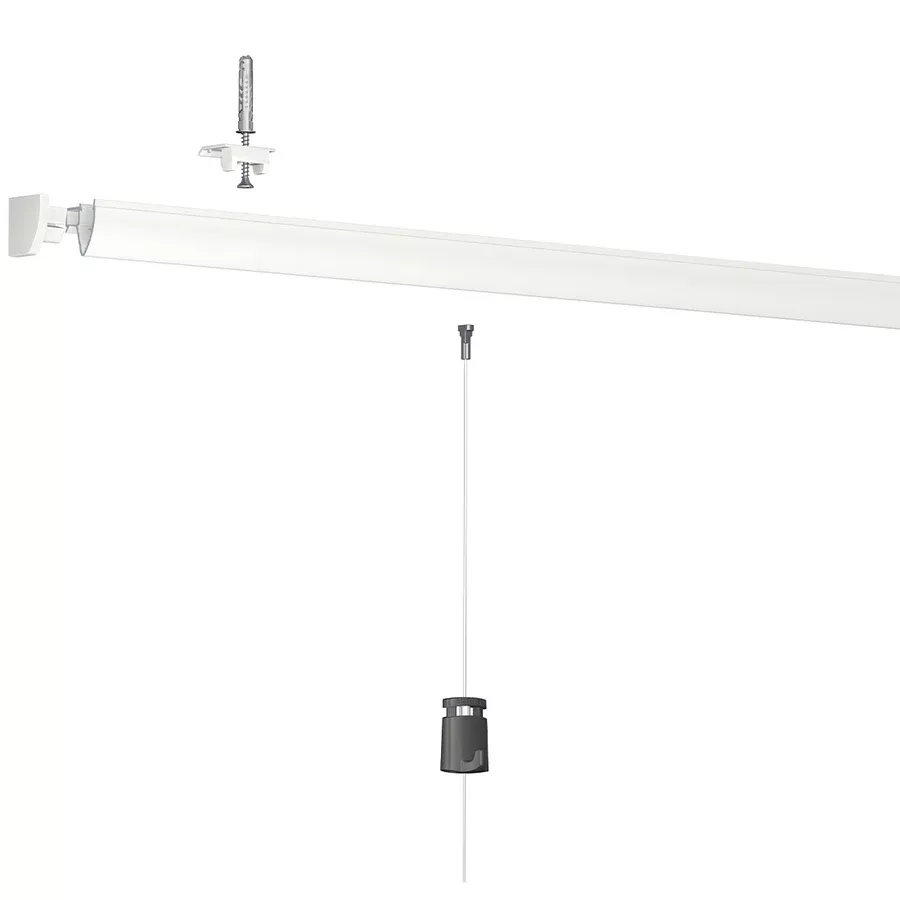
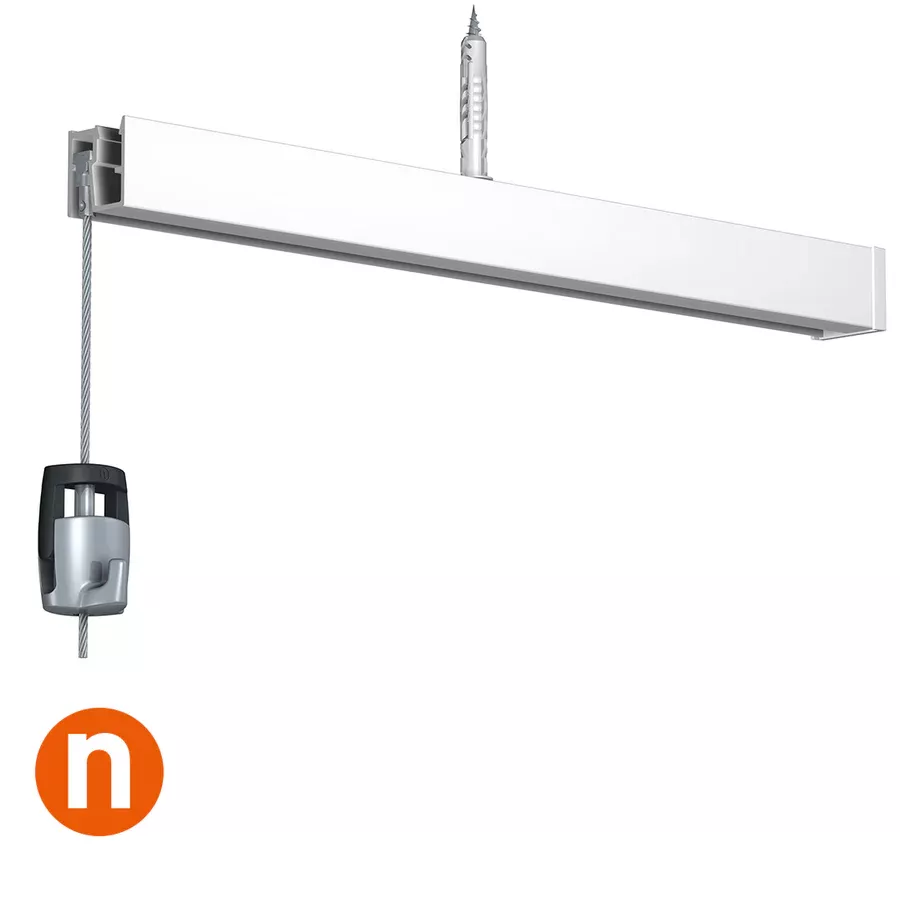
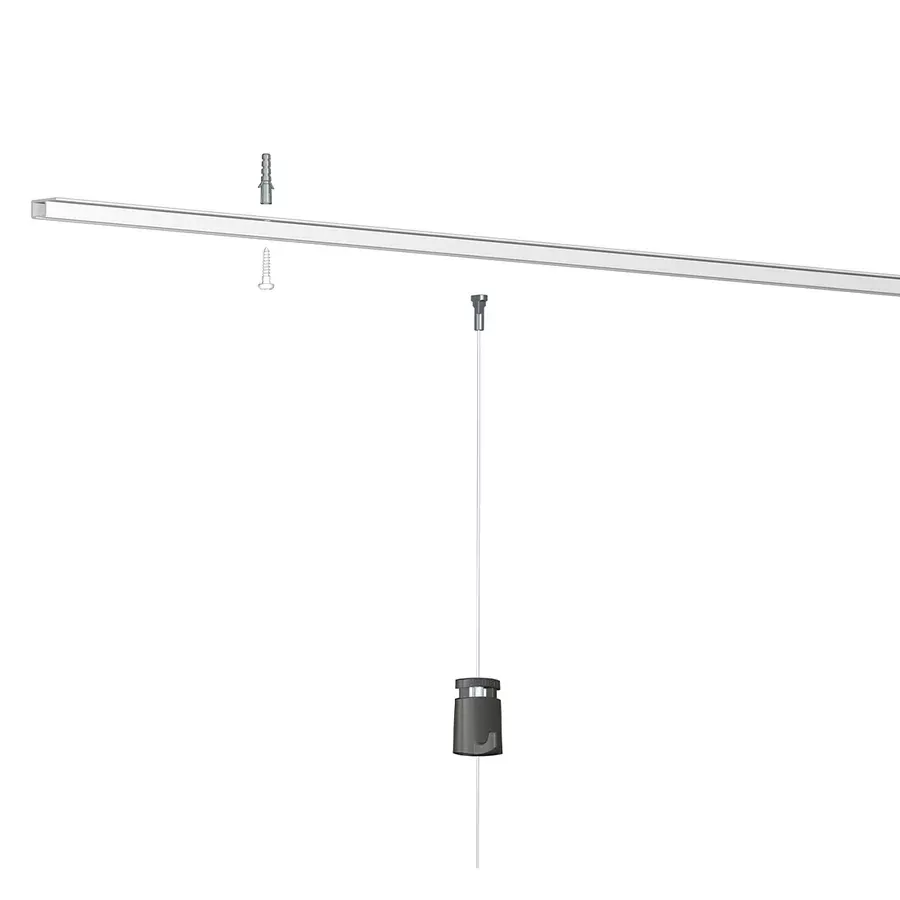
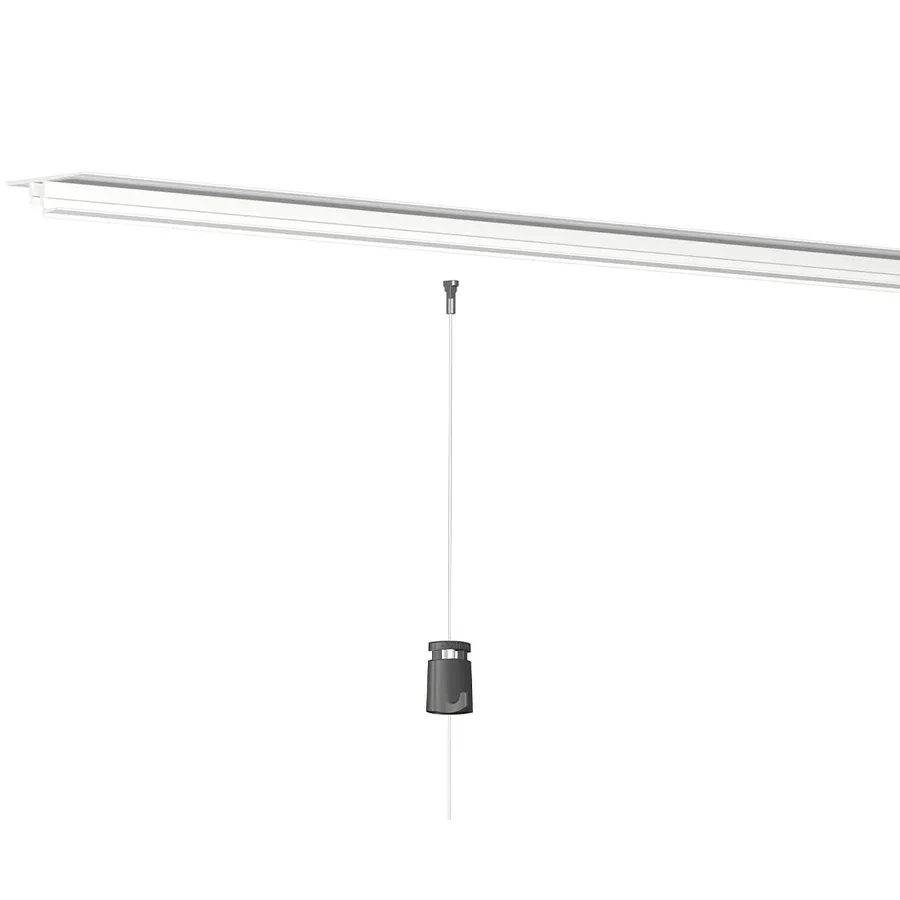
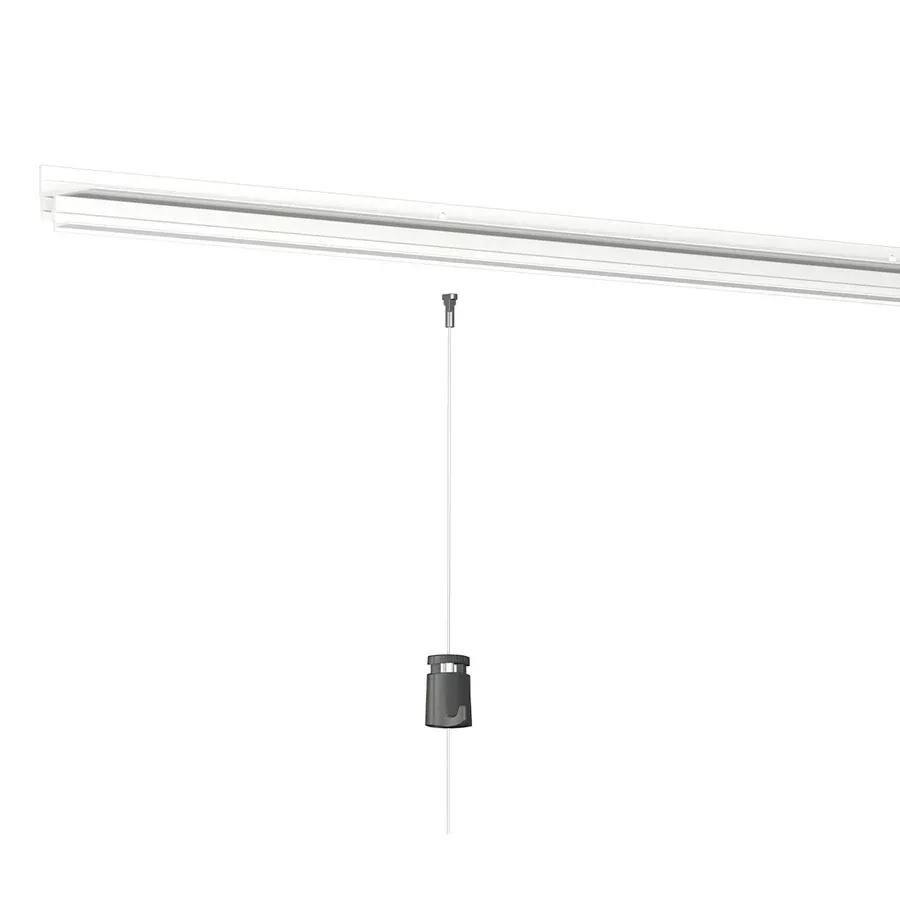
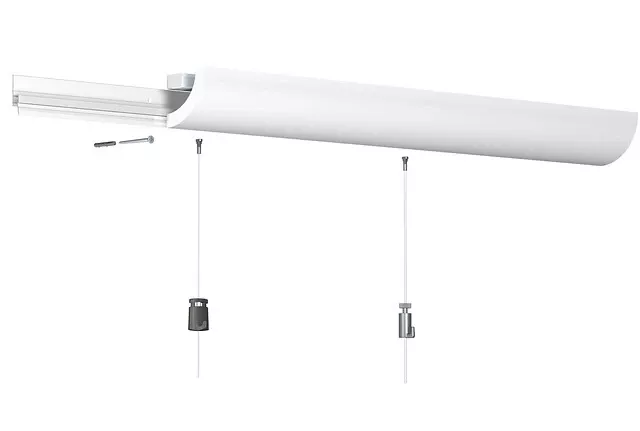
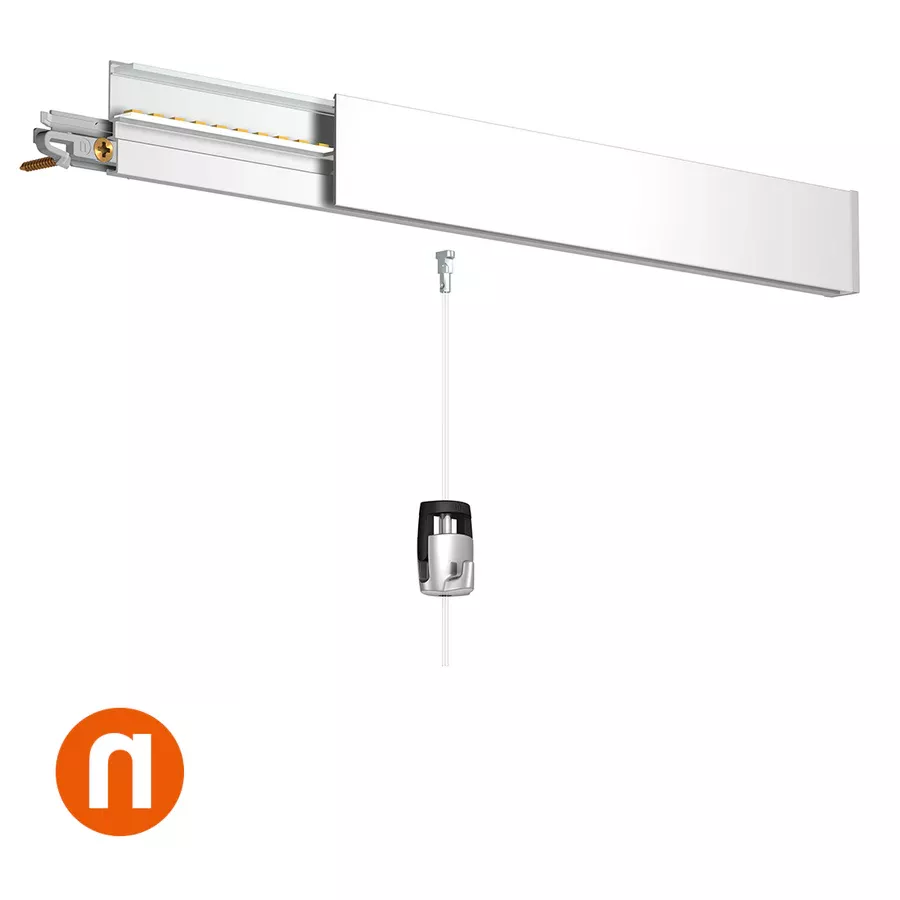
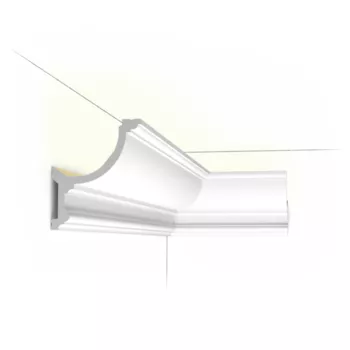
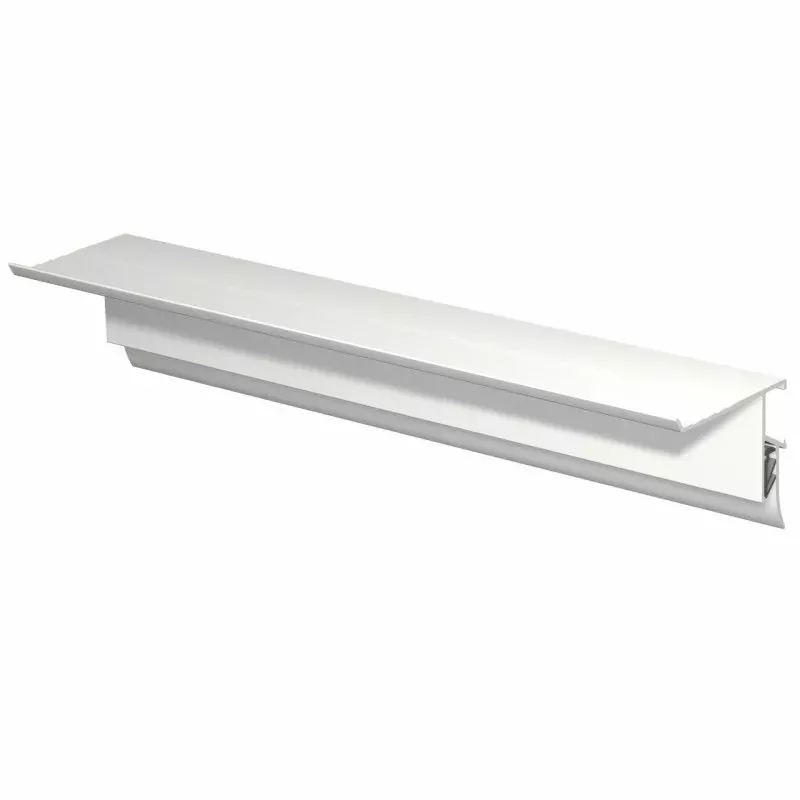
Info Rail Me Clip rail (often in 1m or 2m sections)
-
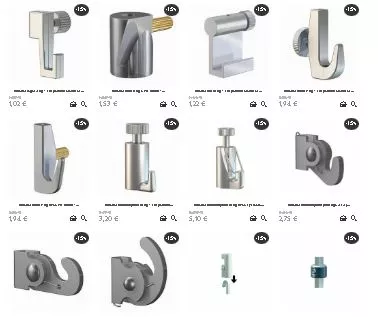
Wall mounting clips (included in the kit)
-
Screws + wall plugs (suitable for the type of wall)
-
Drill
-
Screwdriver
-
Bubble level
-
Marker pencil
? Installation steps
1. Choose and mark the location
-
Determine the ideal height (eye level or adapted for children, depending on use).
-
Use a level to draw a straight horizontal line.
2. Position the clips
-
Place a clip every 40 cm approximately.
-
Mark the drilling hole locations.
3. Drill and insert wall plugs
-
Drill holes at the marked spots.
-
Insert wall plugs, unless you are screwing into wood or a solid support.
4. Screw in the clips
-
Screw the clips securely into the wall.
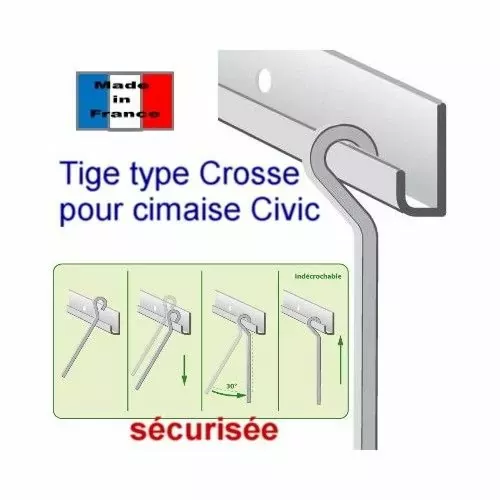
5. Clip the rail
-
Align the rail with the clips, then press firmly to clip it in (it should "click").
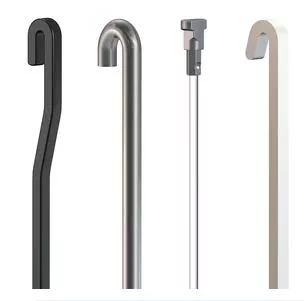
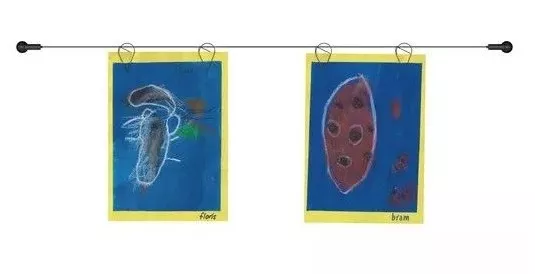
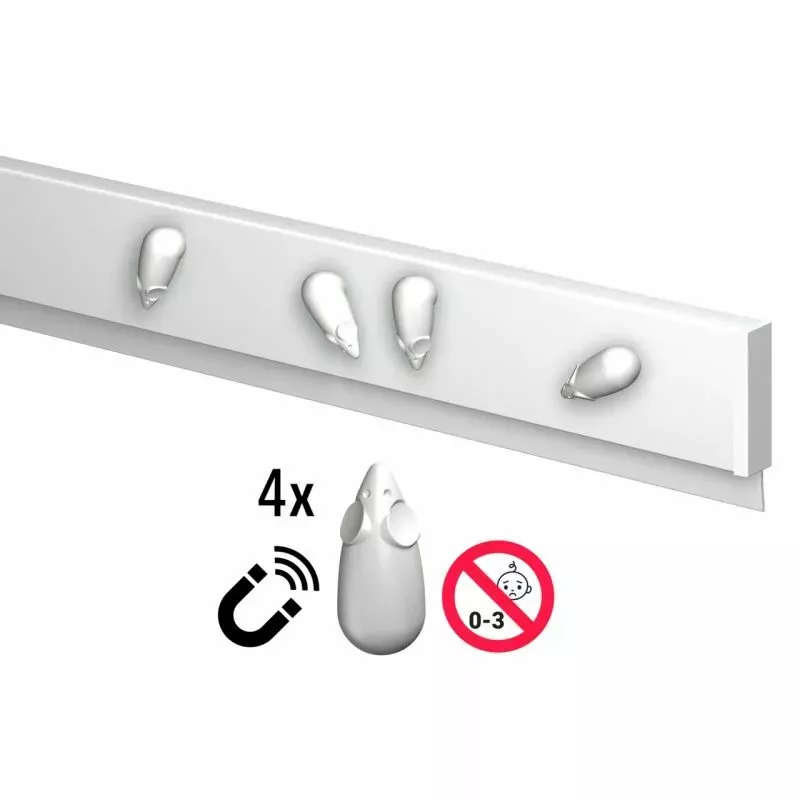
6. Add the Me Clips
-
The Me Clips are small sliding or clipping modules that each user can customize with a name, drawing, or label.
-
You can attach them on the face of the rail at the desired location.
✅ Key features of the Me Clip
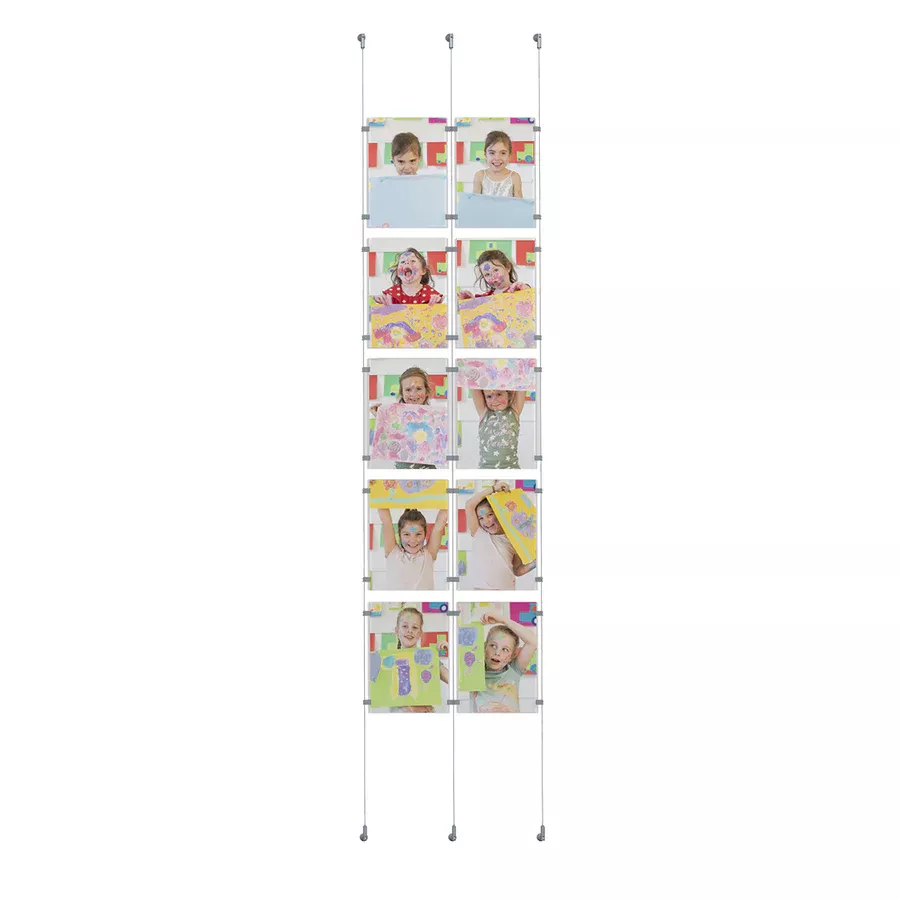
-
Each user has their own display space.
-
Perfect for schools (students), teams (offices), or co-creative spaces.
-
Can be used with or without magnets depending on the model.
If you want, I can also send you:
-
An official PDF manual.
-
A tutorial video if you want to see it in action.
Share this content