


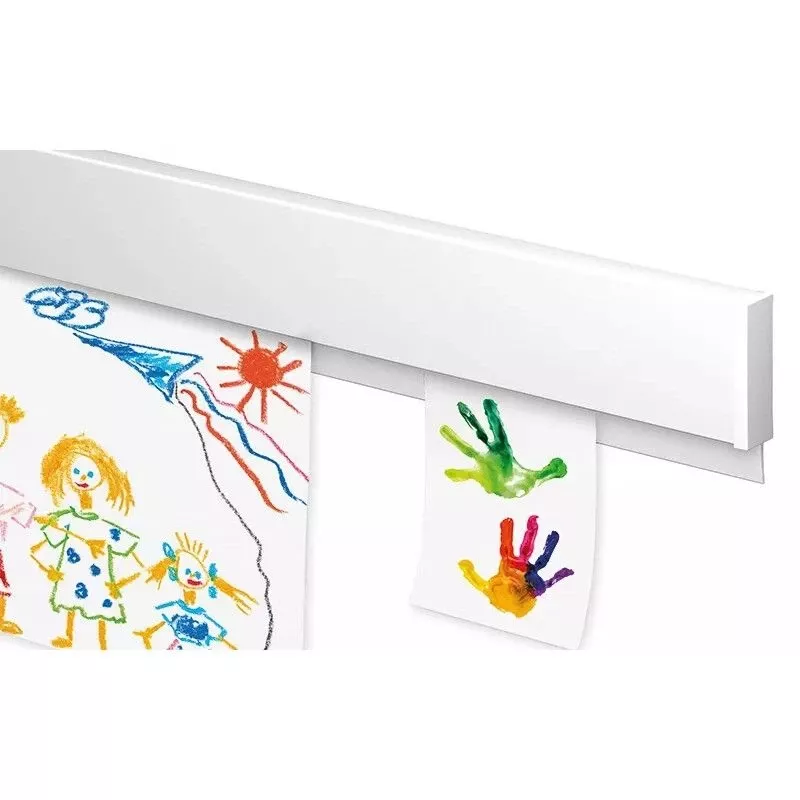


How to install the R30 Newly picture rail?
Categories :
Picture rail installation tutorial
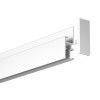
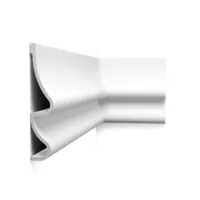
Installing the R30 rail Newly is simple and similar to other Newly models, but it includes specificities due to its rounded design. Here is a step-by-step guide to install it correctly:
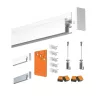
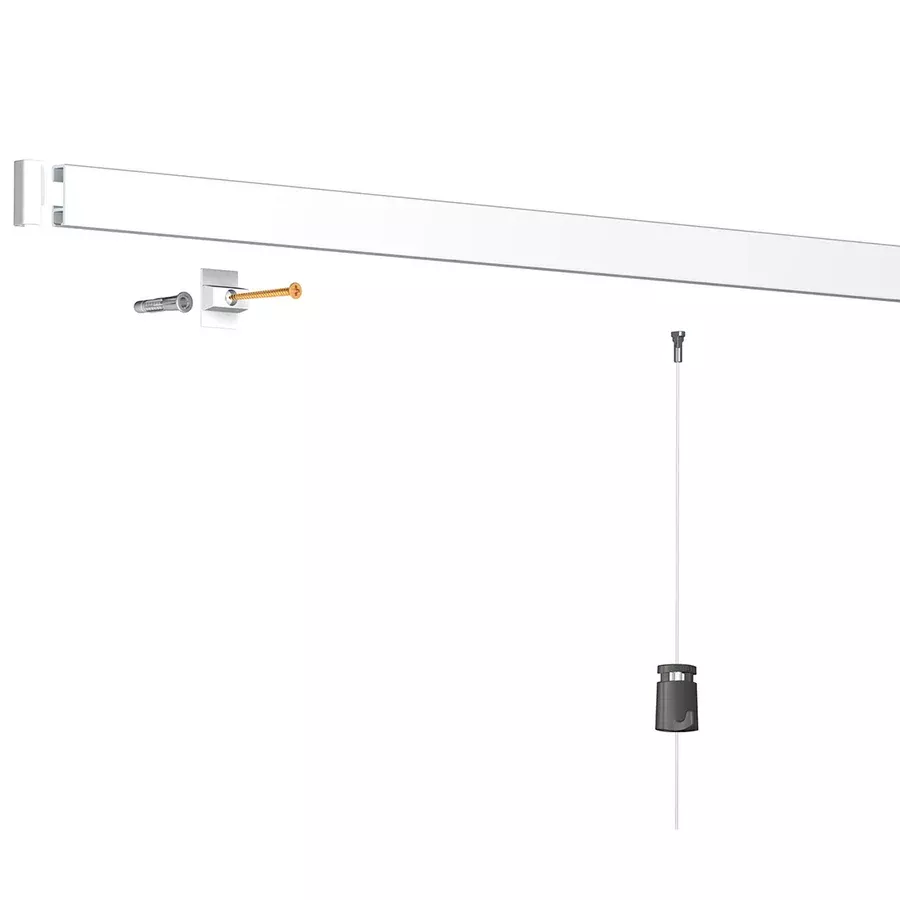
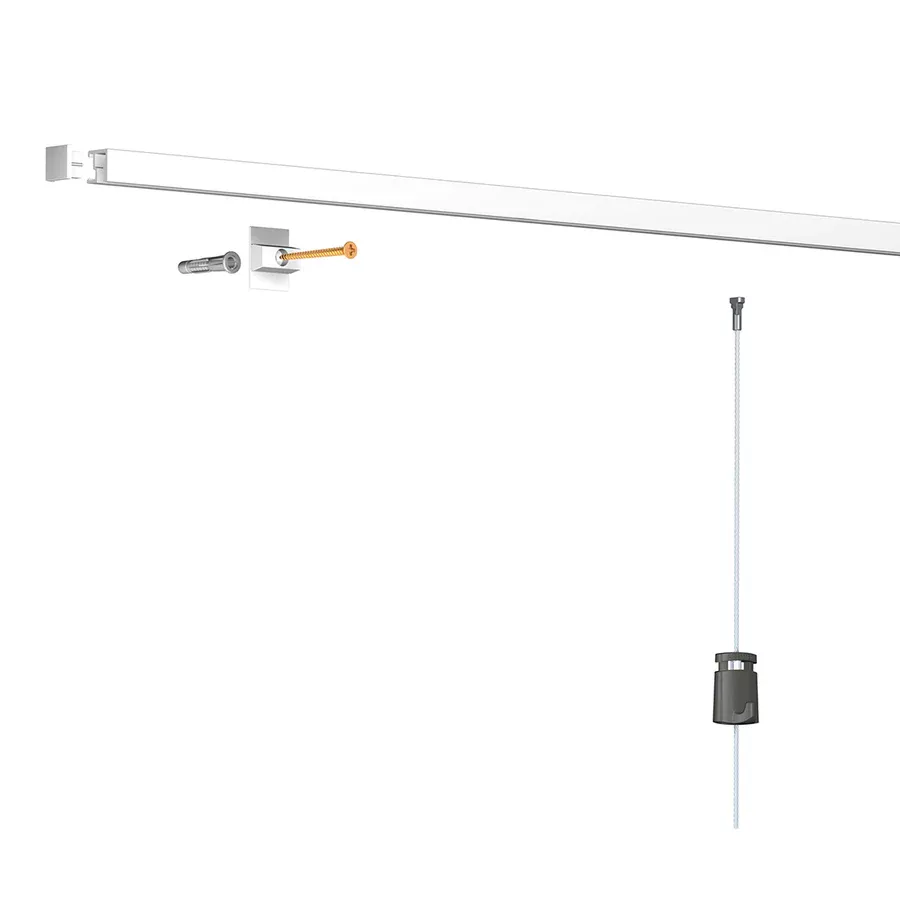
Materials needed:
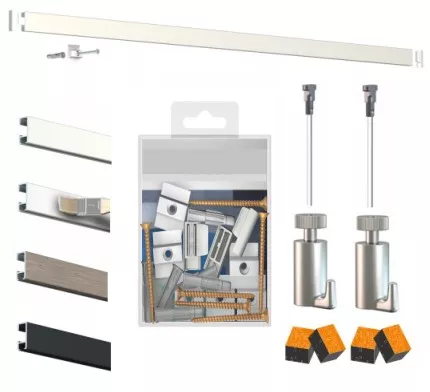
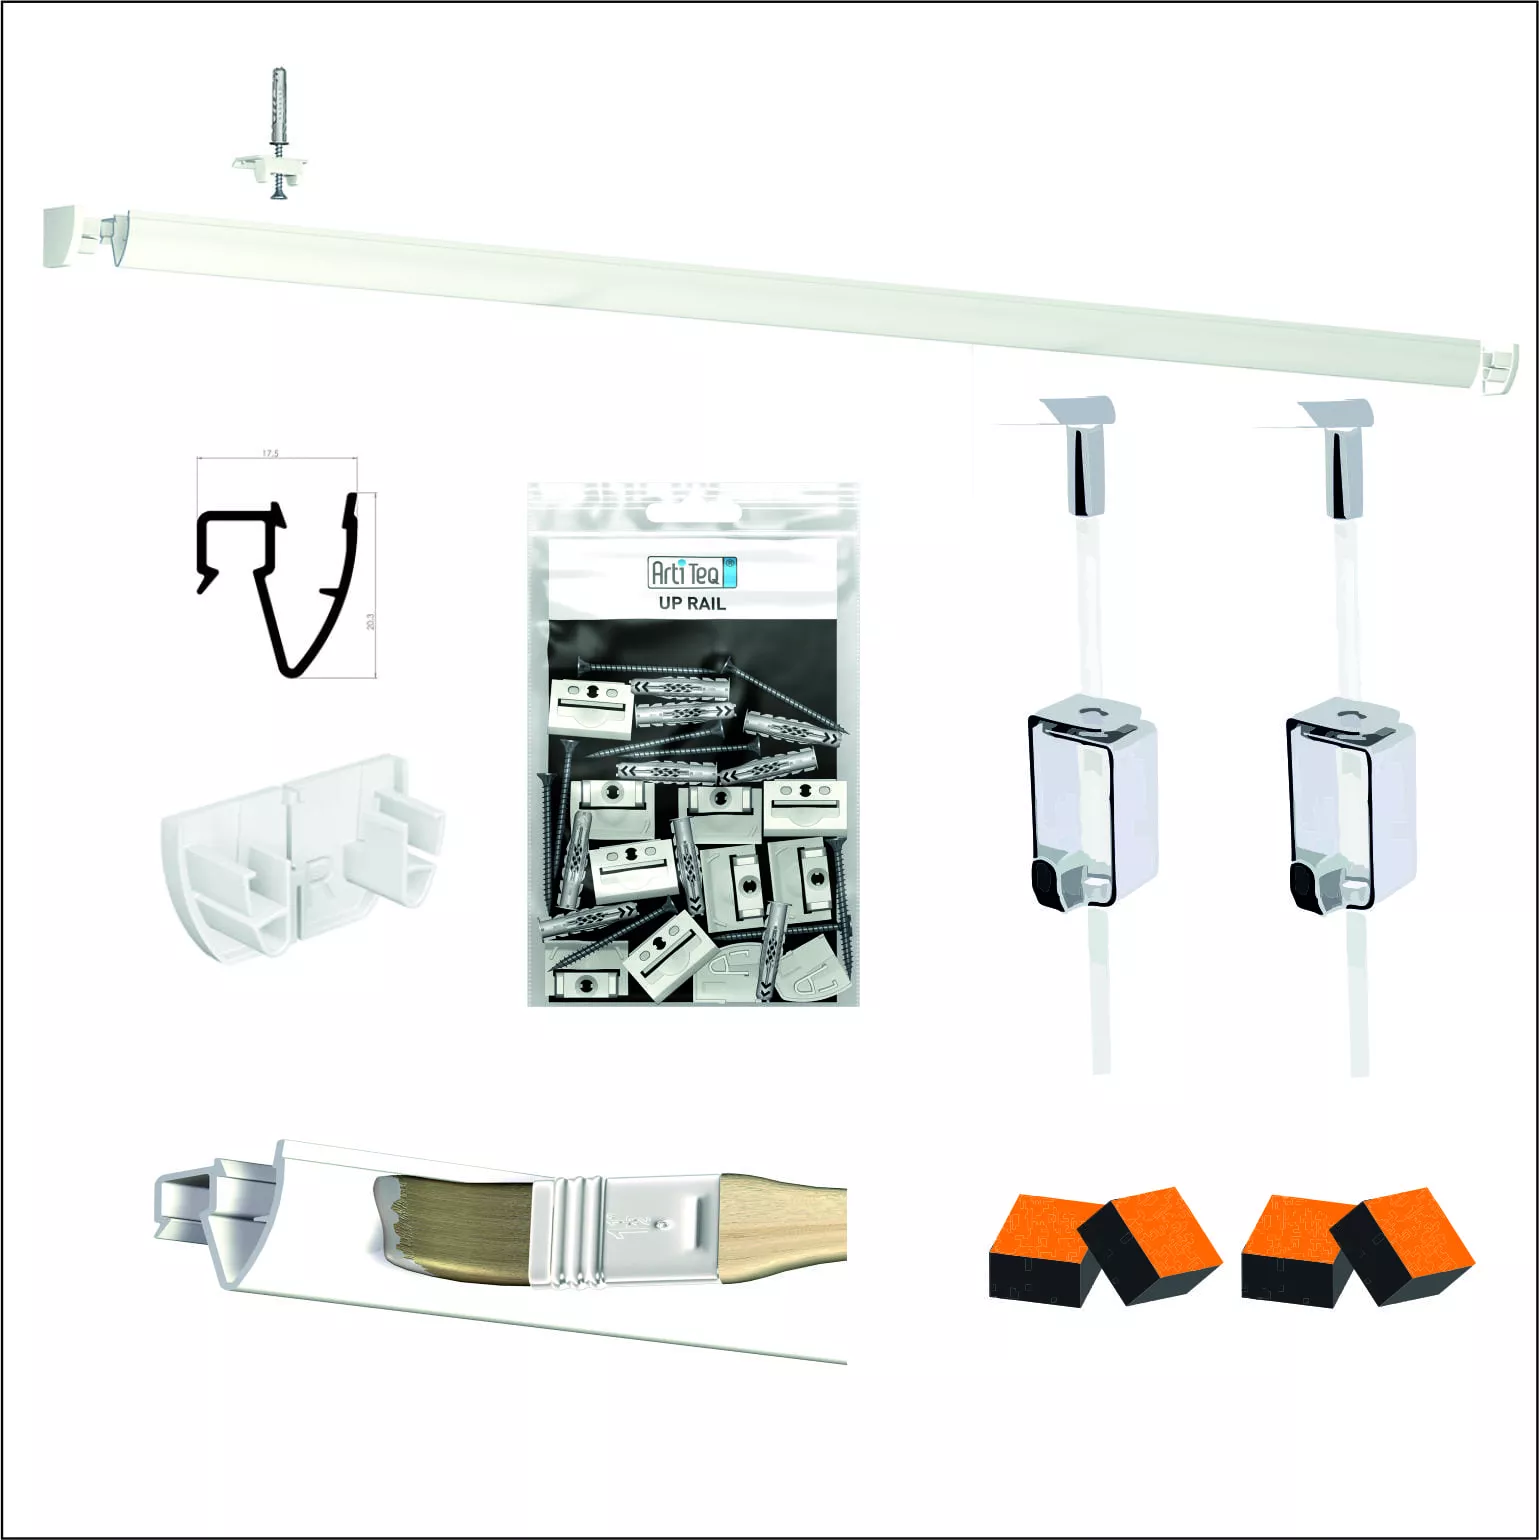
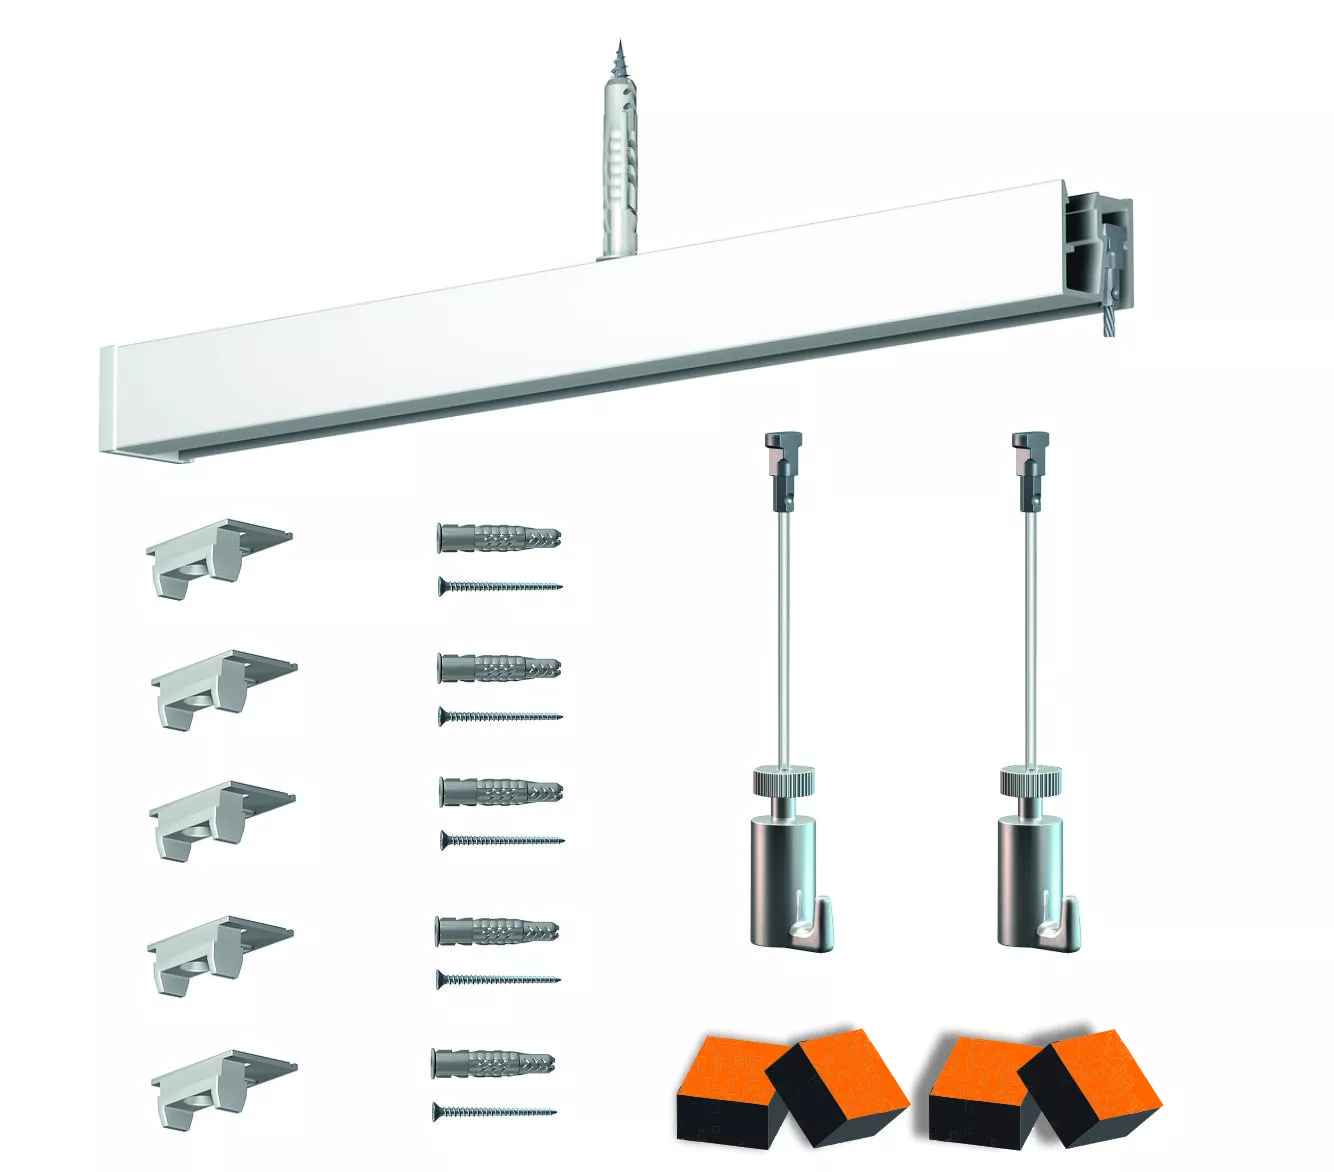
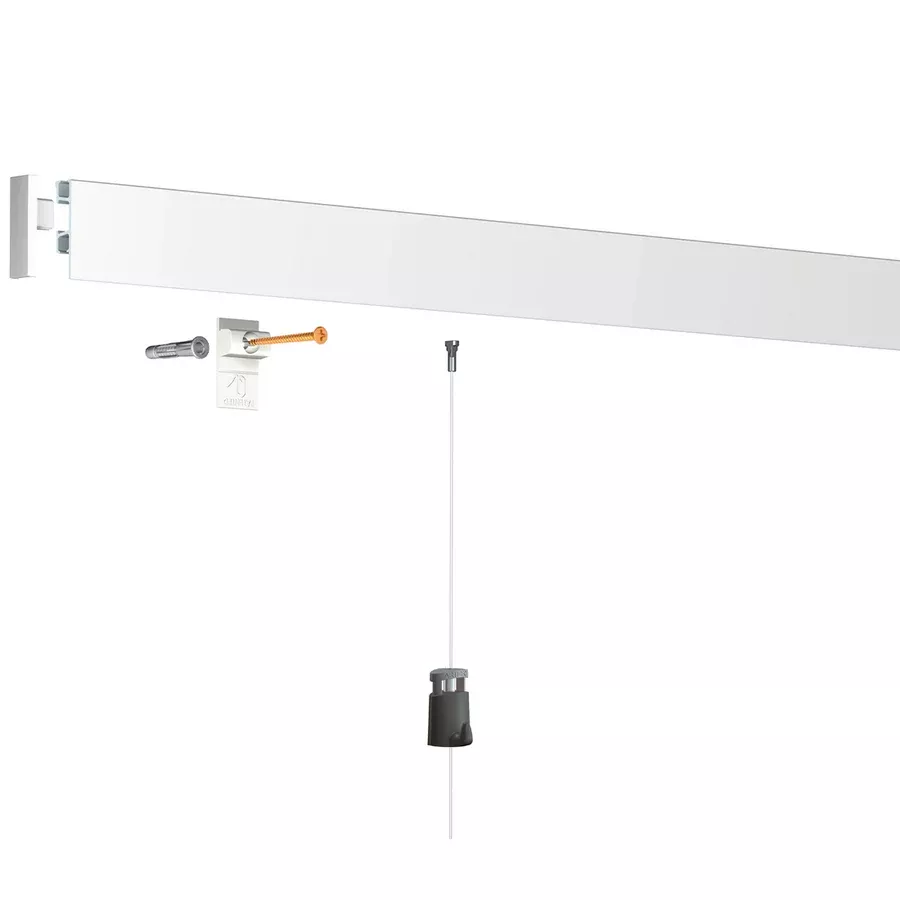
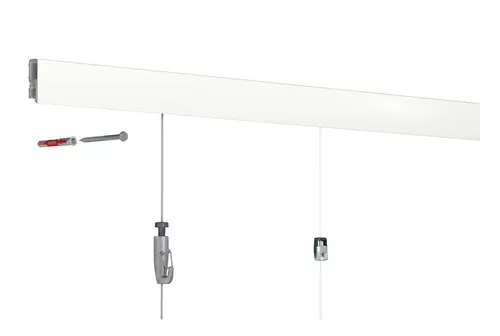
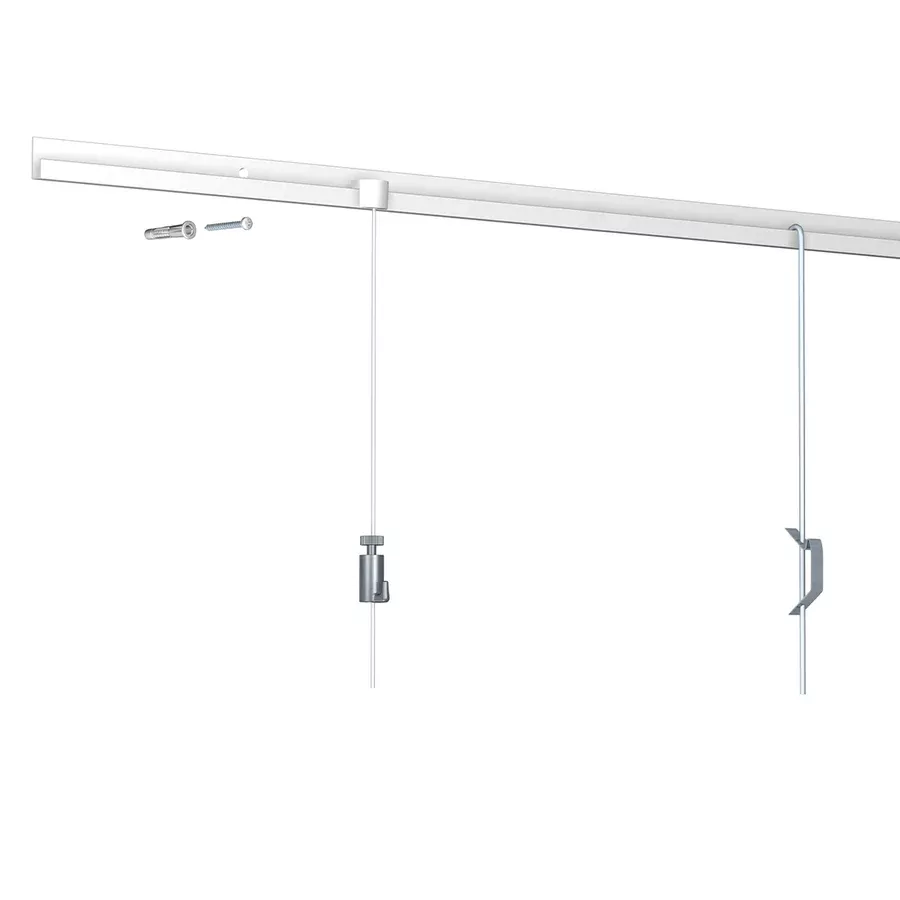
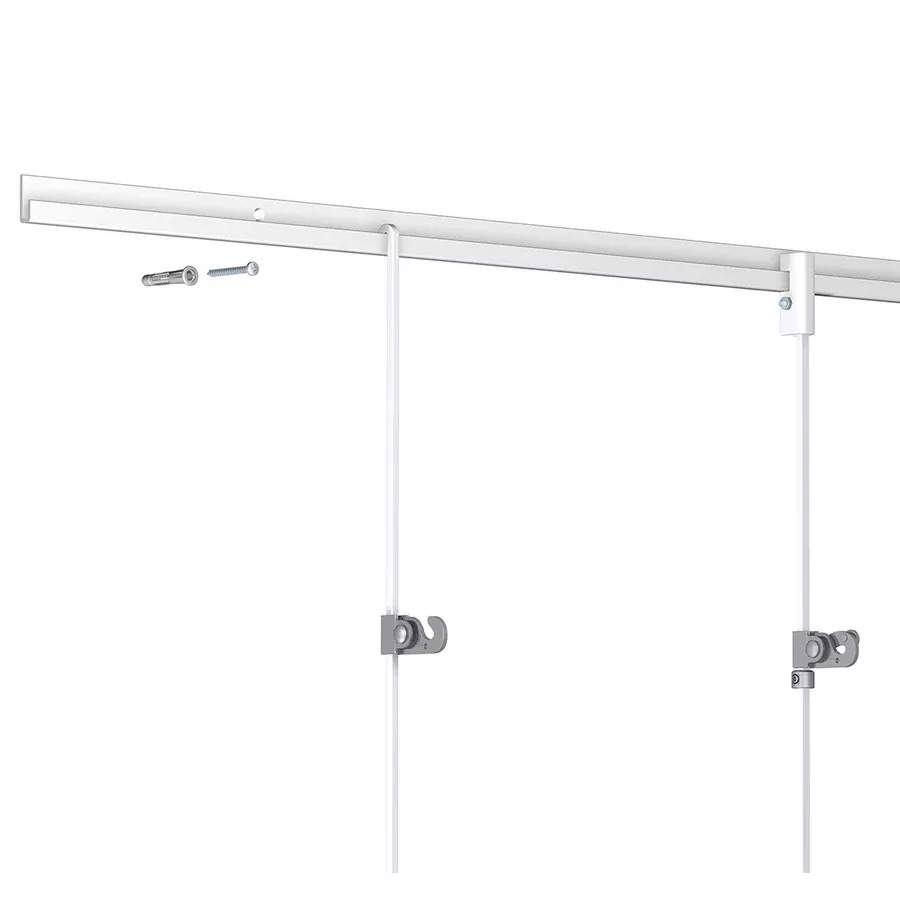
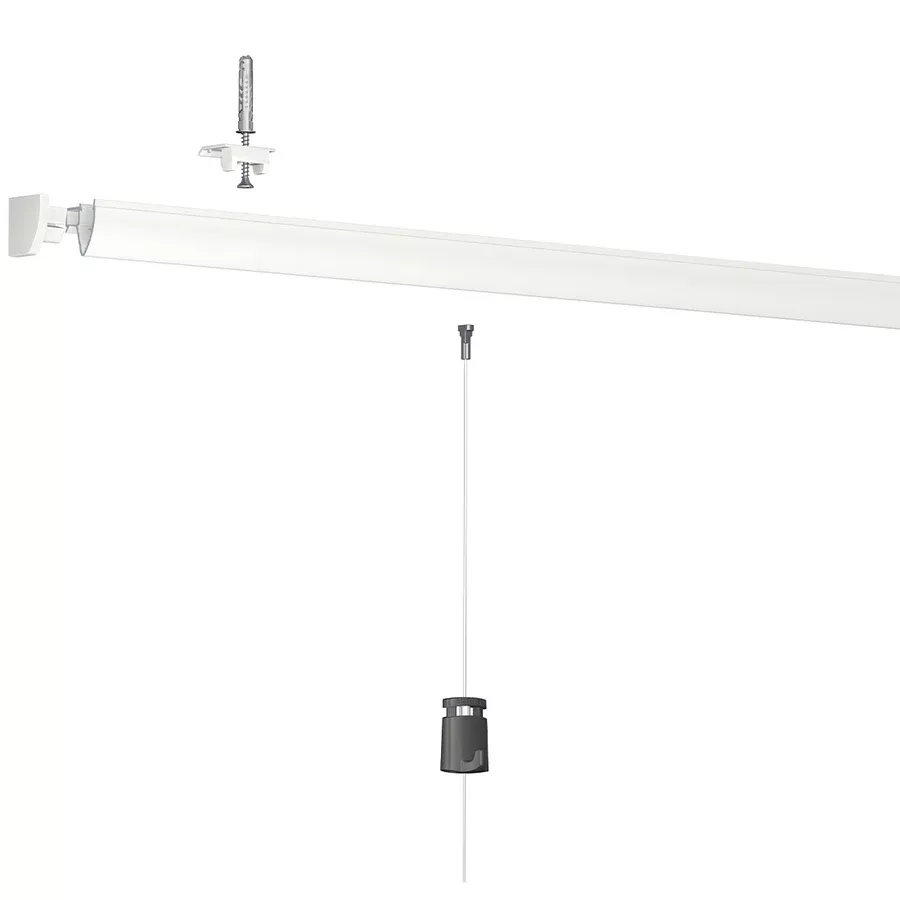
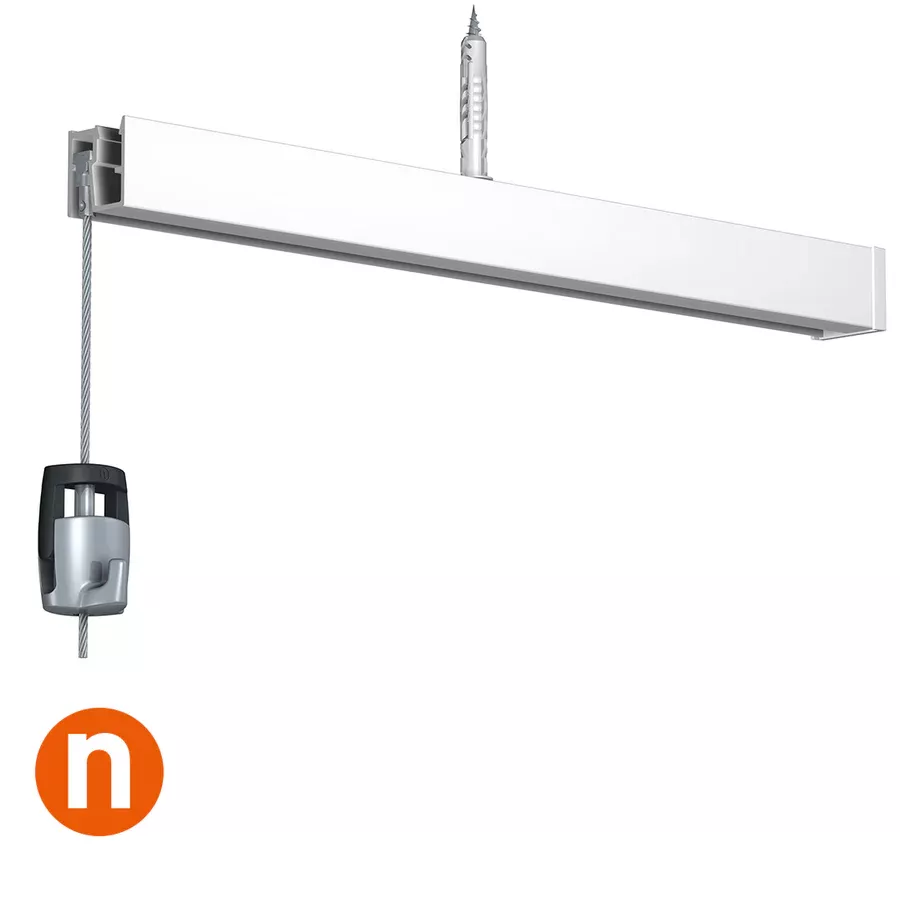
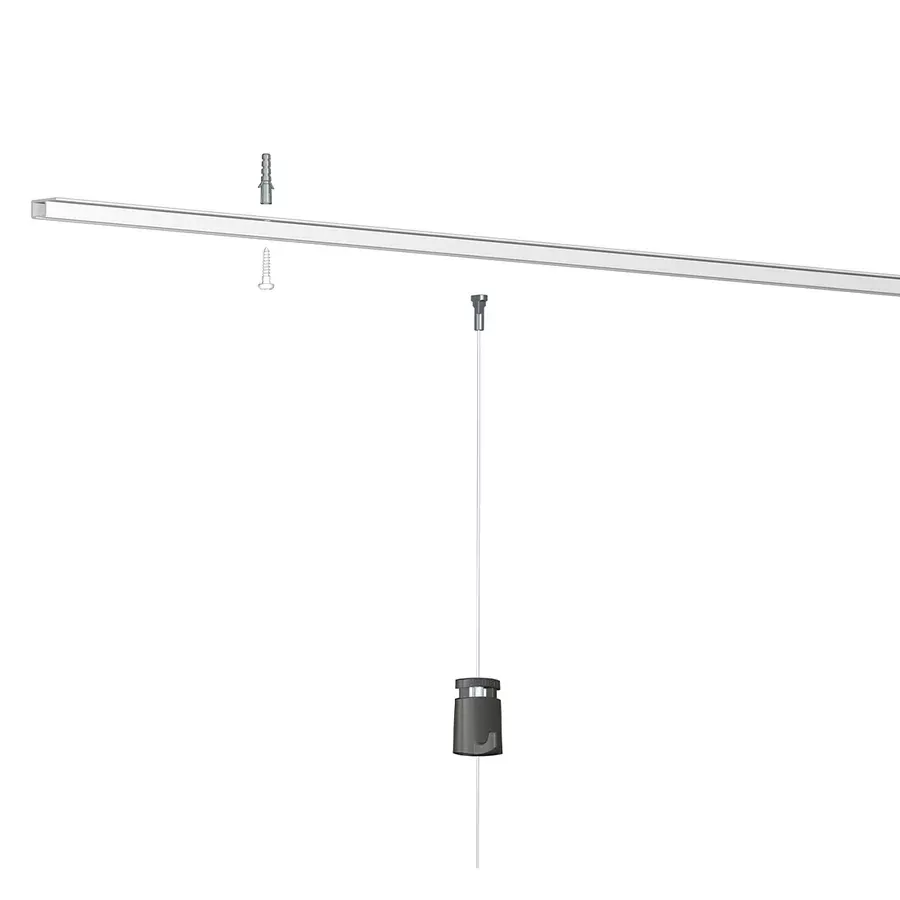
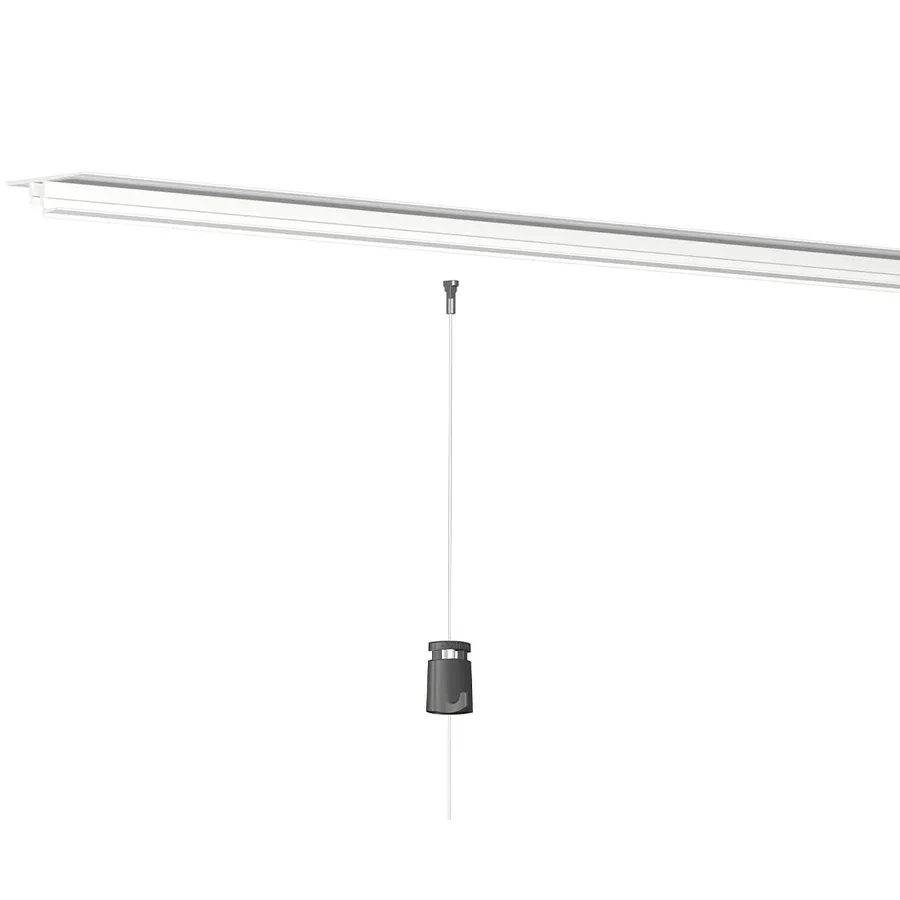
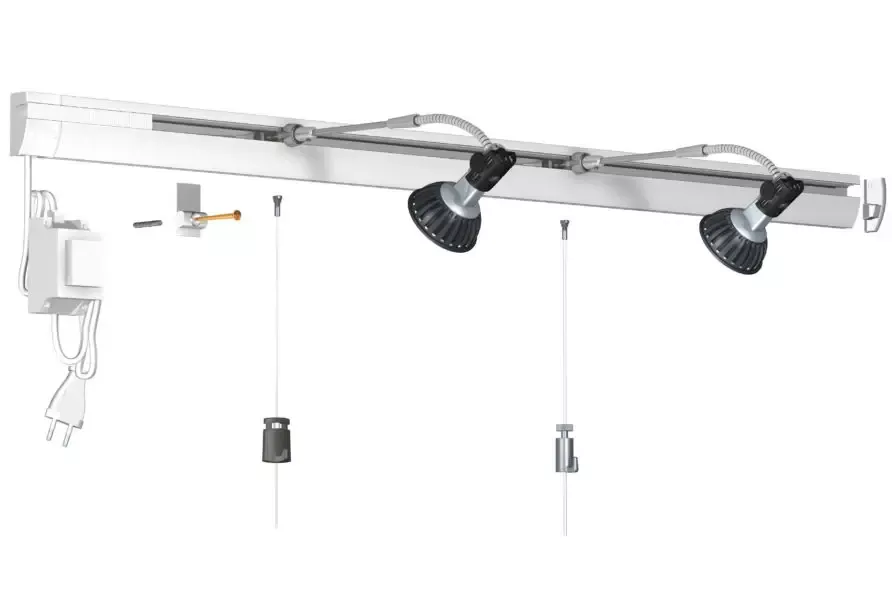
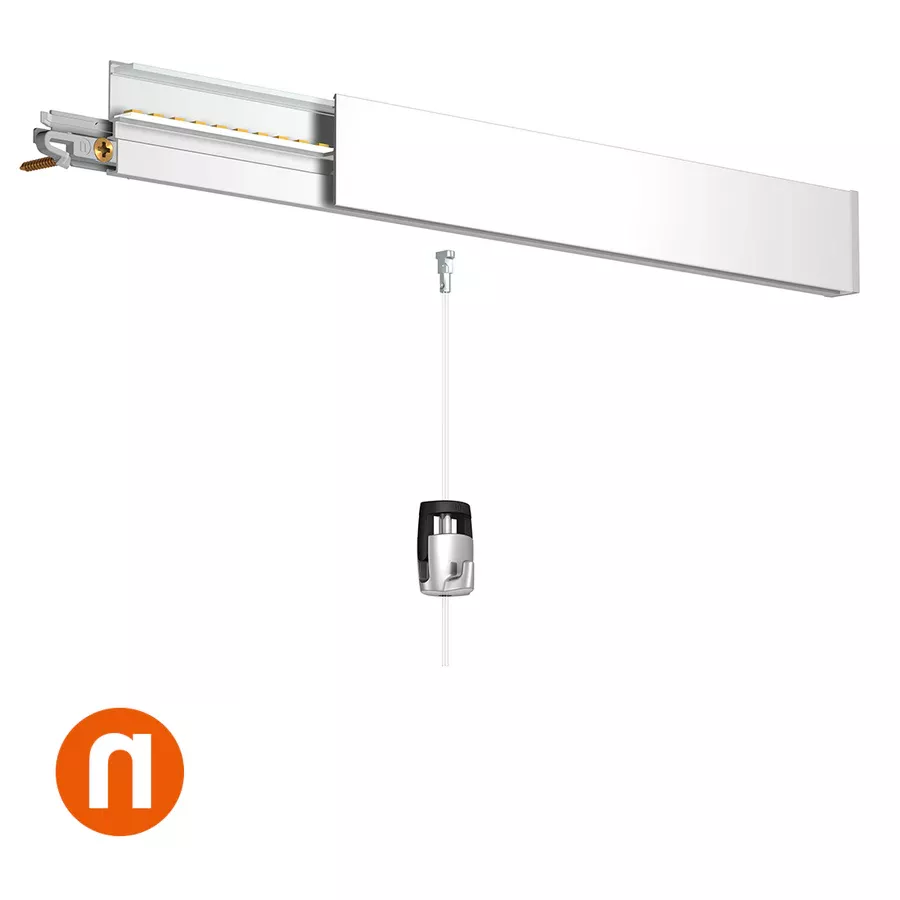
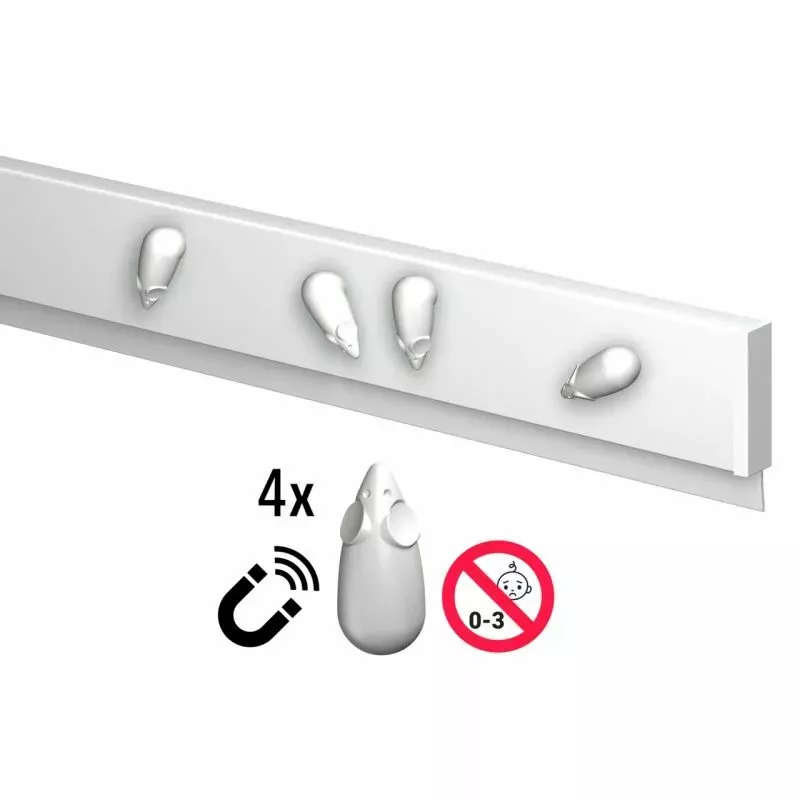
- R30 rail Newly
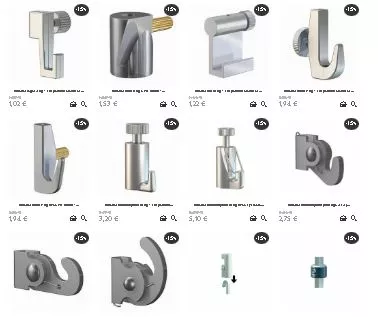
- Fixing clips Newly (included with the rail)
- Drill with appropriate bit
- Screws and wall plugs (according to wall type)
- Bubble level
- Marking pencil
- Screwdriver
- Hacksaw (if rail needs adjustment)
Installation steps:
1. Preparation for installation
- Choose the location where you want to install the rail, usually close to the ceiling for optimal aesthetics.
- Use a bubble level to draw a straight line on the wall to guide the installation.
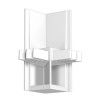
2. Position the fixing clips
- The Newly clips should be spaced about 30 to 40 cm apart.
- Place a clip between 2 rails for a secure fixation.
3. Mark the fixing points
- Position the clips along the drawn line and mark the hole locations with a pencil.
4. Drill and fix the clips
- Drill holes at the marked spots:
- For solid walls (concrete, brick): Use standard wall plugs.
- For hollow walls (plasterboard, drywall): Use suitable wall plugs.
- Fix the Newly clips with screws, ensuring they are well aligned.
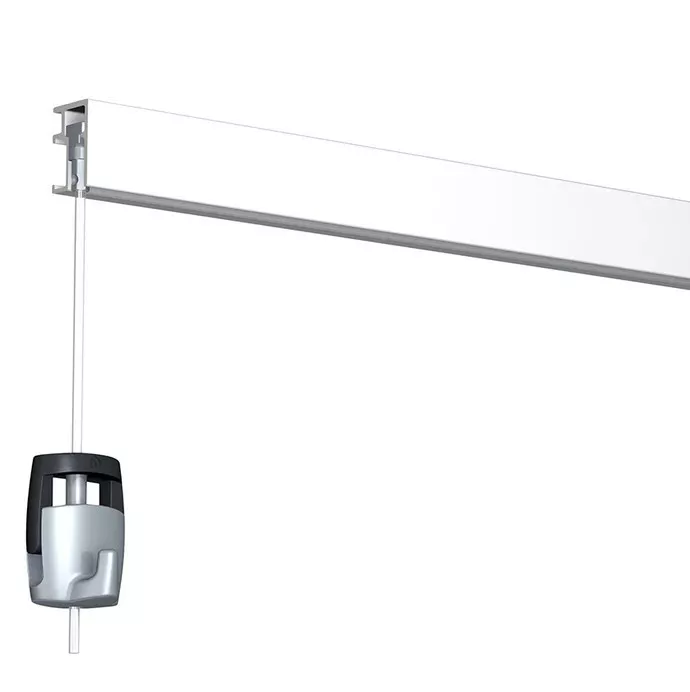
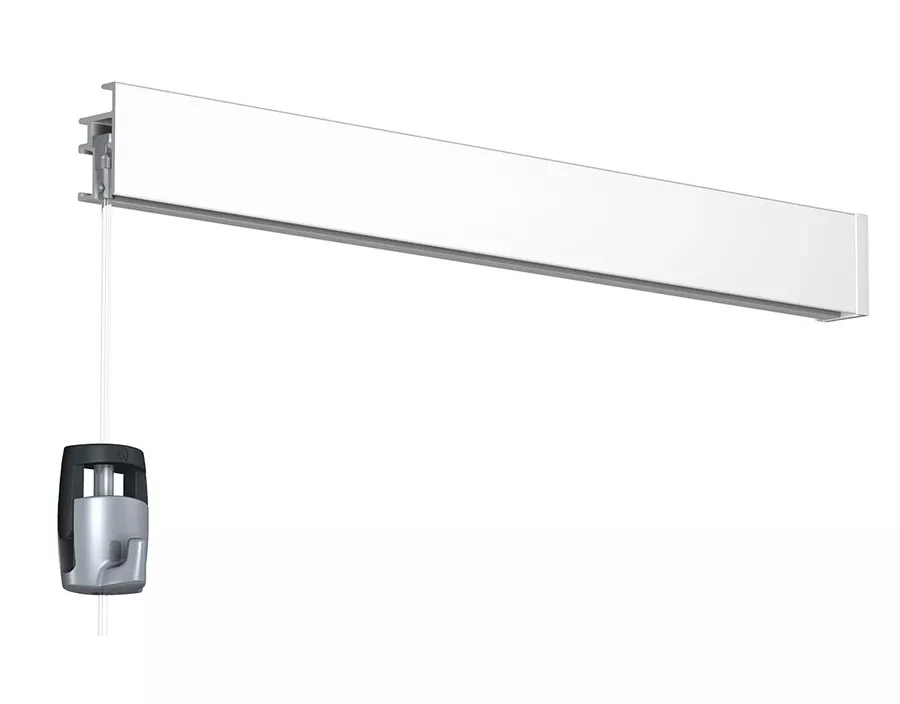
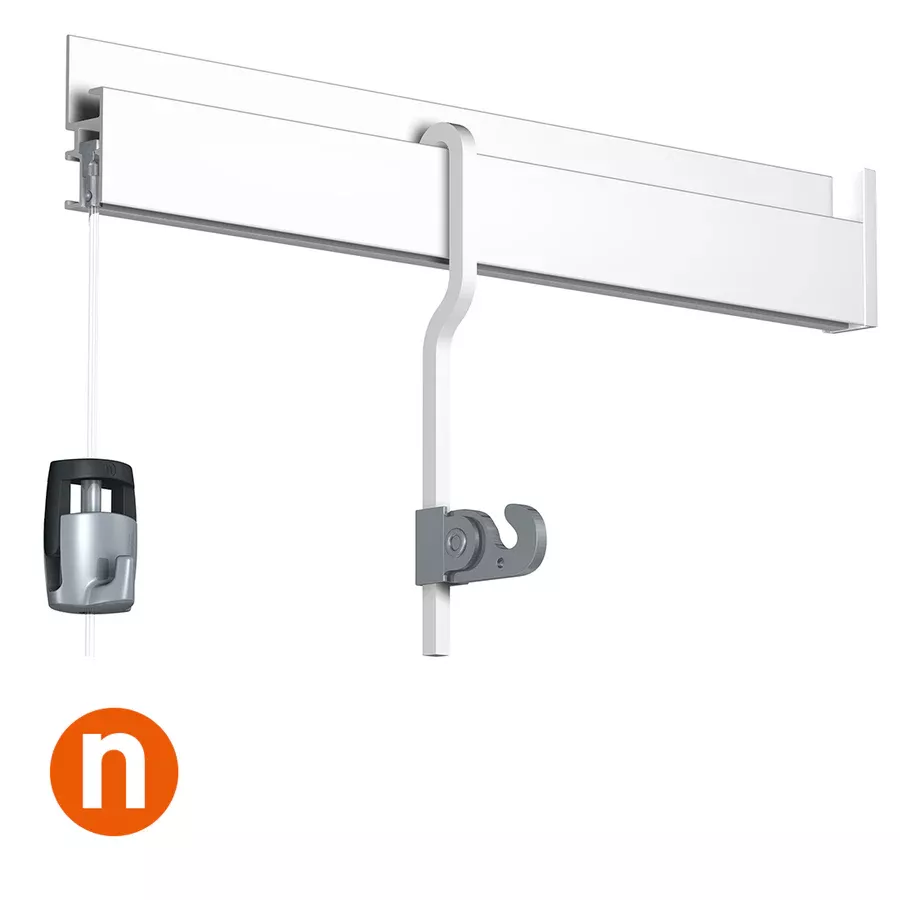
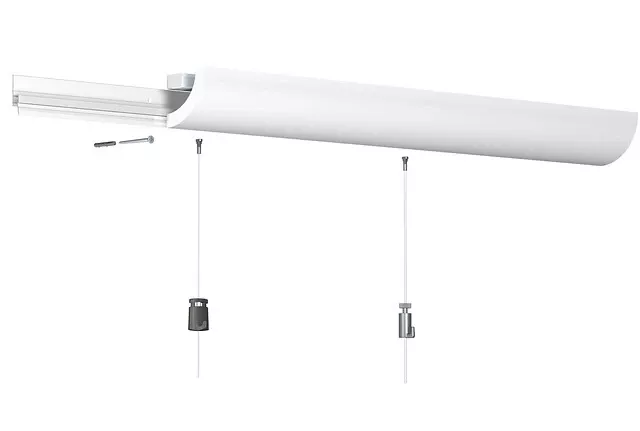
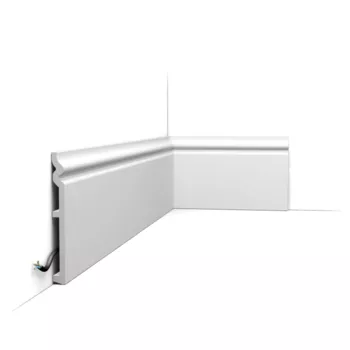
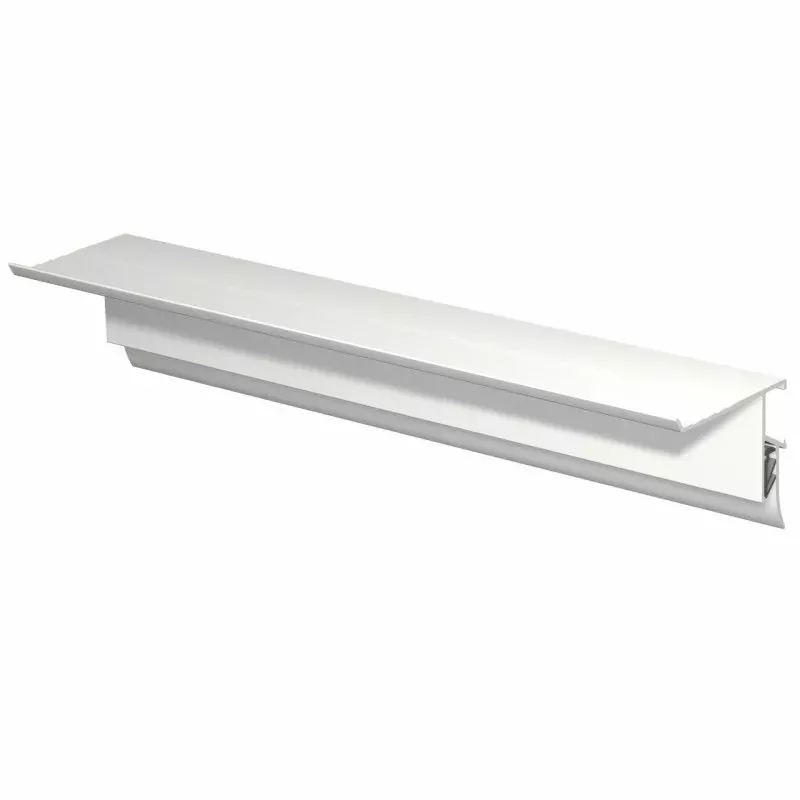
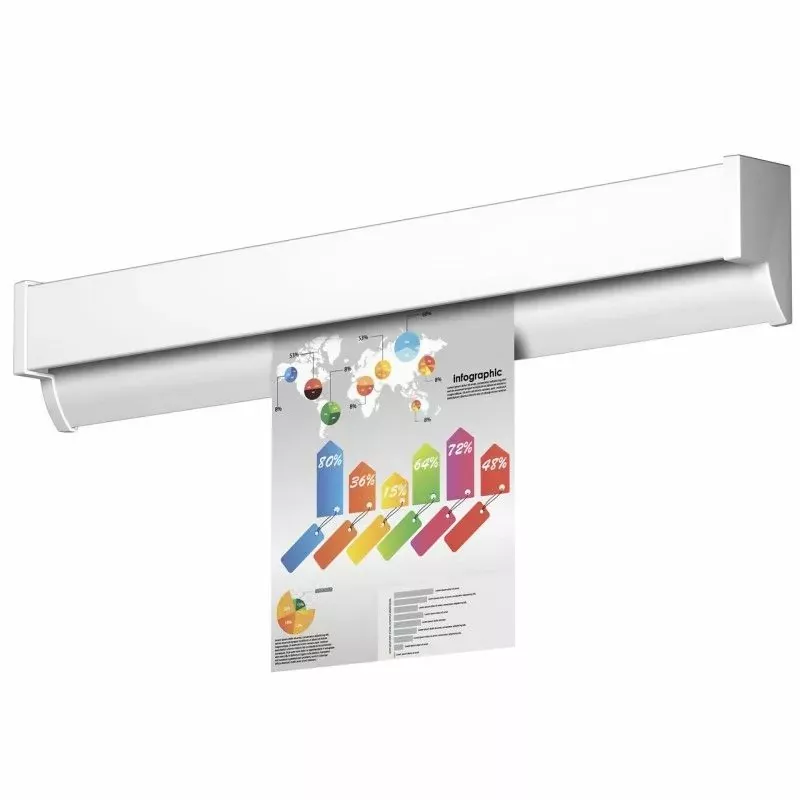
5. Install the R30 rail Newly
- Position the rail on the clips fixed to the wall.
- Press firmly to snap the rail in place. You will hear a "click" indicating the rail is correctly installed.
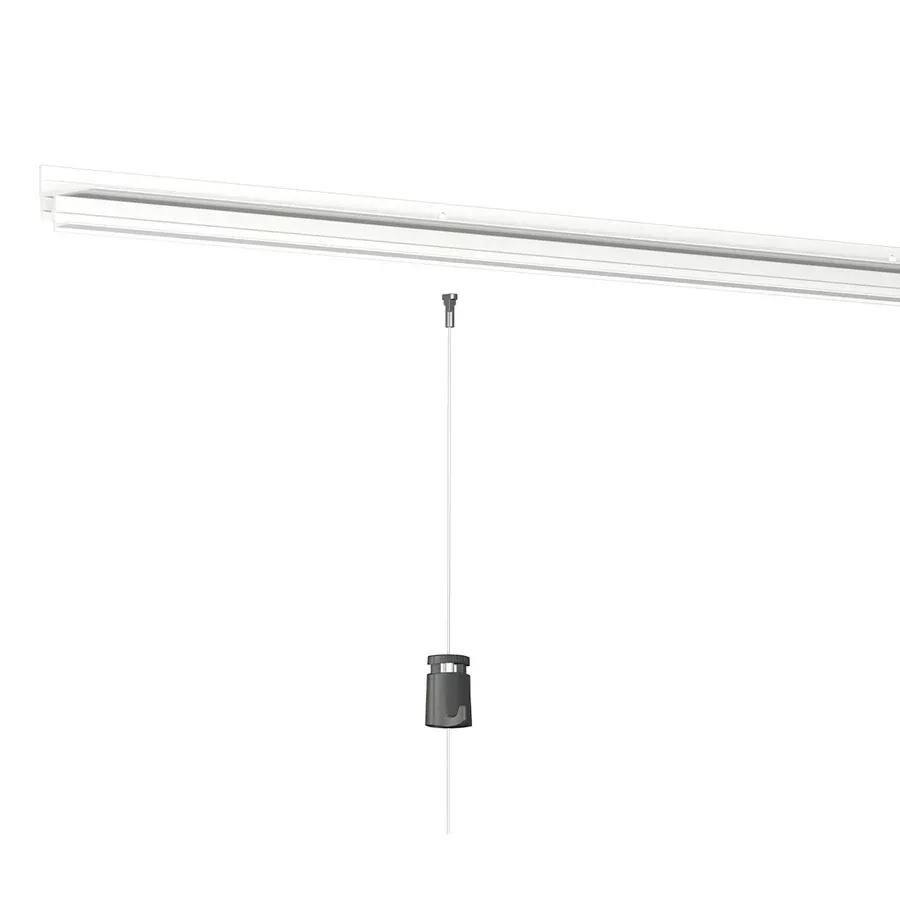
6. Check and finalize the installation
- Ensure the rail is securely fixed and aligned.
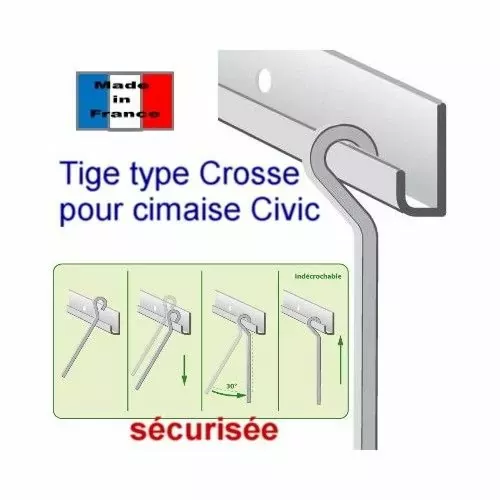
- Test with a hanging wire and a Newly hook to ensure everything is functional.
Practical tips:
-
Cutting the rail if needed:
If the rail is too long, cut it with a hacksaw and file the edges to avoid sharp edges. -
Finishes and connections:
If you are installing multiple rails or in corners, use Newly connection accessories for a seamless finish. -
Optimal spacing:
Leave enough space between the rail and the ceiling to facilitate installation and hanging of artworks.
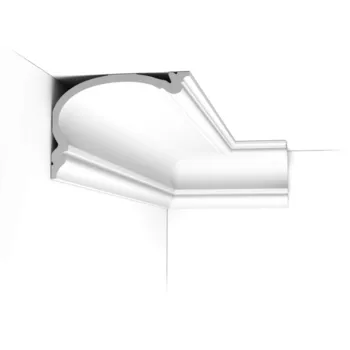
Advantages of the R30 model Newly
- The rounded design of the rail adds an aesthetic touch.
- It is sturdy and easy to handle for hanging and adjusting artworks.
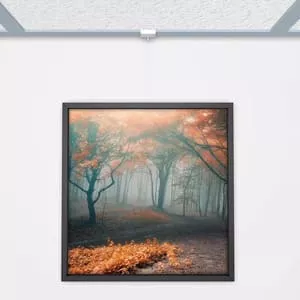
Once installed, your R30 rail Newly is ready to offer an elegant and functional solution for hanging your paintings and decorations!
Share this content