
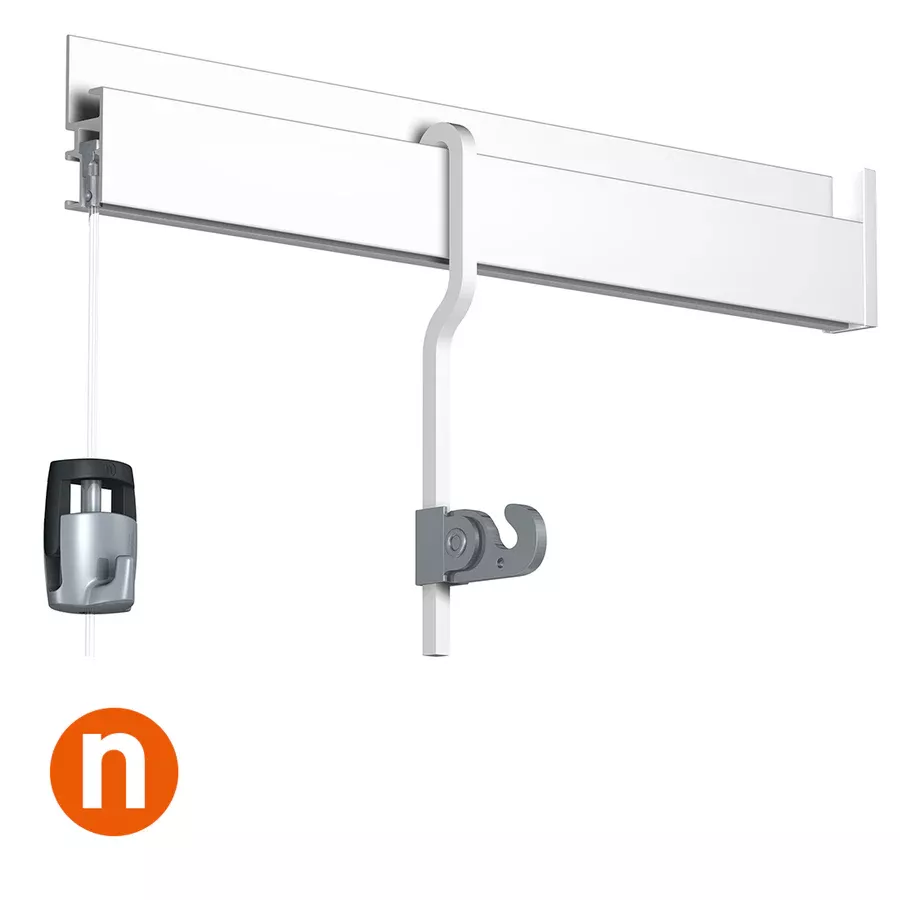

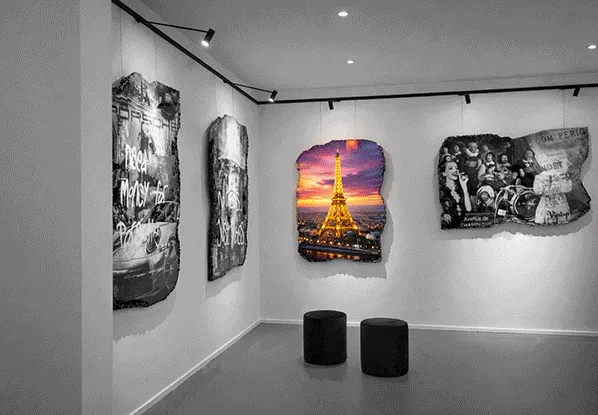

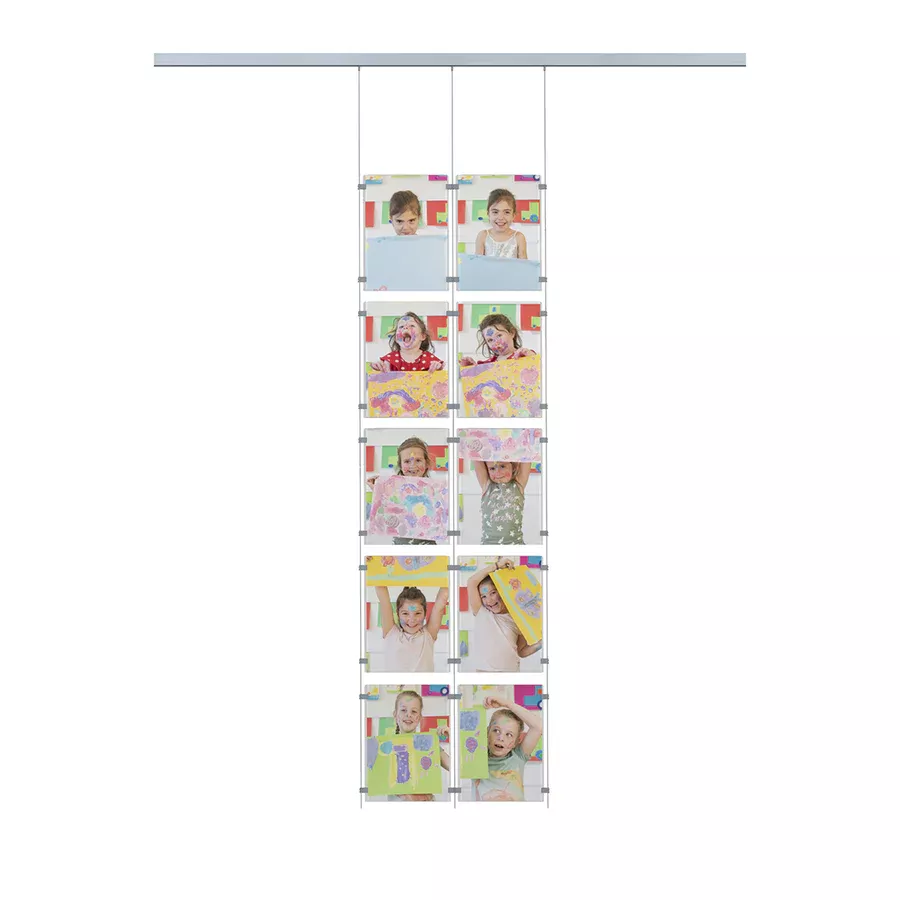

How to install the Top Rail Artiteq picture rail system
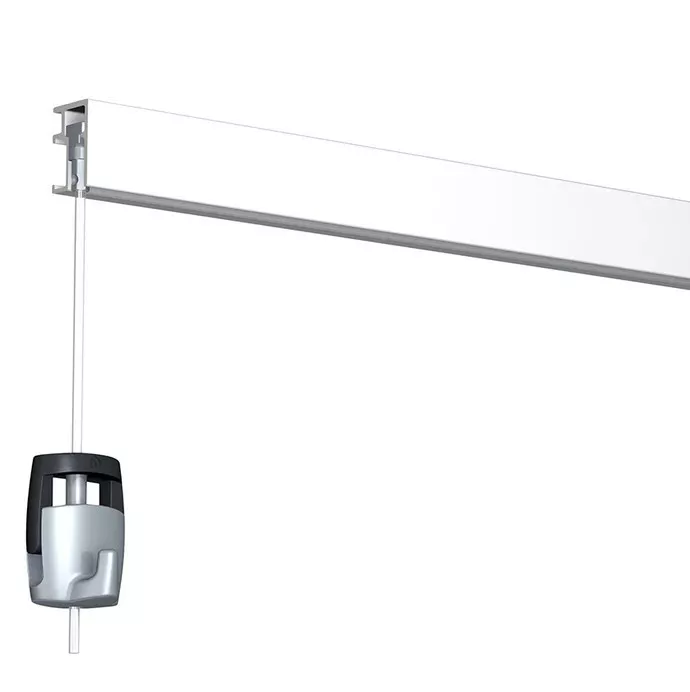
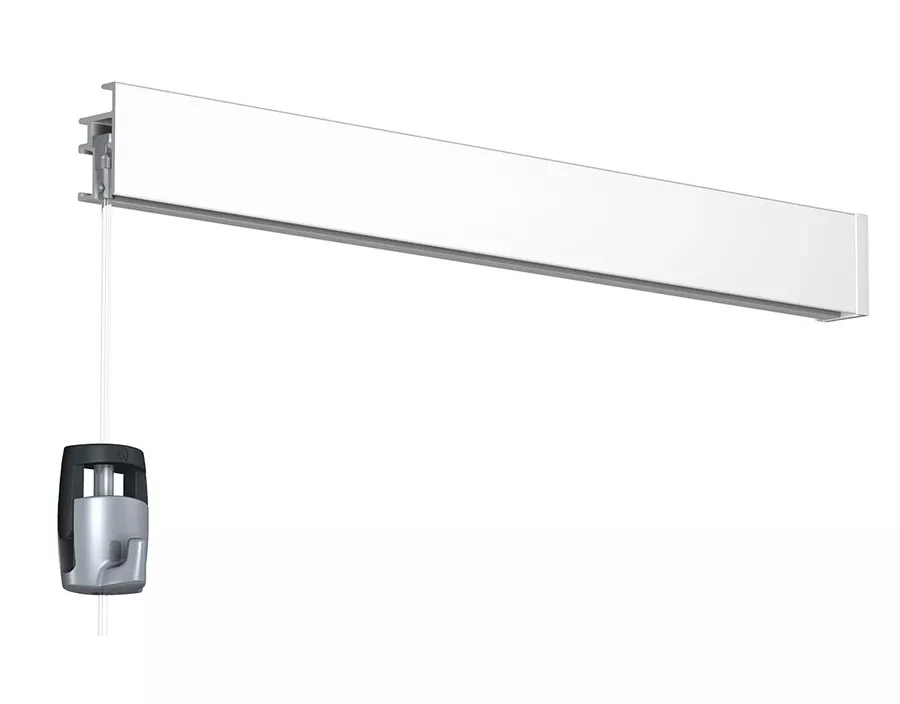
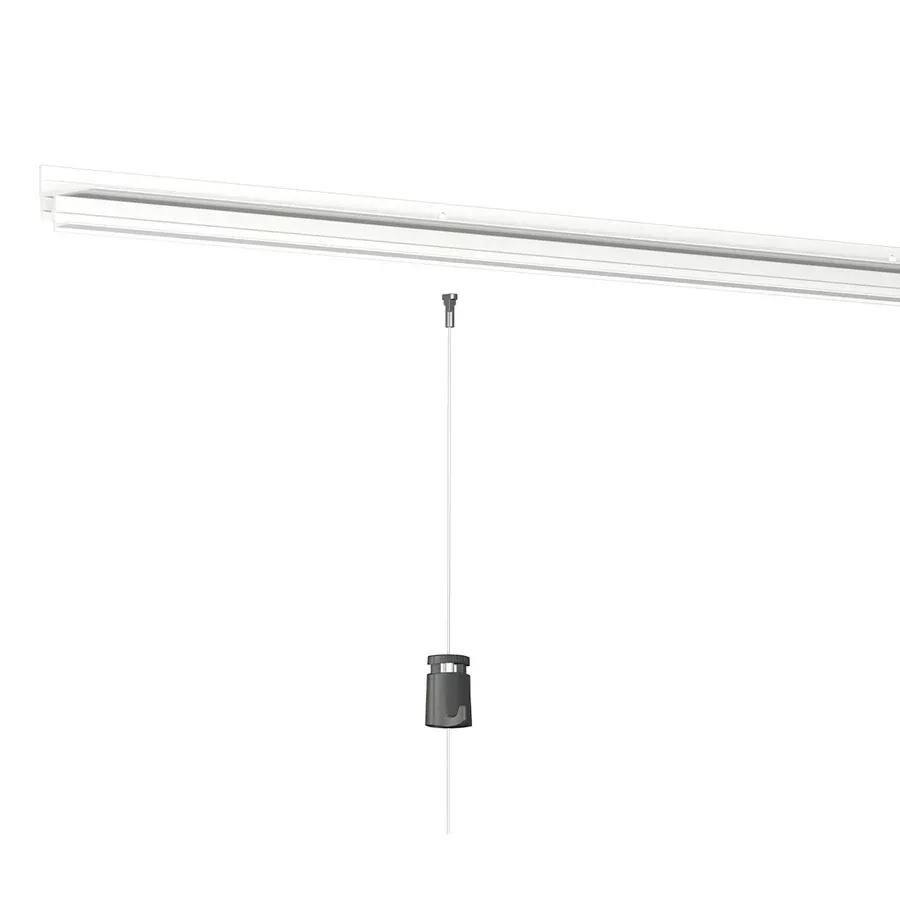
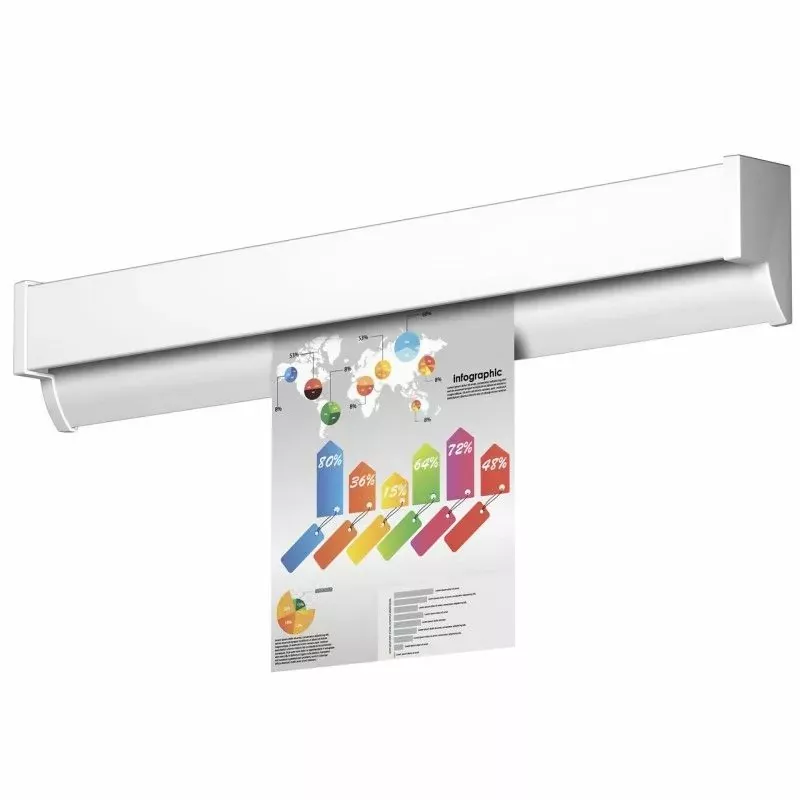
The Artiteq Top Rail picture rail is designed to be installed on the ceiling, especially in combination with false ceilings. Here is how to proceed with its installation:
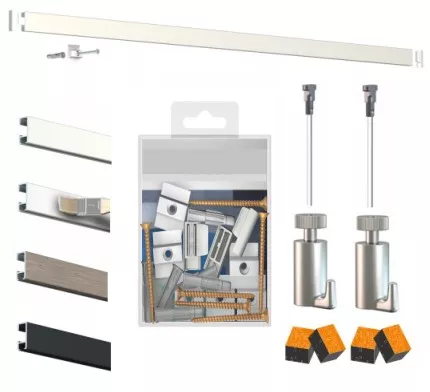
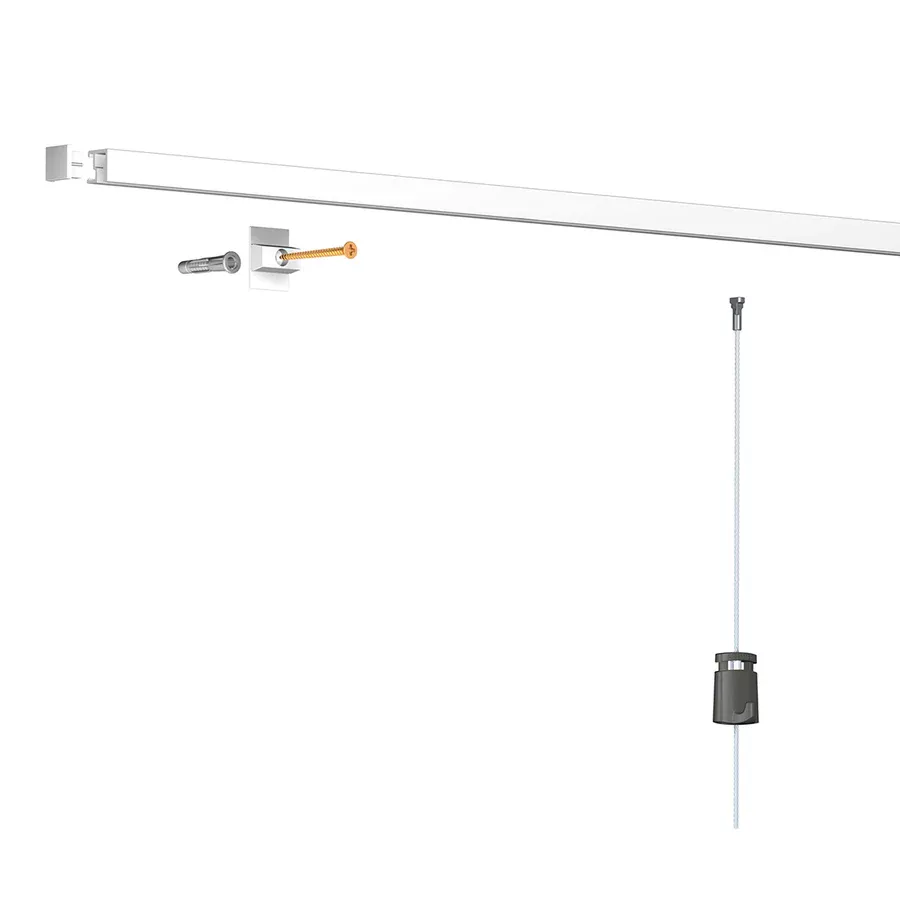
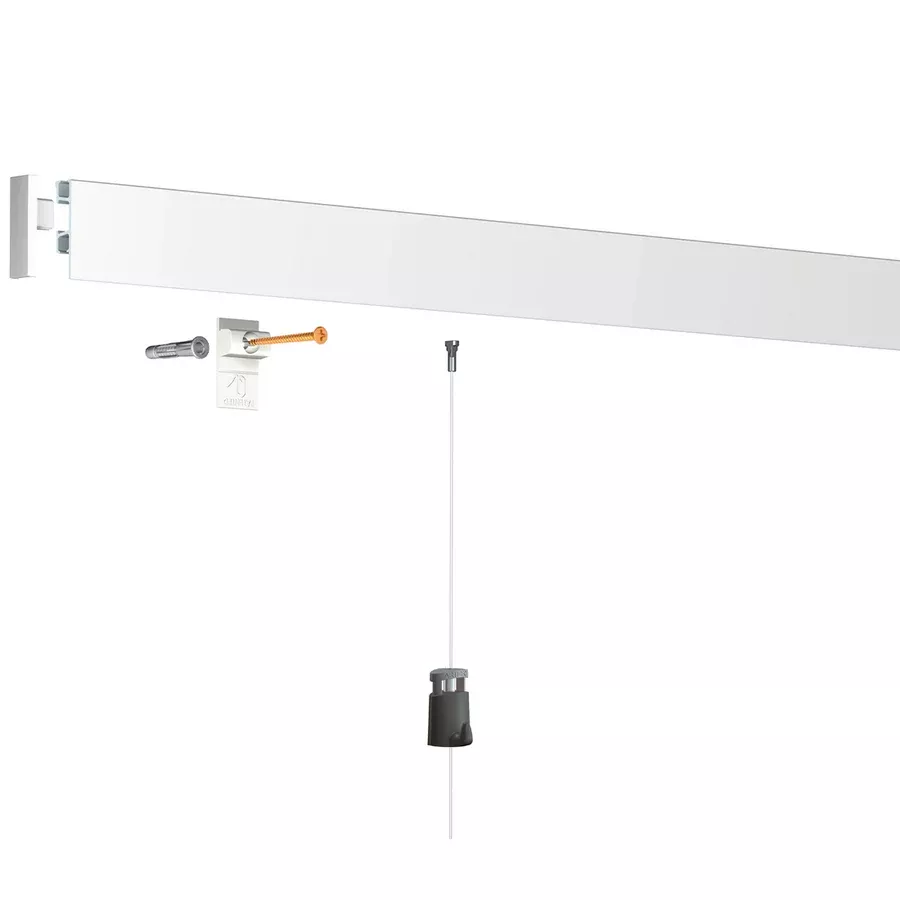
Materials needed:
-
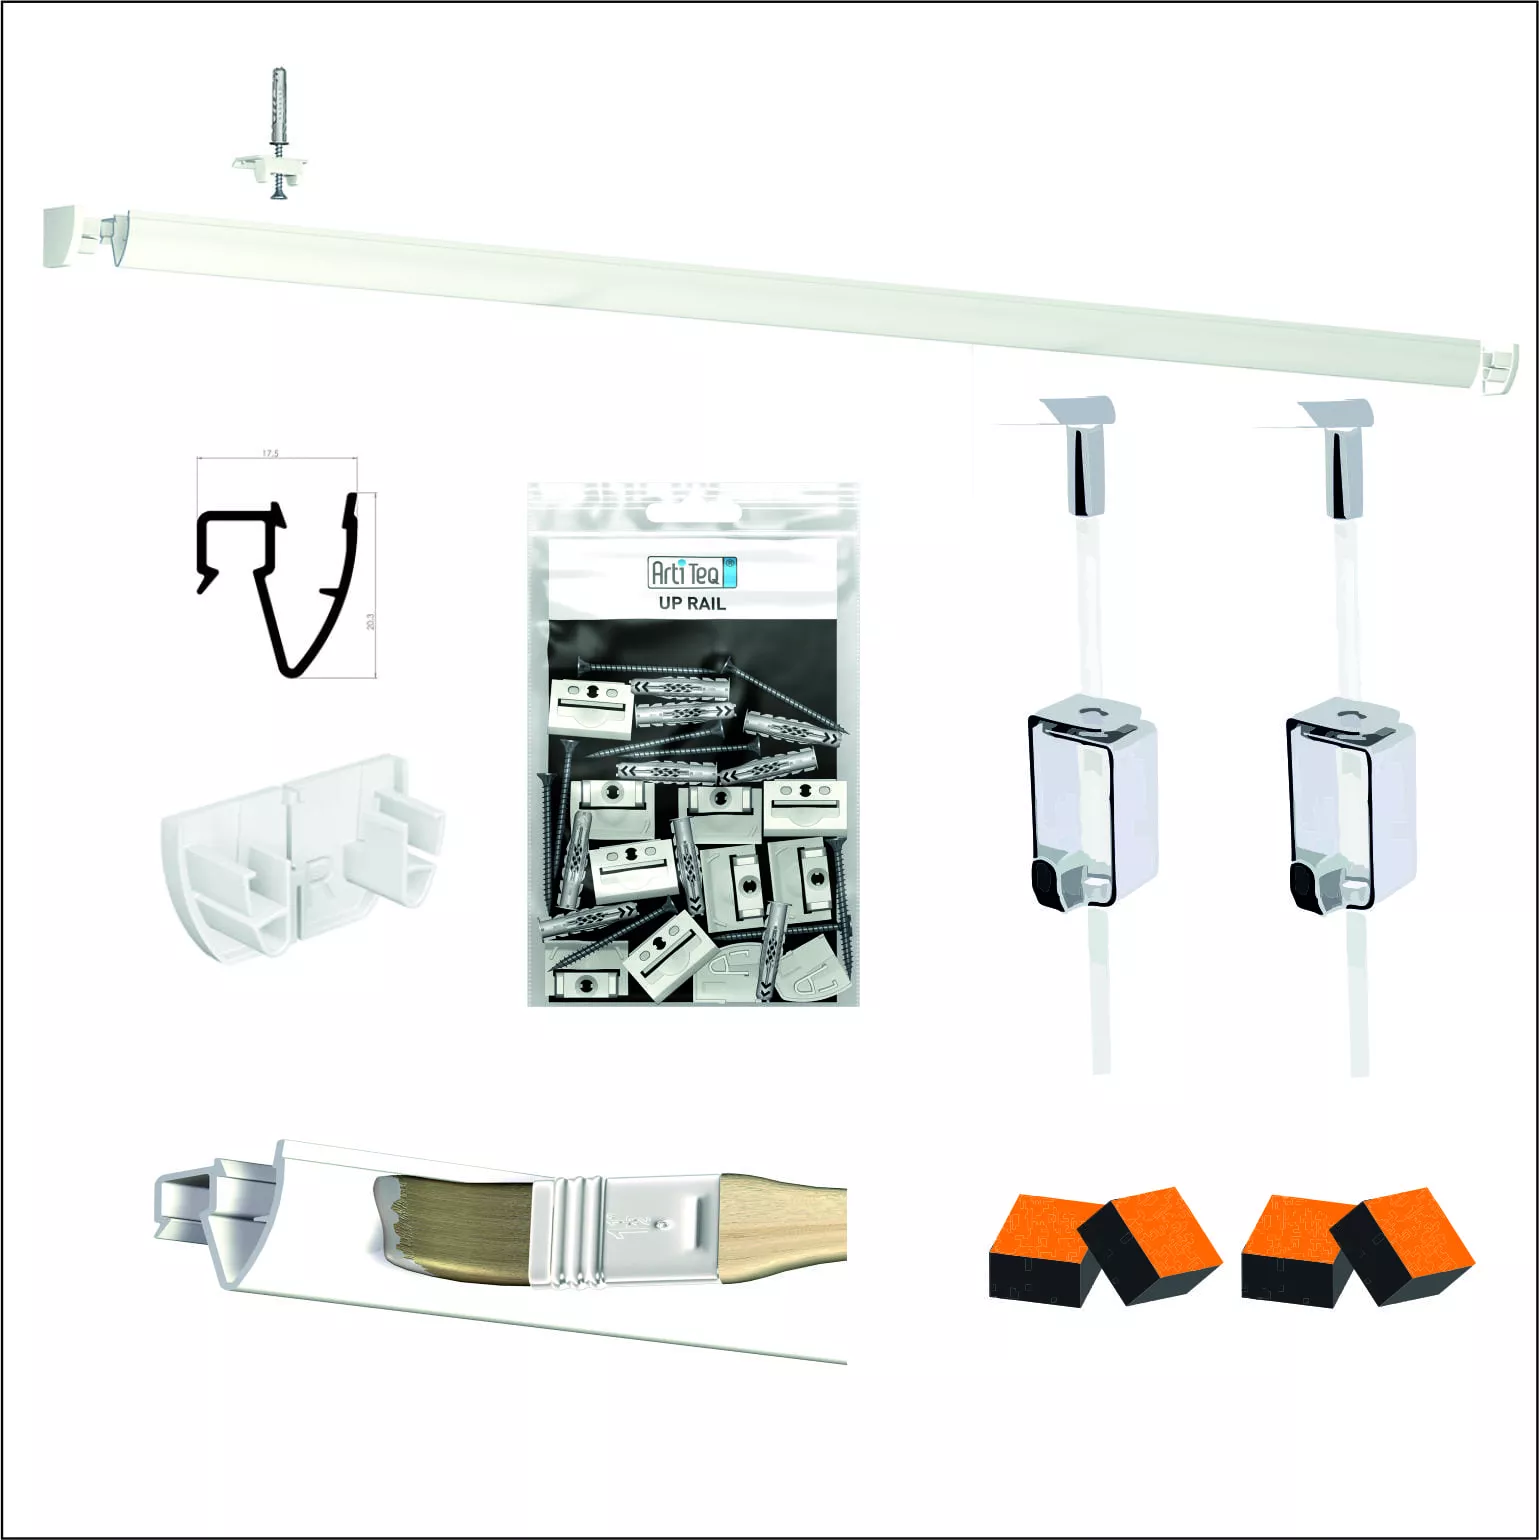
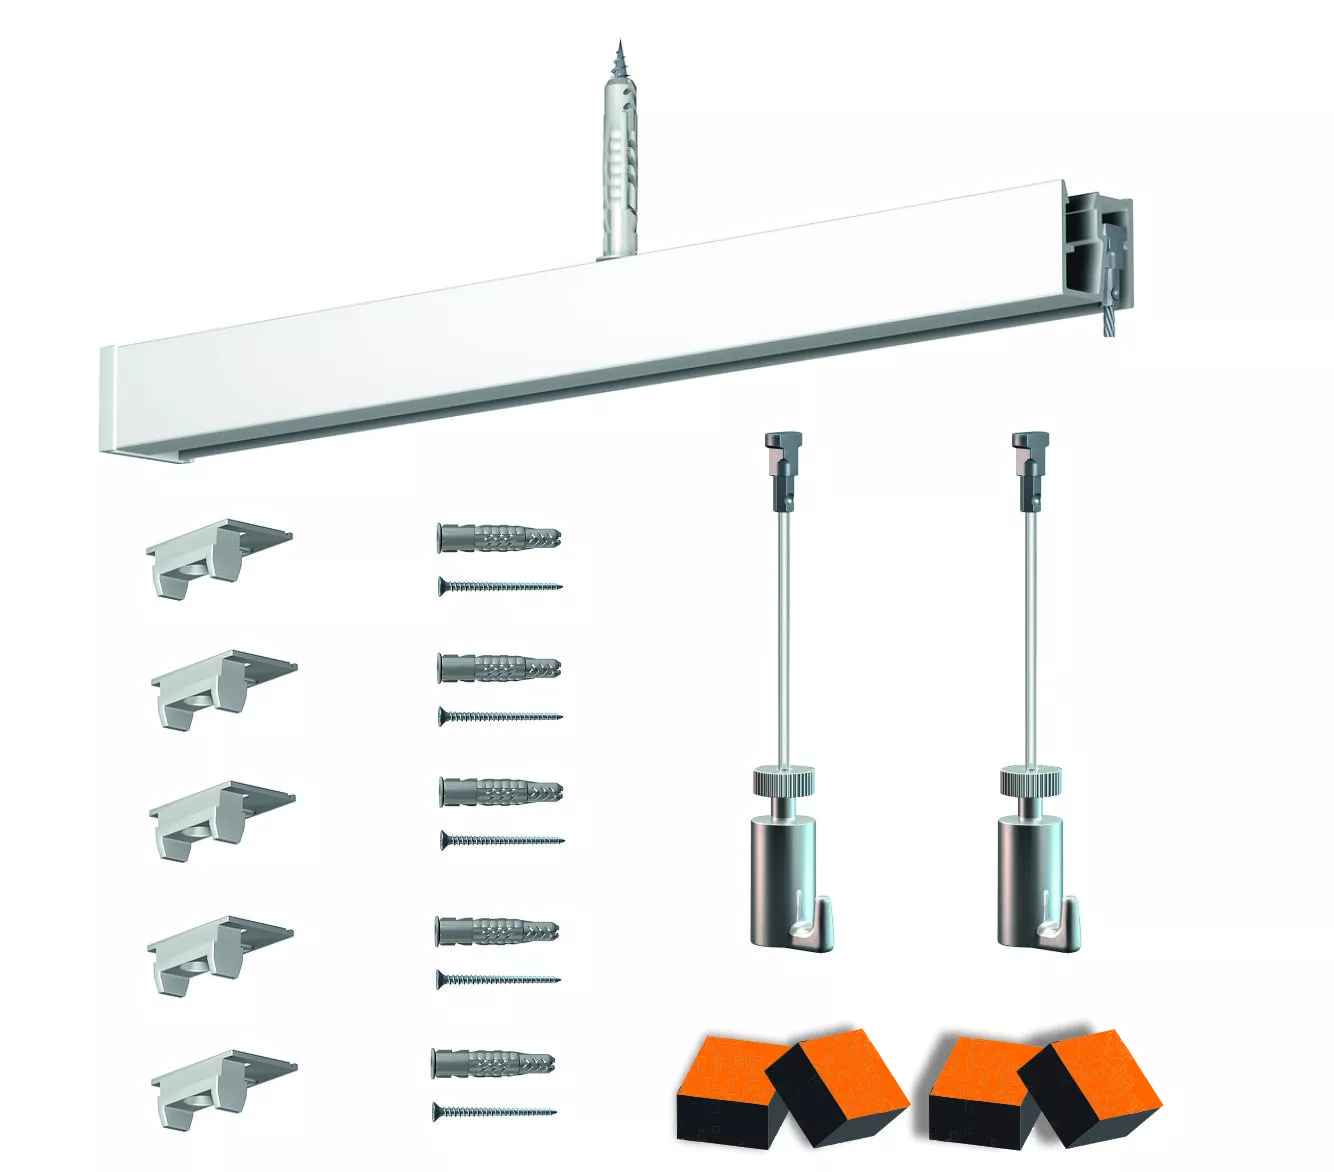
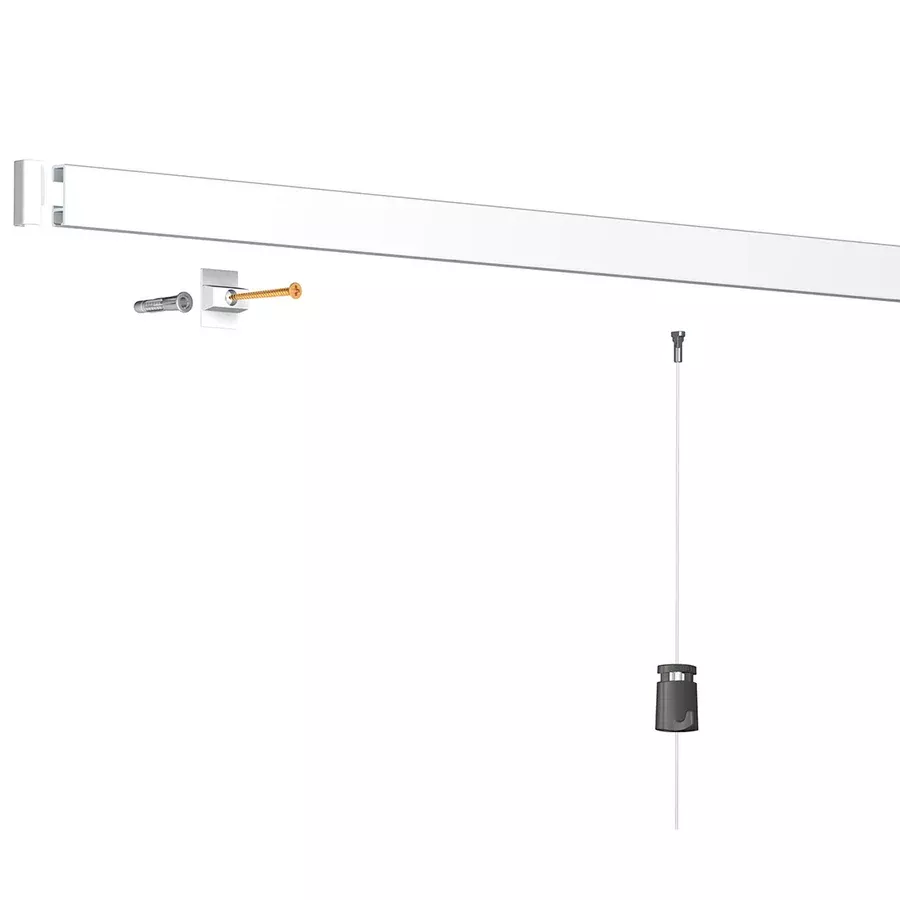
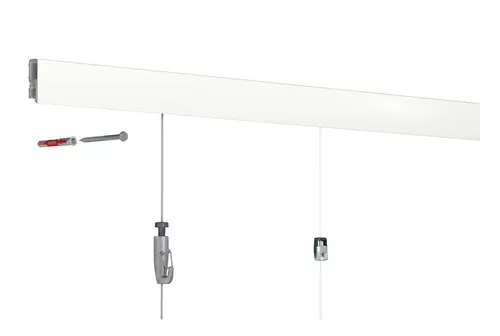
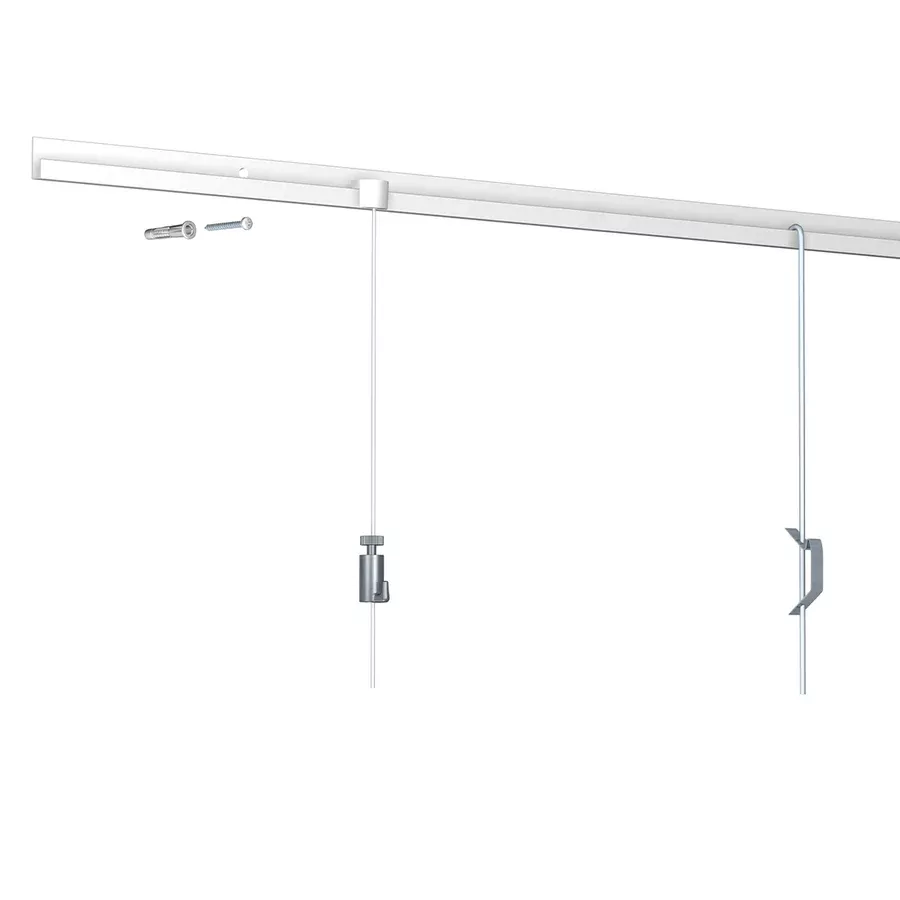
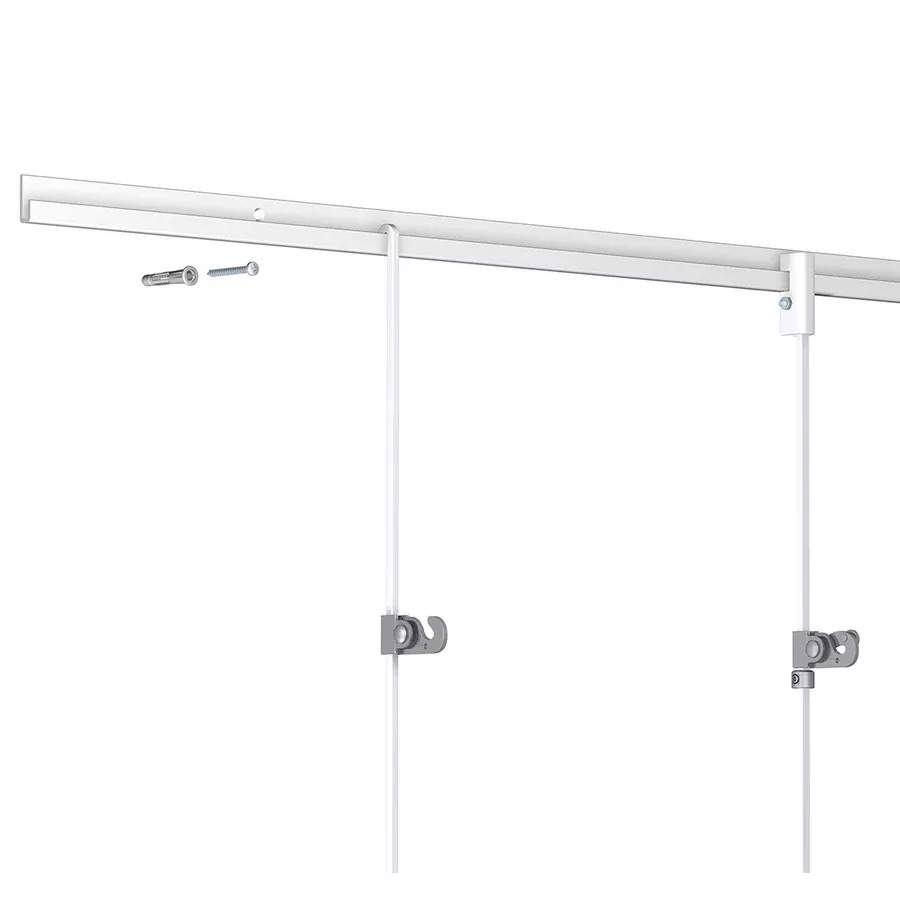
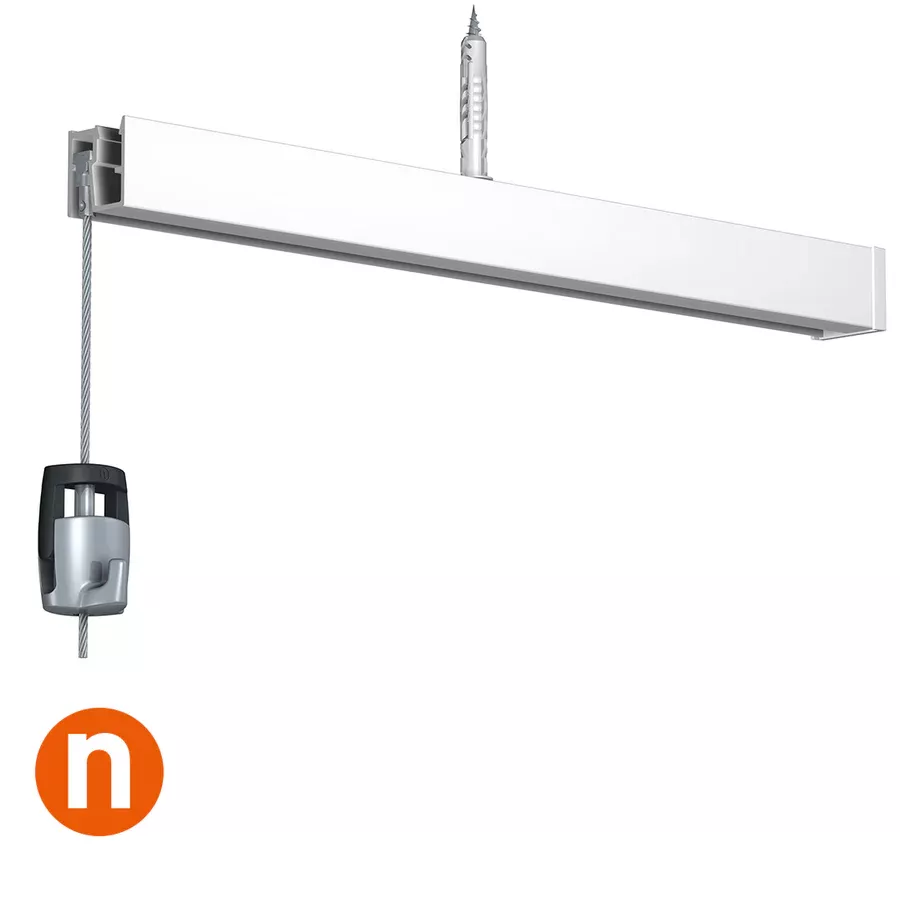
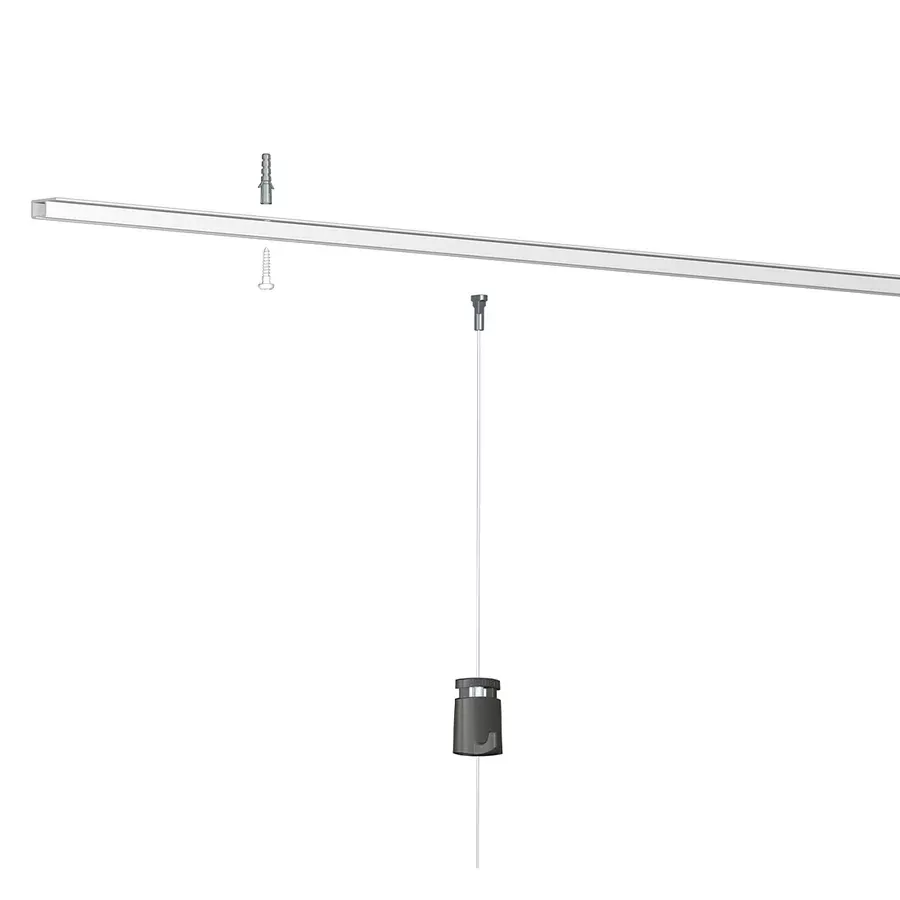
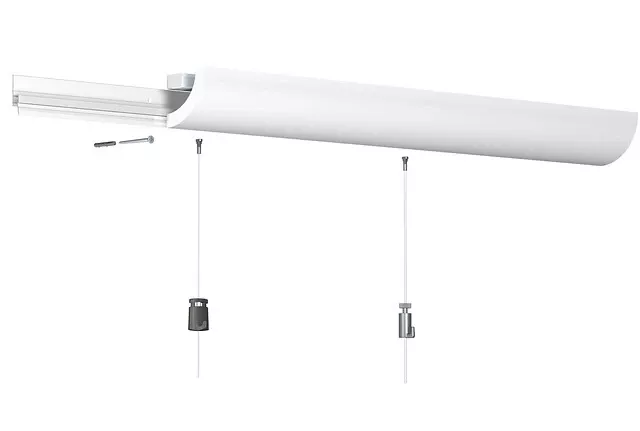
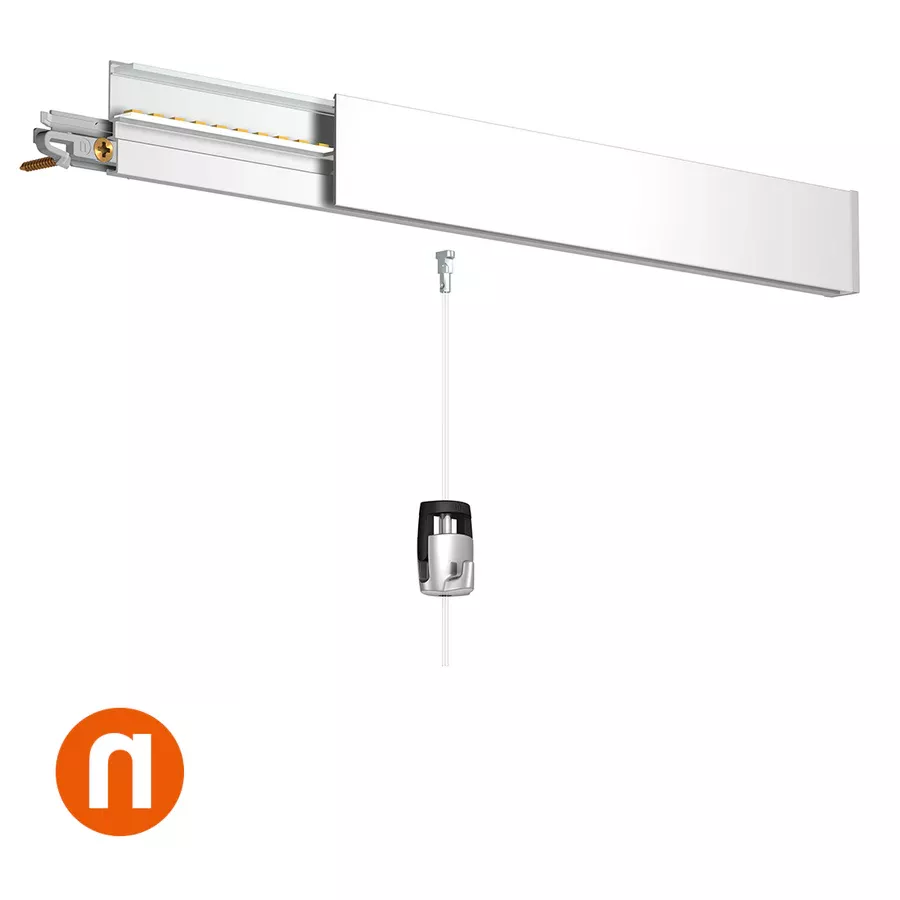
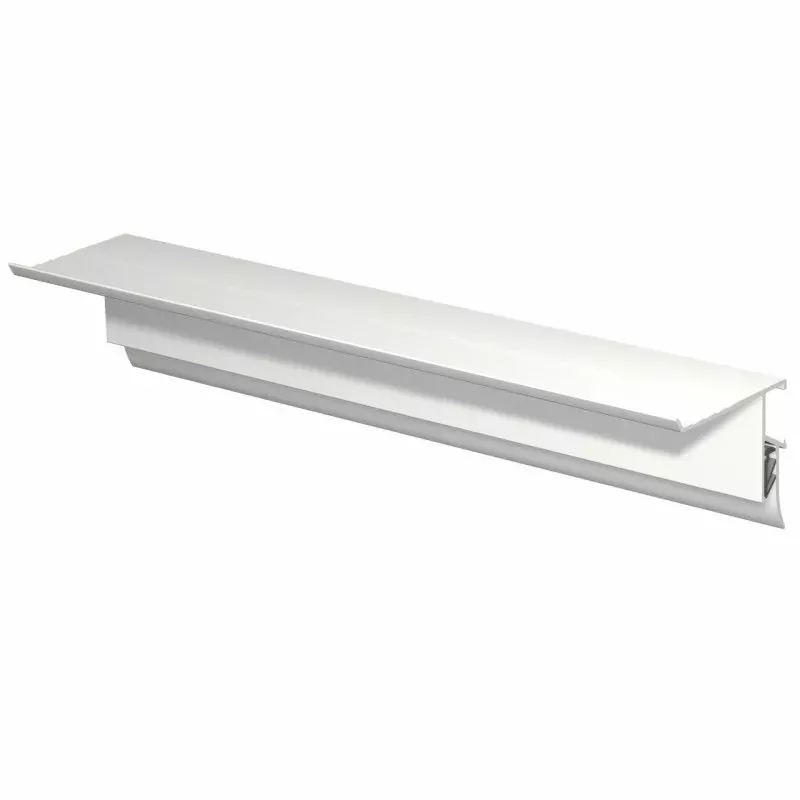
Artiteq Top Rail Rail
-
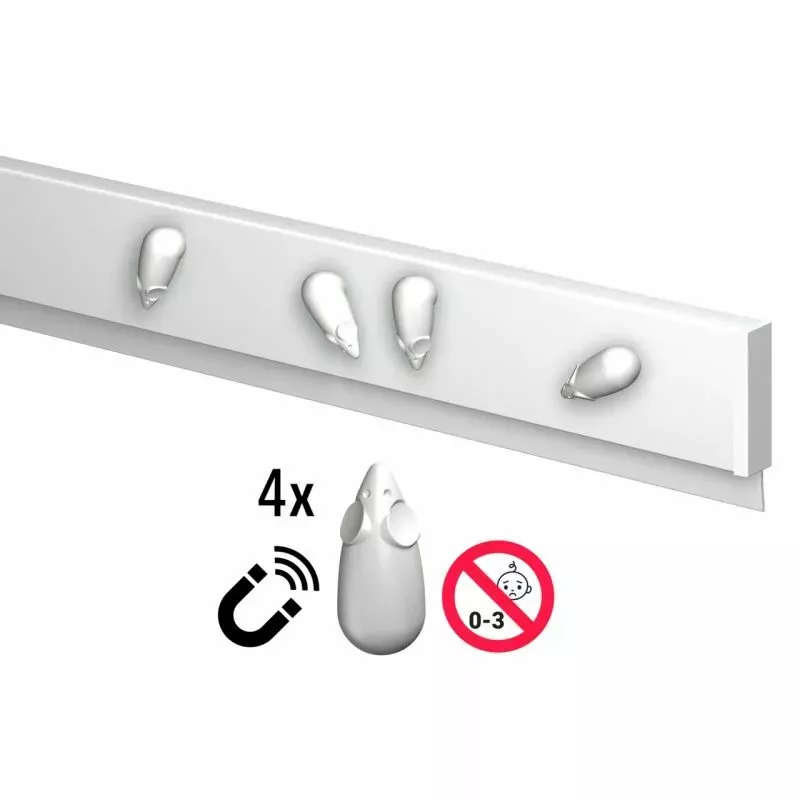
Suitable screws and plugs (a specific kit is available)
-
Drill with appropriate drill bits
-
Screwdriver
-
Bubble level
-
Pencil for marking
Installation steps:
-
Preparation:
-
Choose the location of the rail, ideally against the wooden slat of a false ceiling.
-
Make sure the surface is clean and dry.
-
-
Marking the fixing points:
-
Place the rail in the desired location and mark the screw positions every 40 cm or so.
-
Use the bubble level to ensure a straight alignment.
-
-
Drilling and fixing:
-
Drill holes at the marked locations, adjusting the drill bit size to the type of wall or ceiling.
-
Insert plugs if necessary.
-
Secure the rail by screwing the screws into the plugs or directly into the support.
-
-
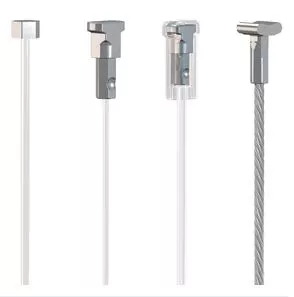
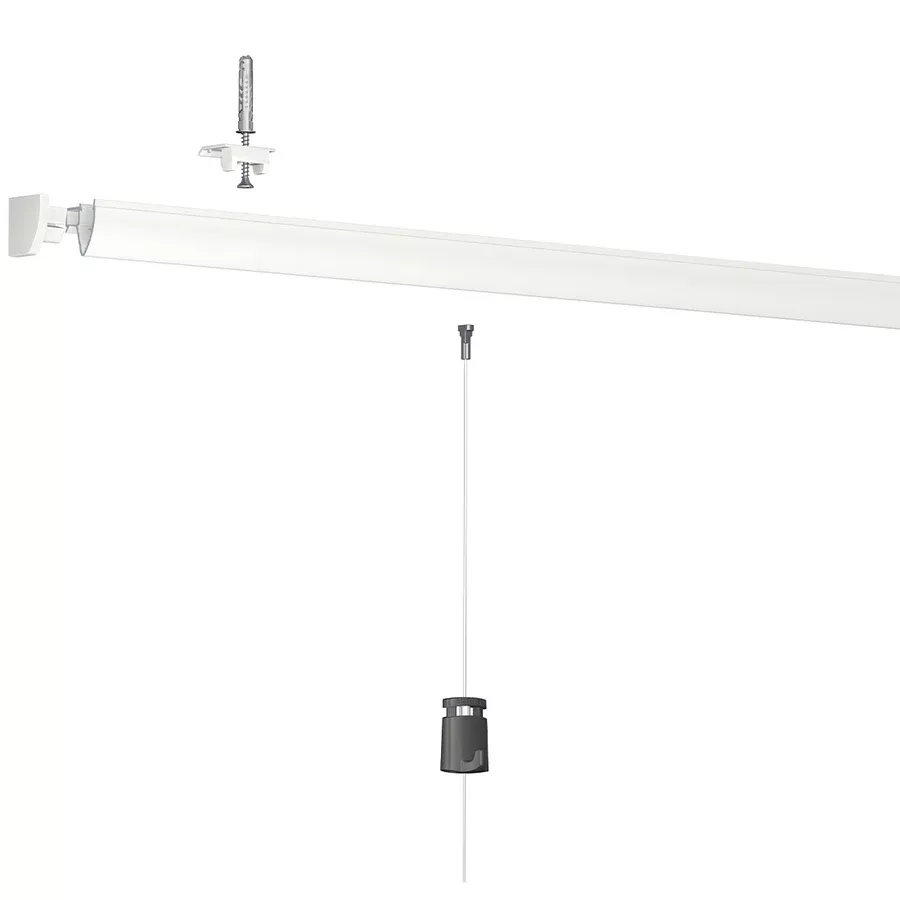
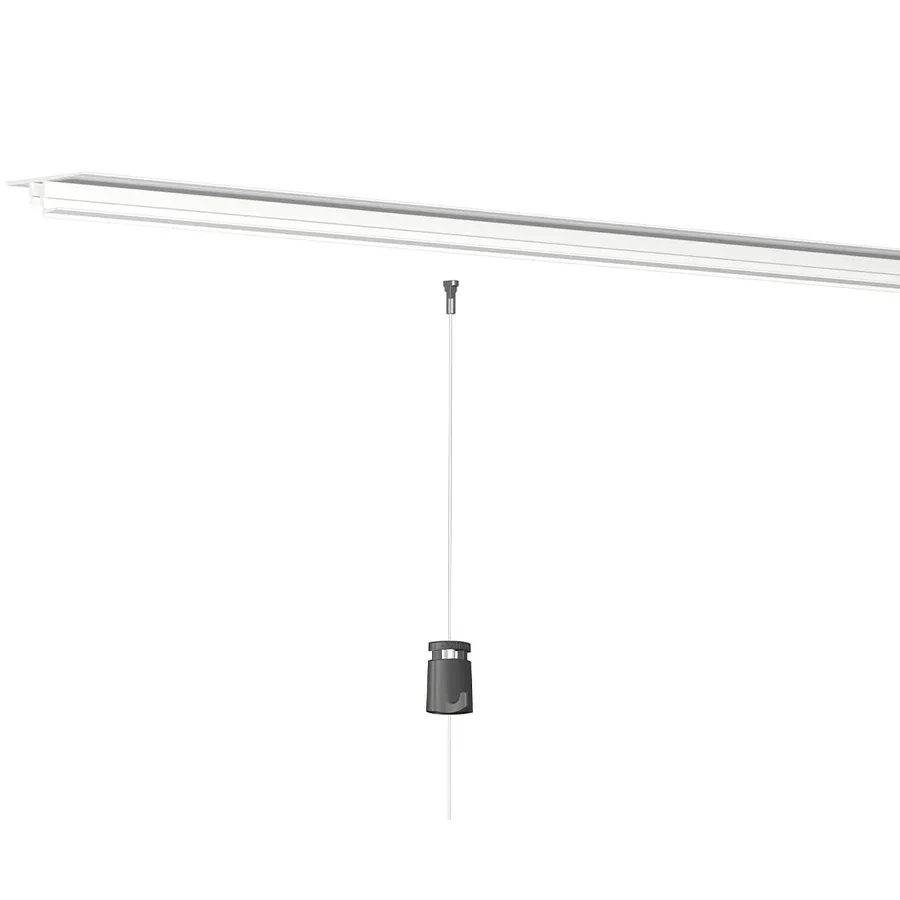
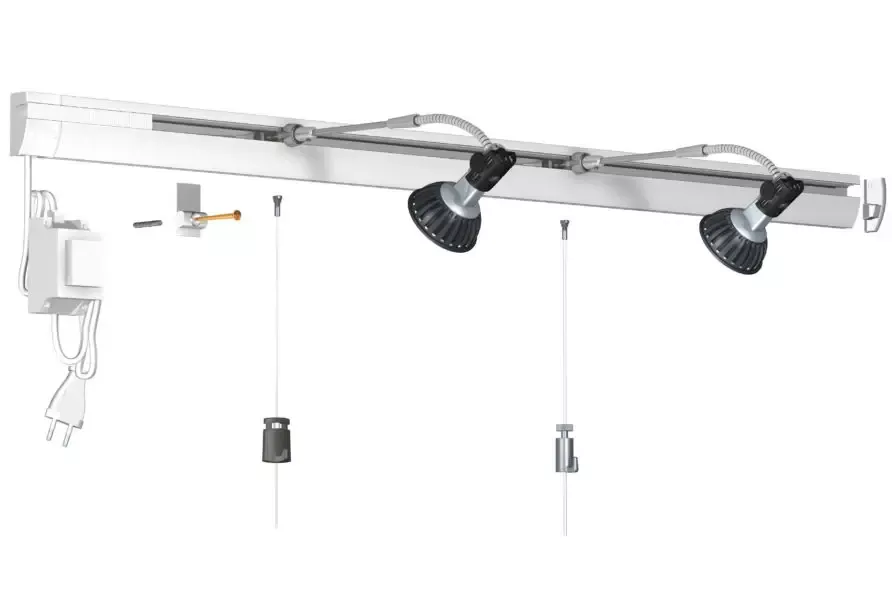
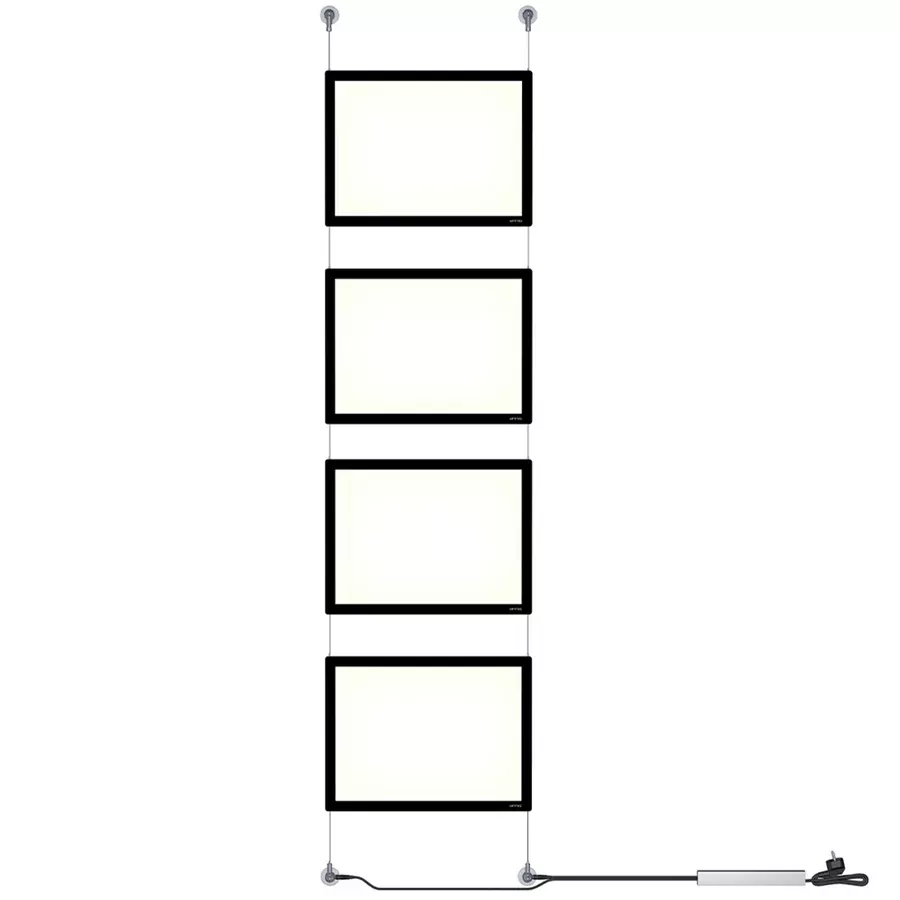
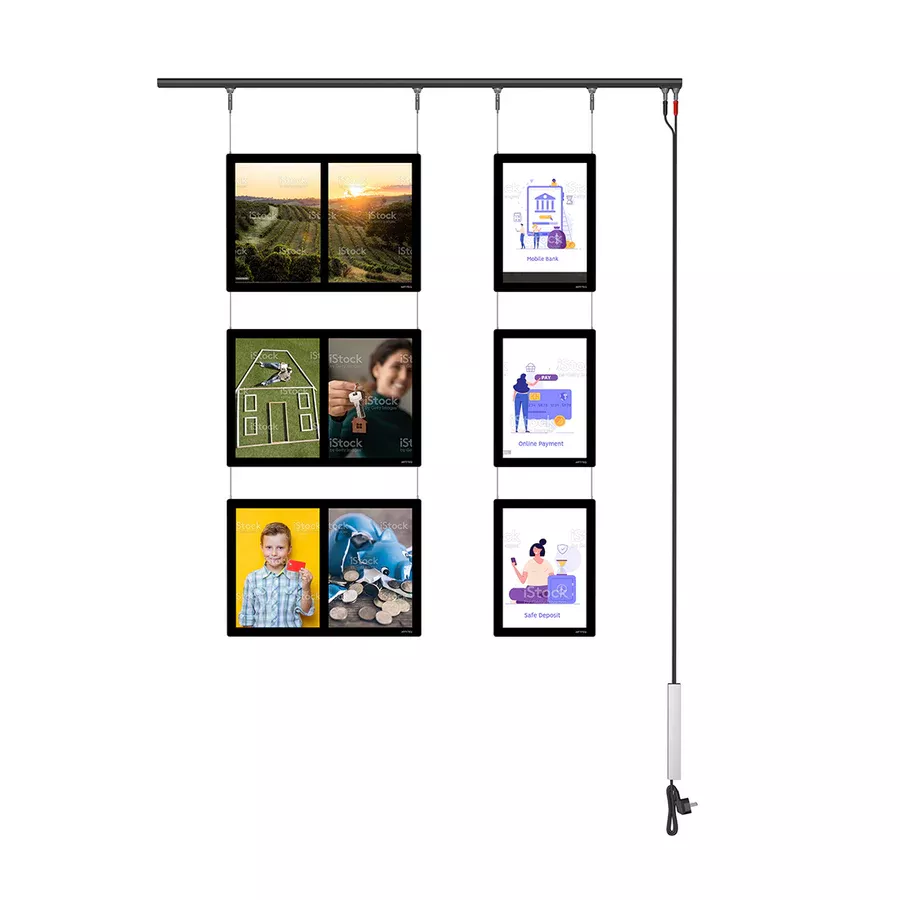
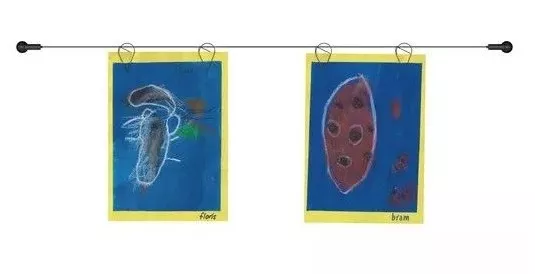
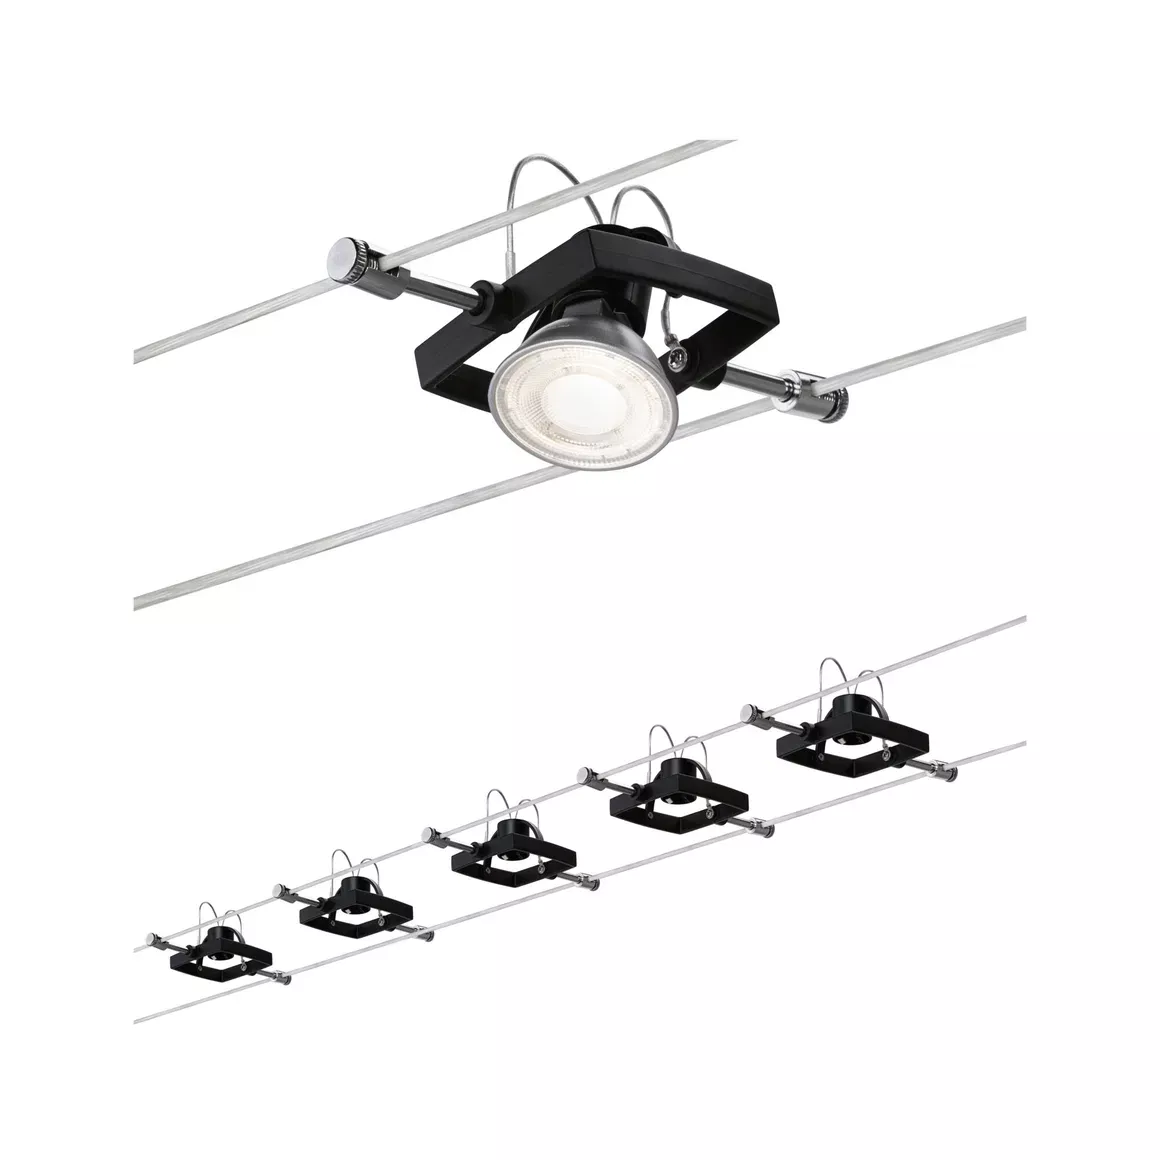
Installation of suspension wires:
-
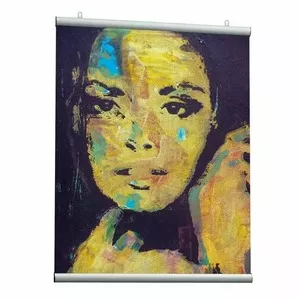
Once the rail is in place, insert the suspension wires at the desired location.
-
The wires can be made of perlon for maximum discretion or steel for a more industrial style.
-
Additional tips:
For a strong installation, it is recommended to use the specific screw and plug kit designed for the Top Rail.
-
If the ceiling is a false ceiling, fix the rail against the wooden slats for a discreet integration.
-
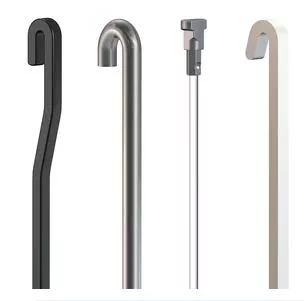
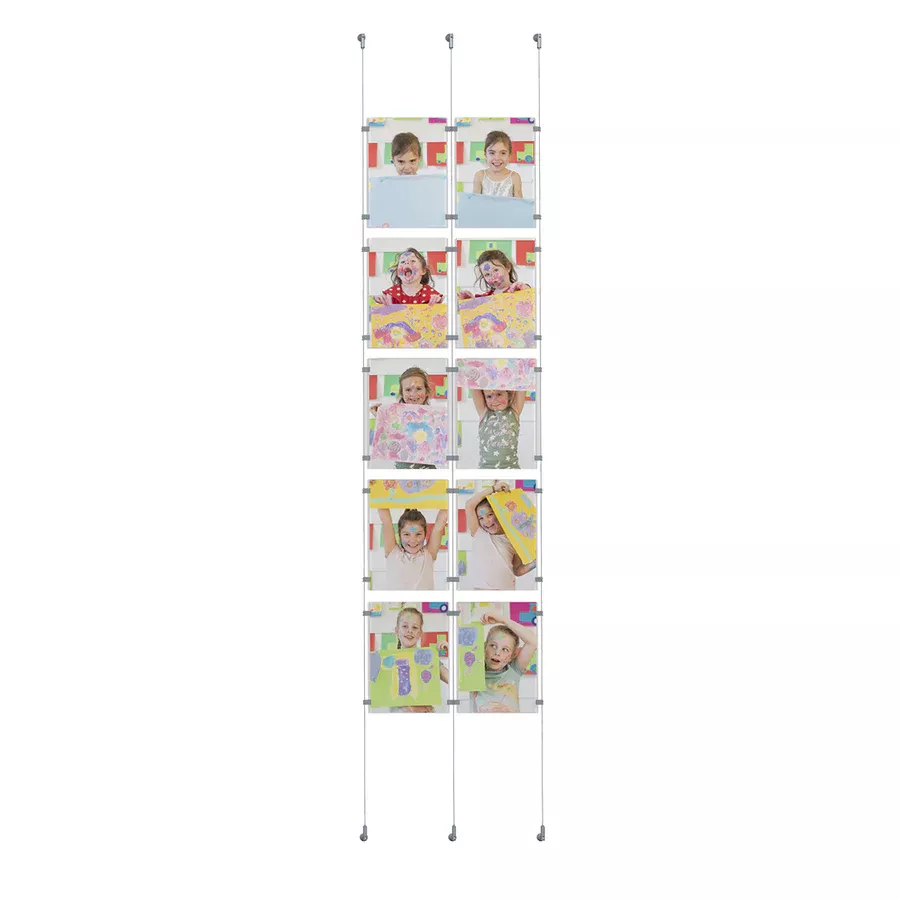
For more flexibility, the suspension wires can be moved along the rail according to your needs.
For visual assistance, refer to the installation video.
Share this content