


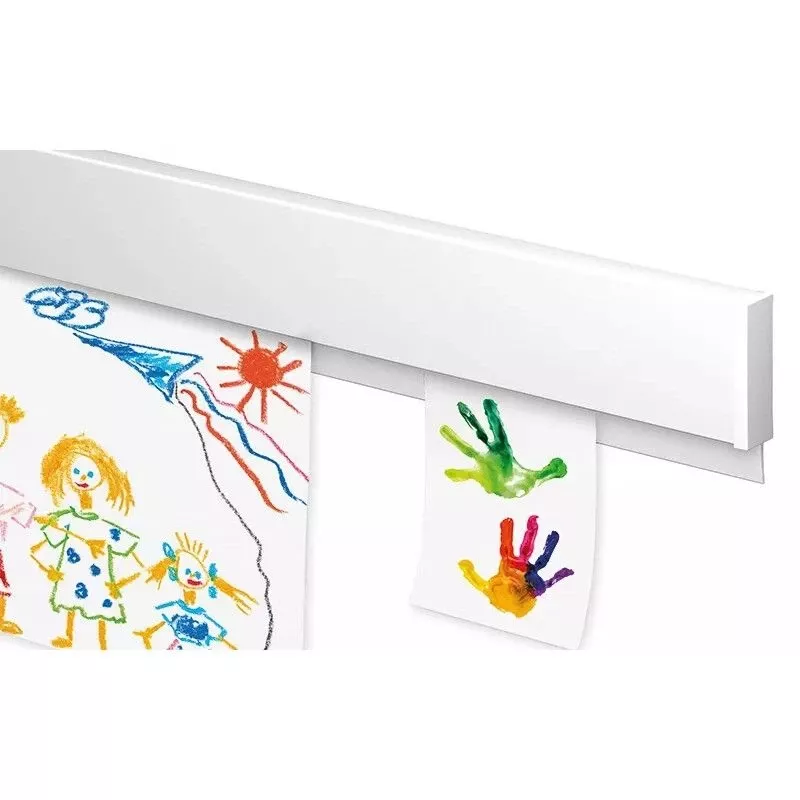

How to remove picture rails?
Categories :
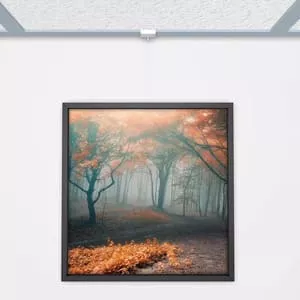
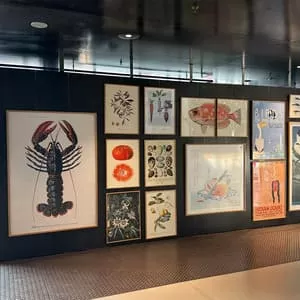
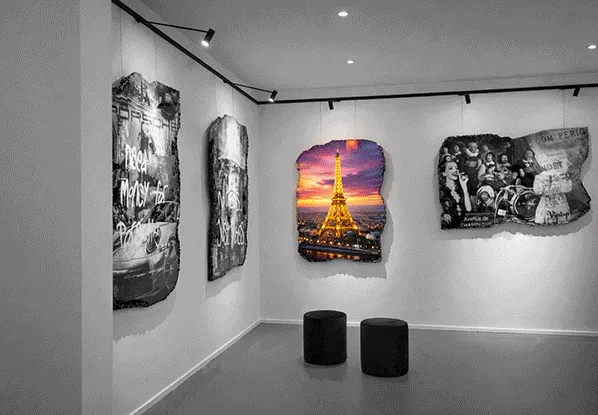
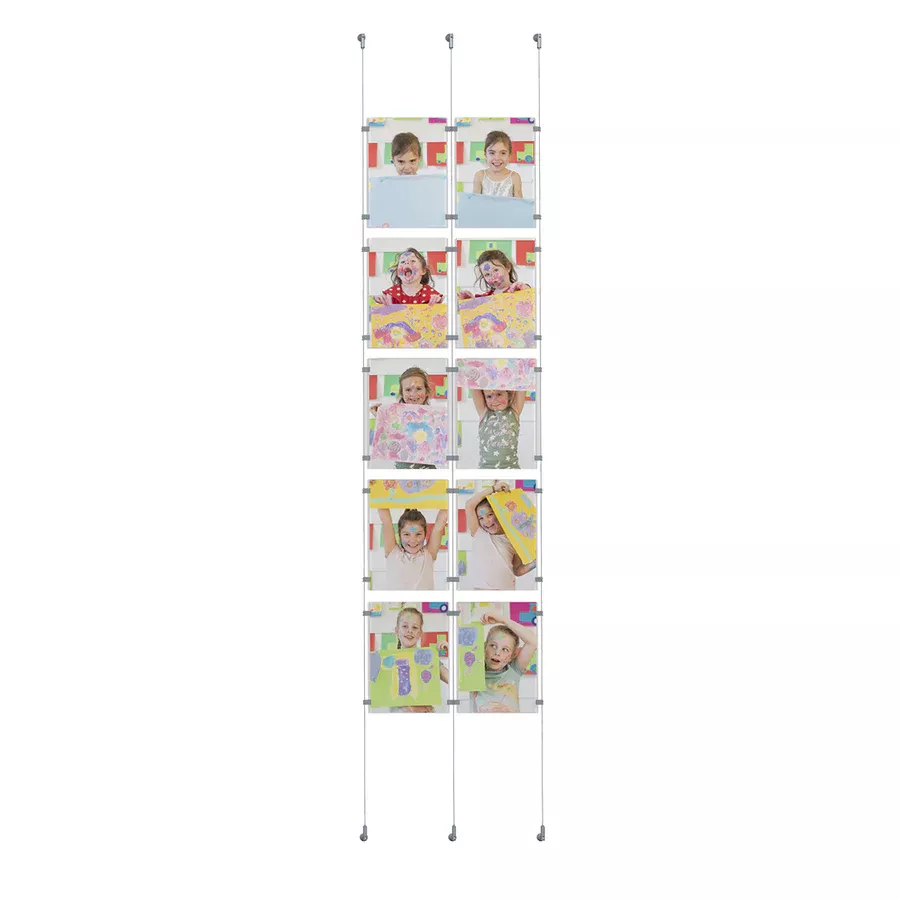
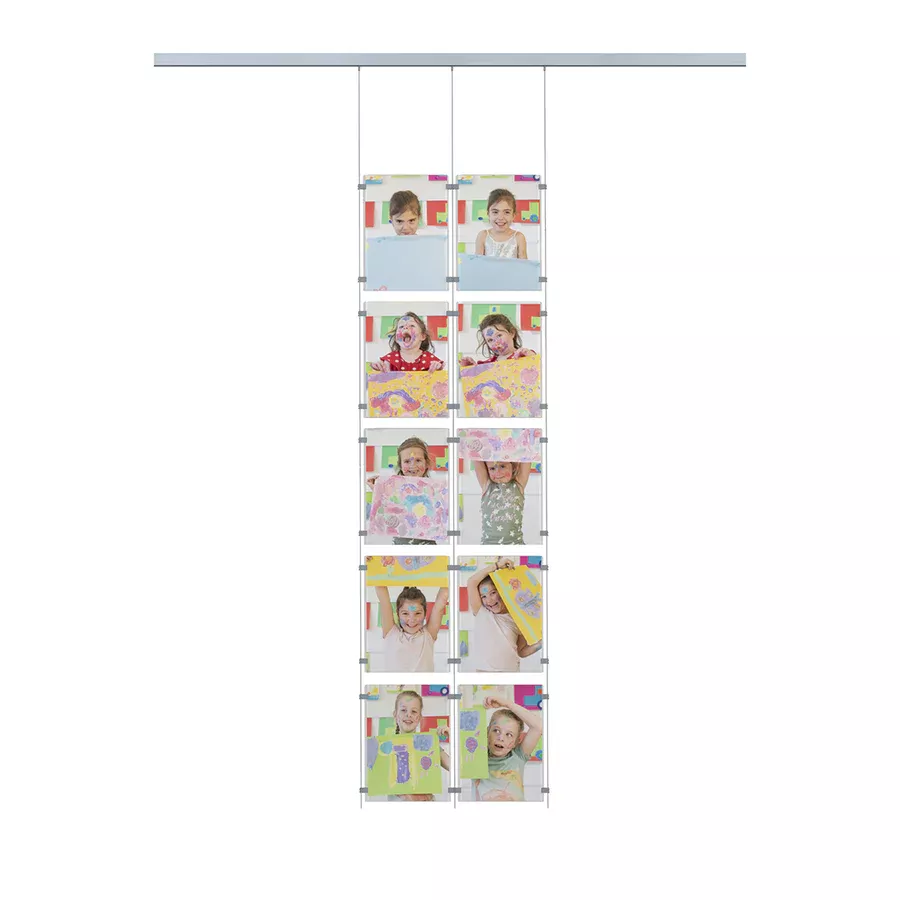
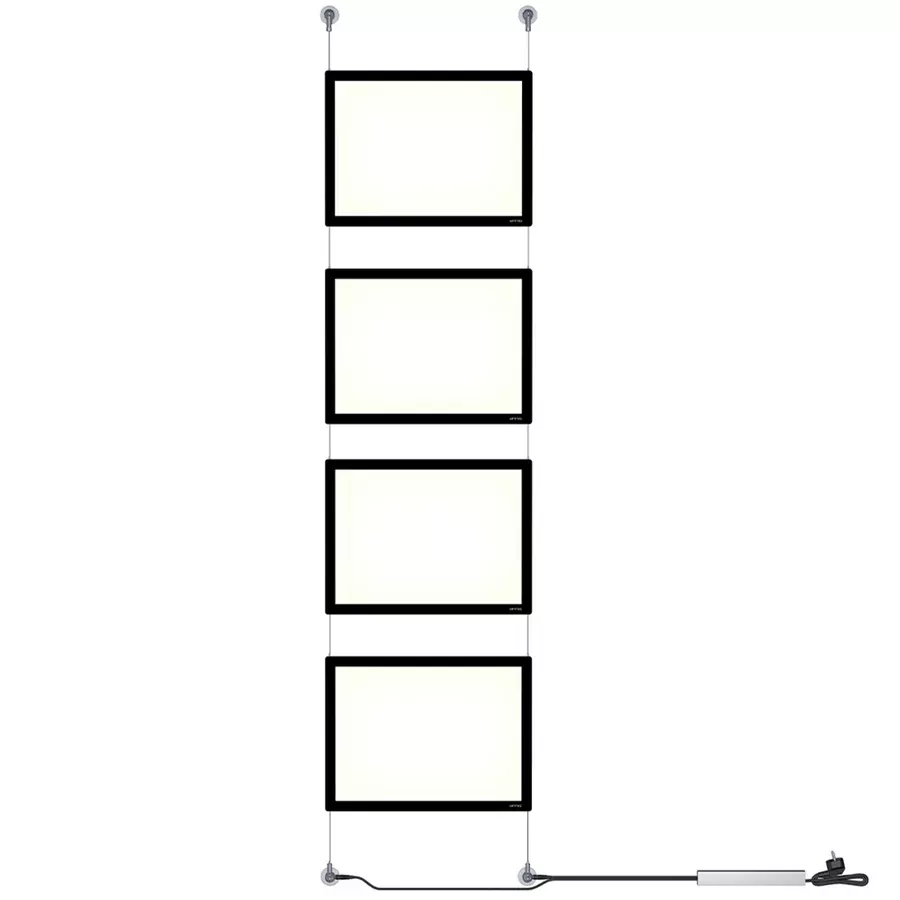
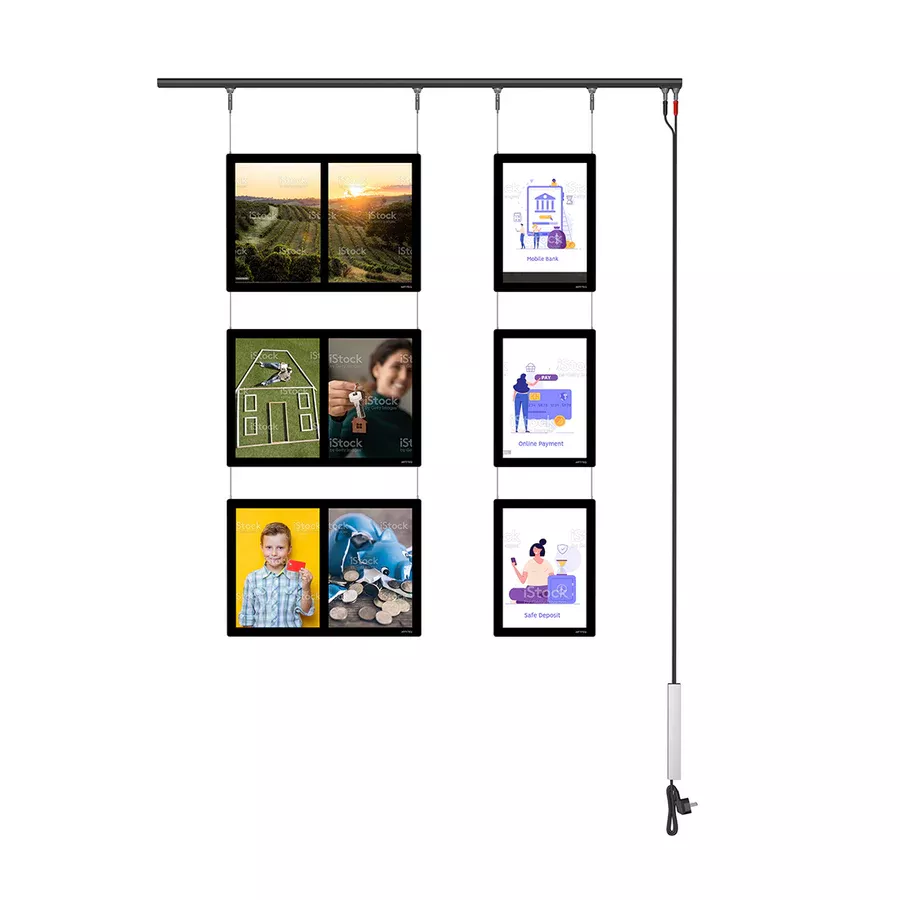
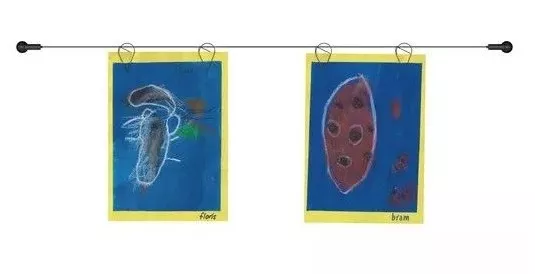
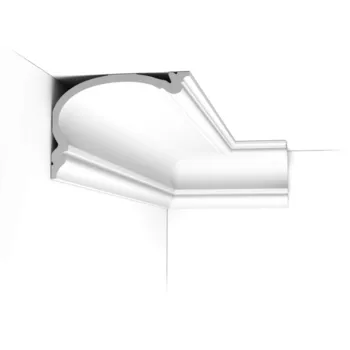
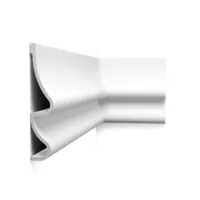
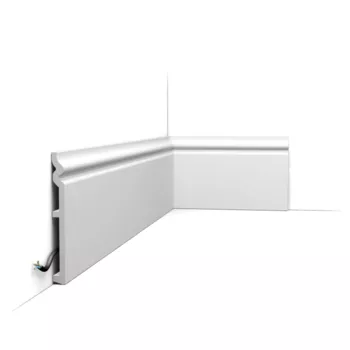
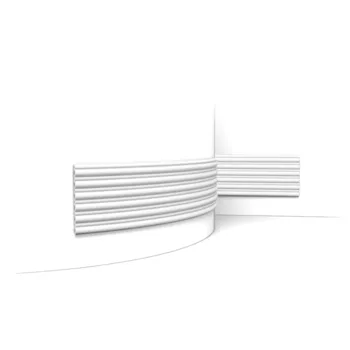
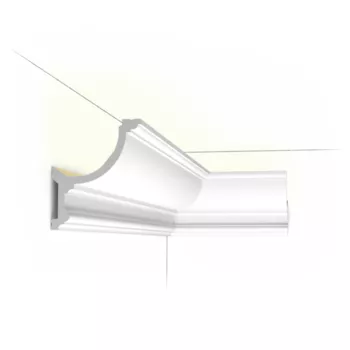
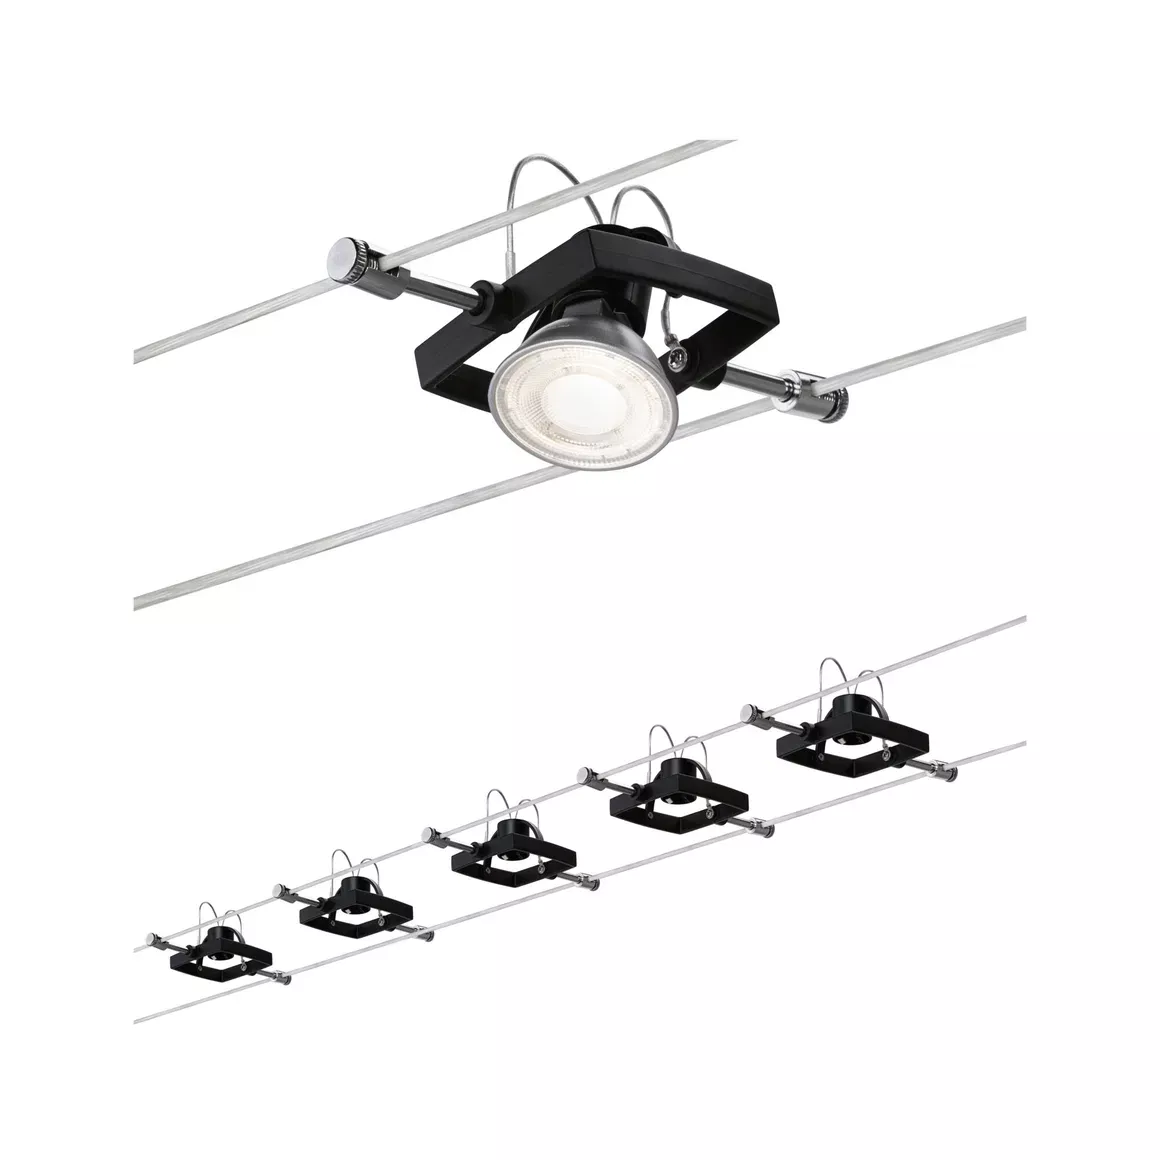
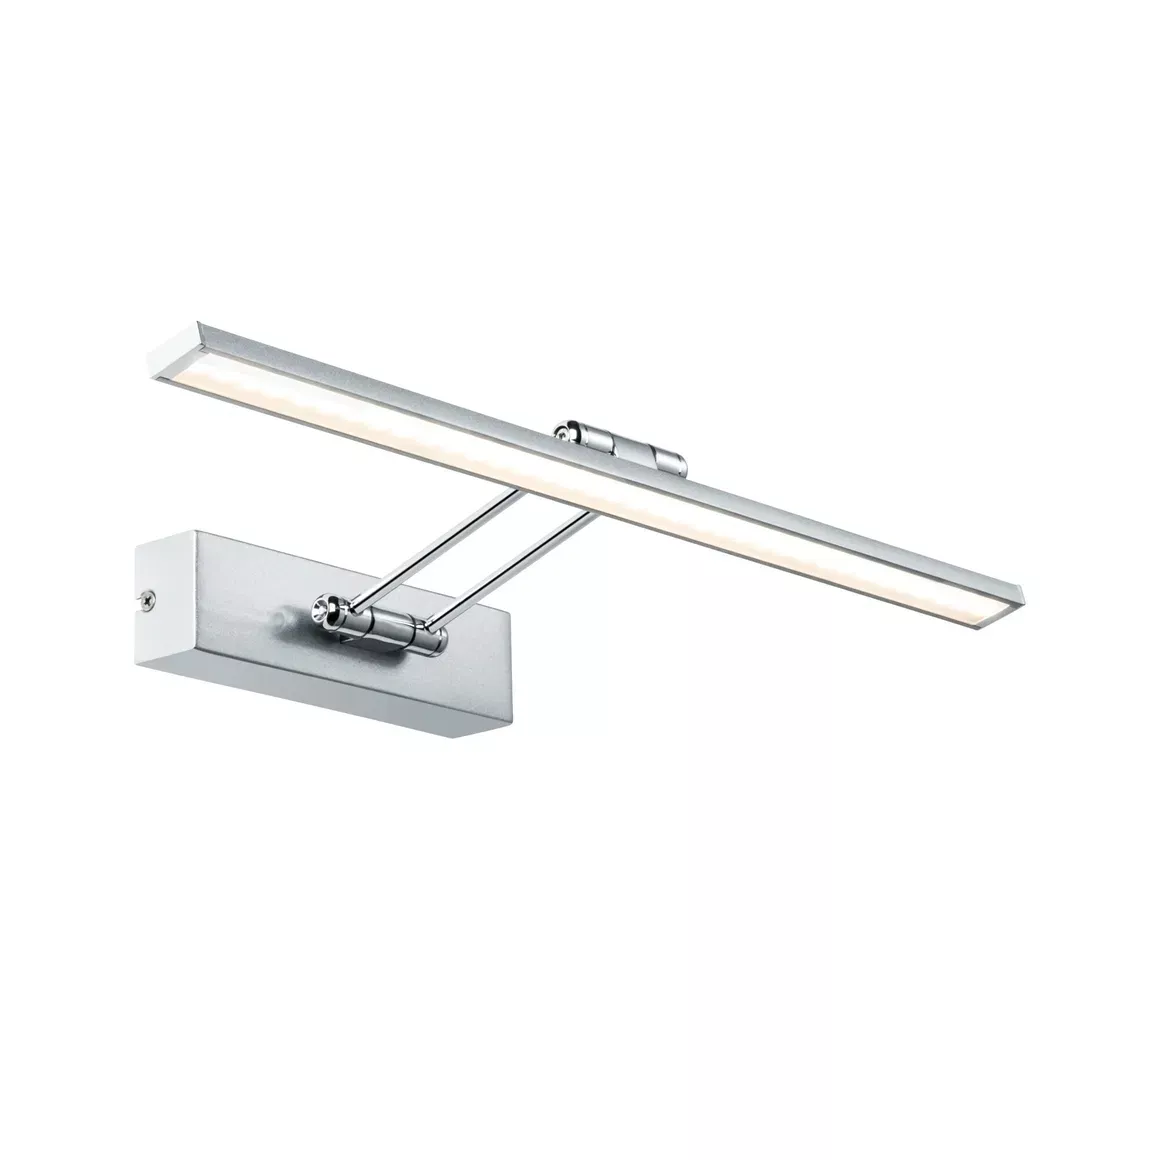
Picture rail inspiration
Removing picture rails requires some precautions to avoid damaging the walls or ceilings. Here are the general steps for removing a picture rail:
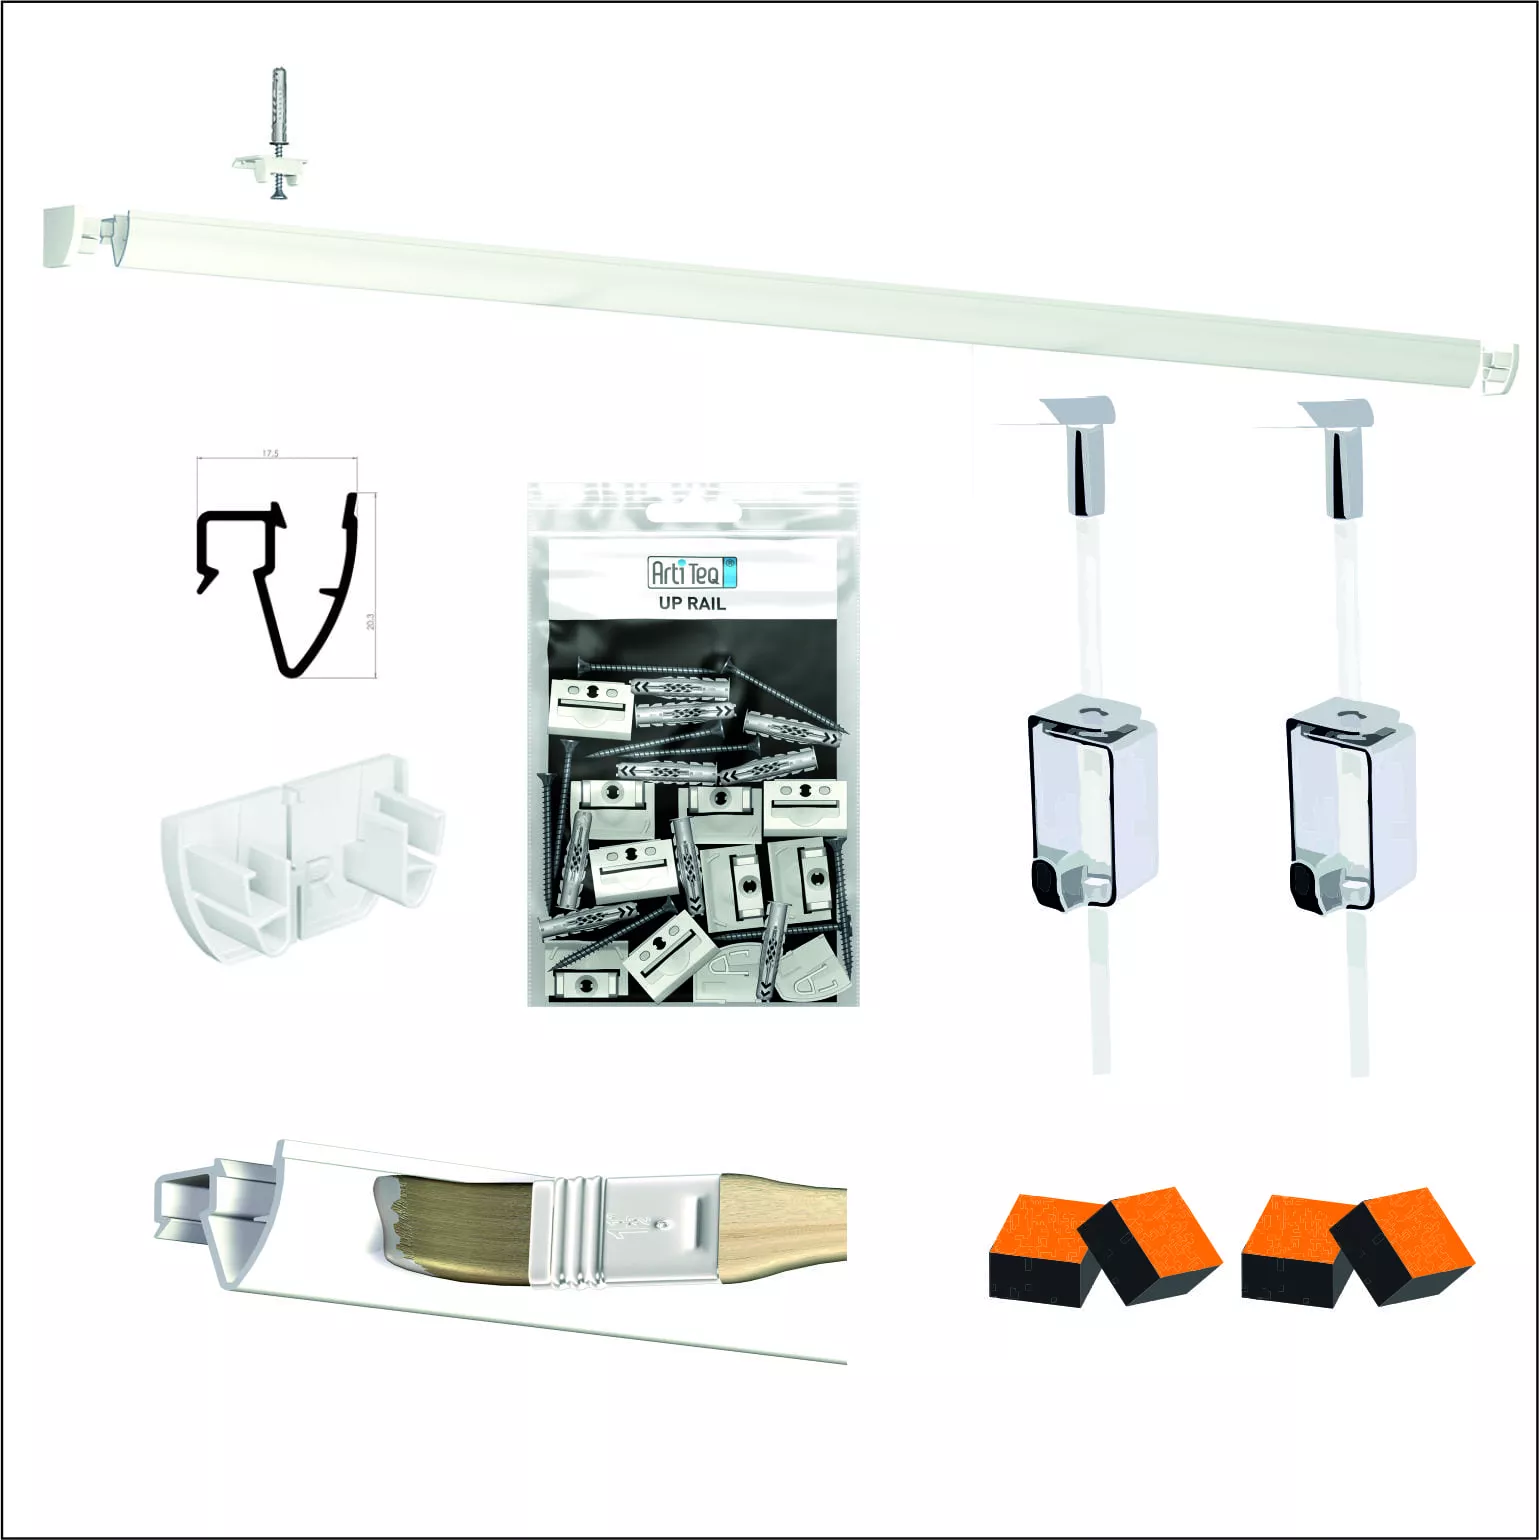
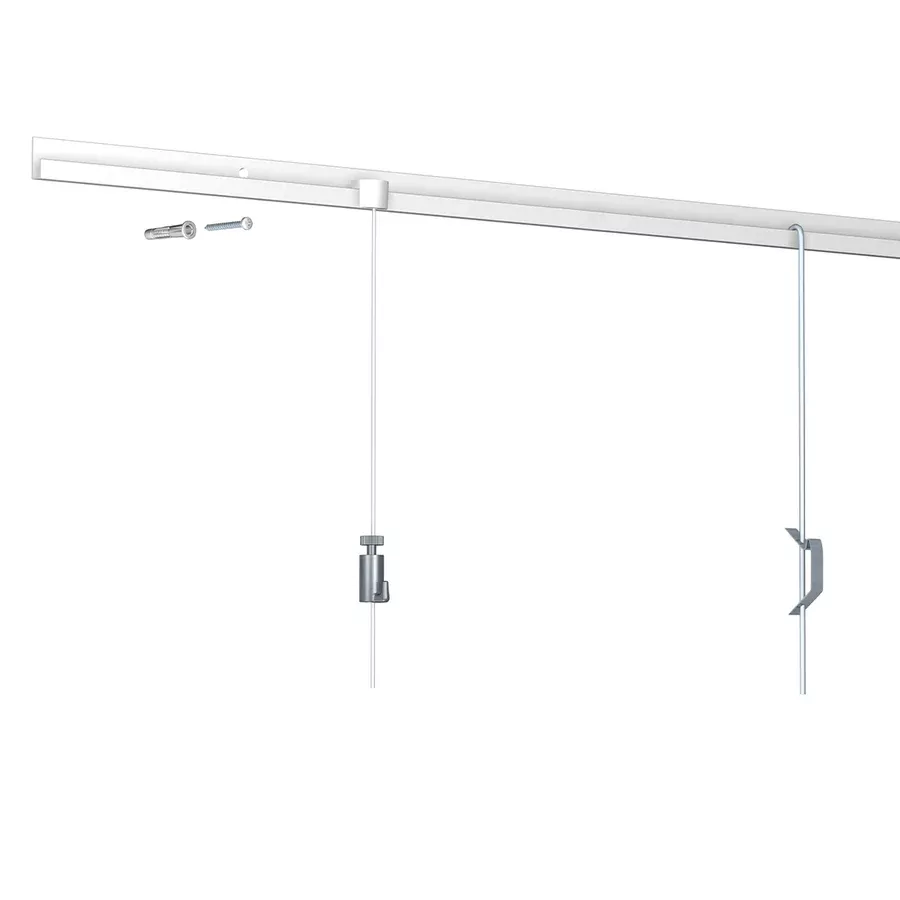
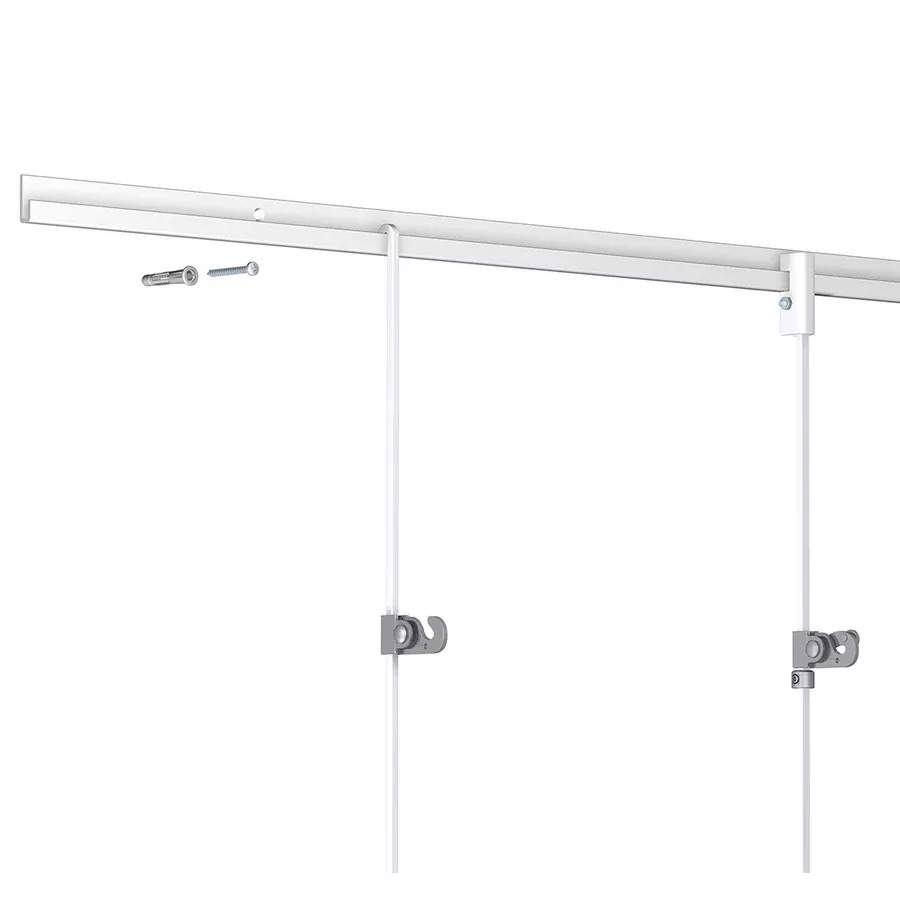
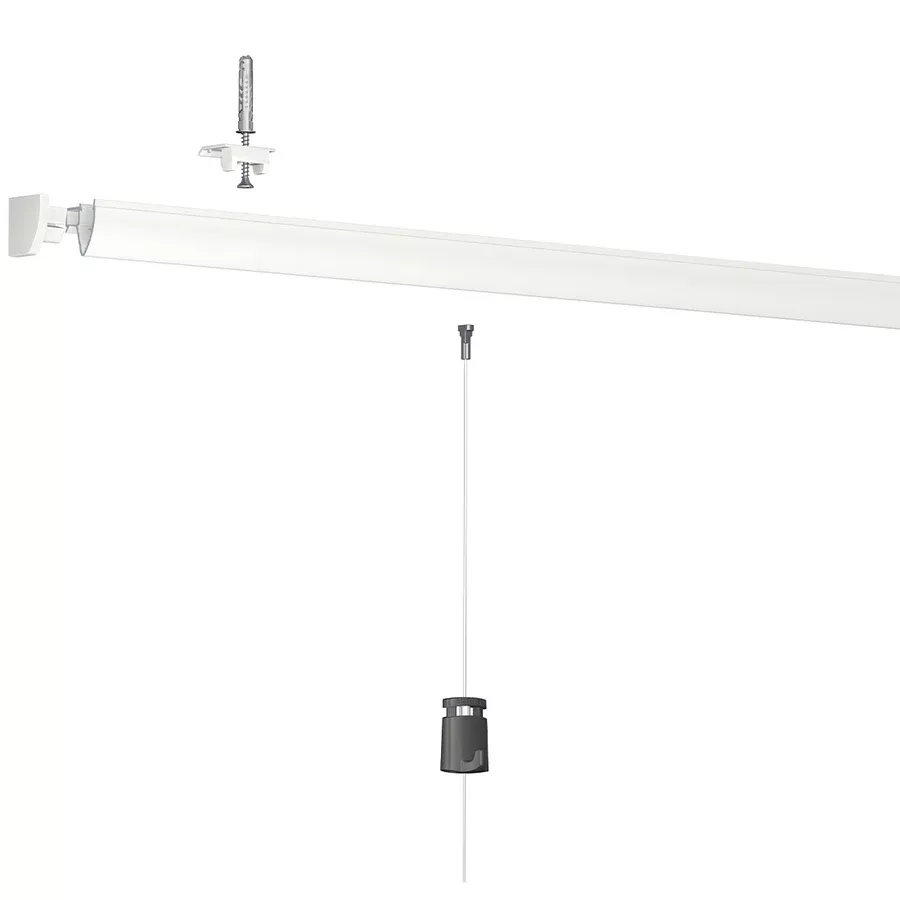
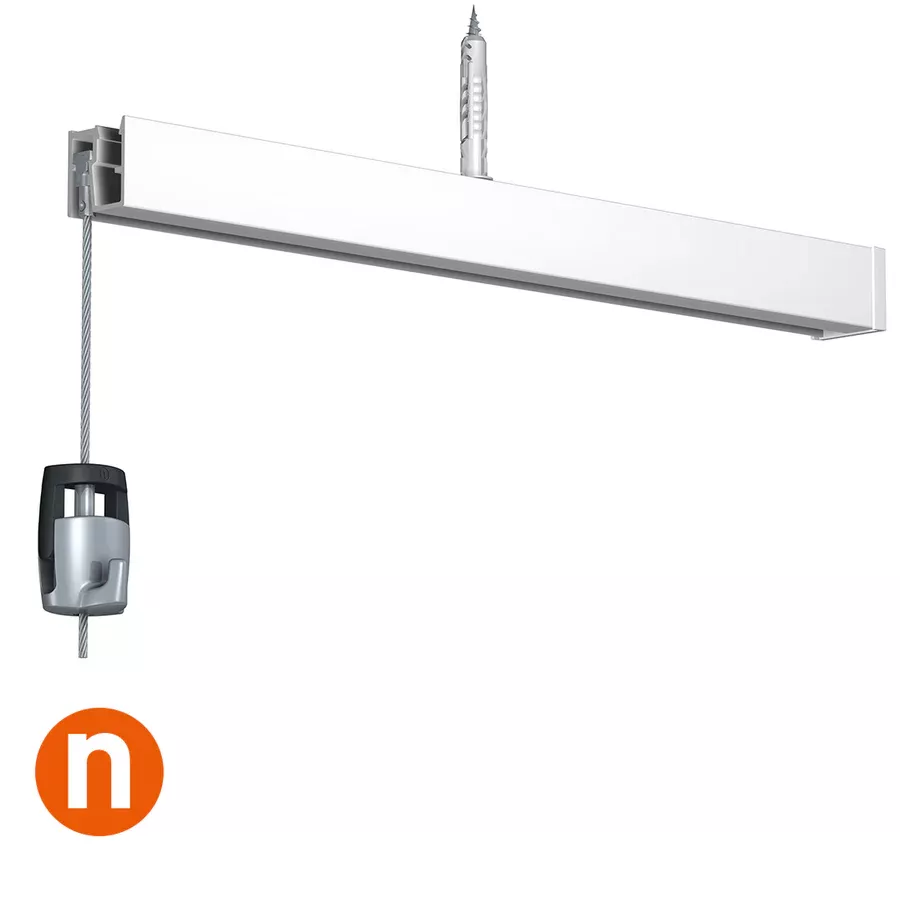
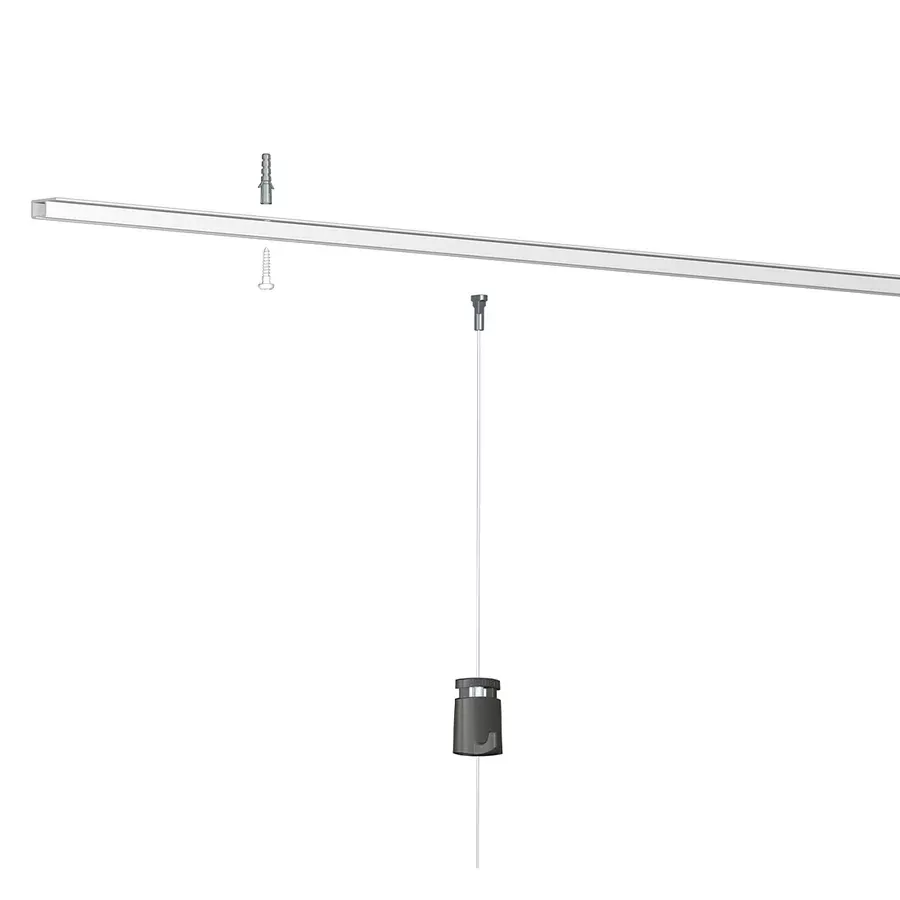
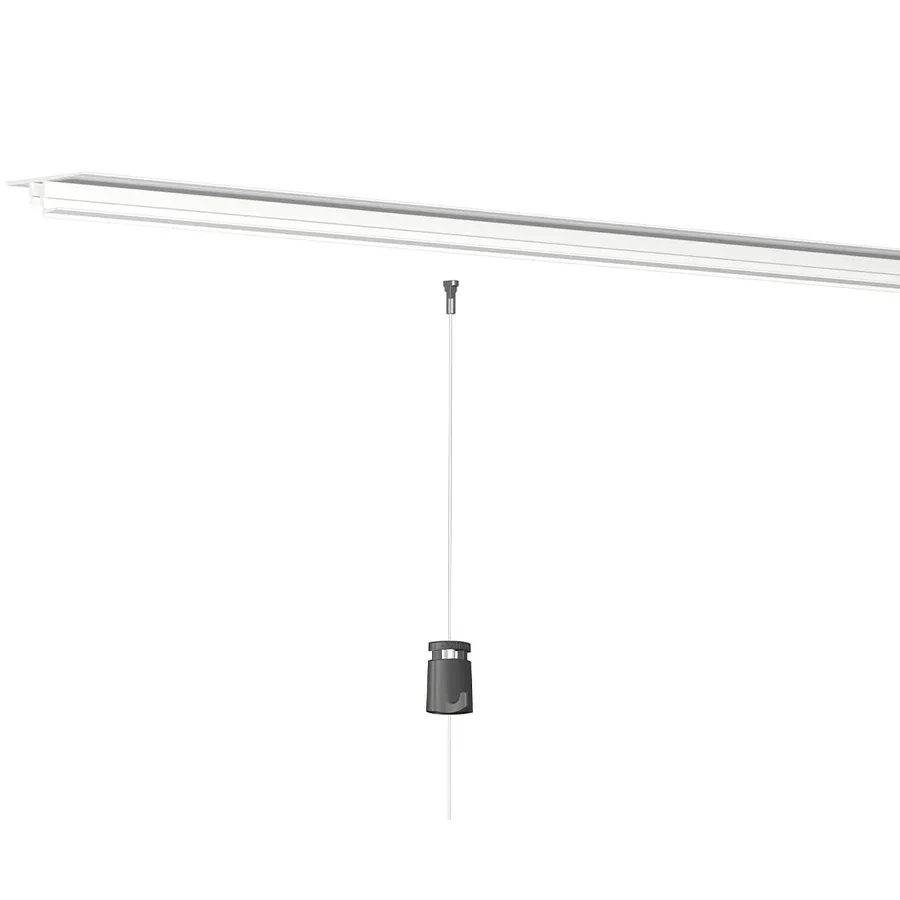
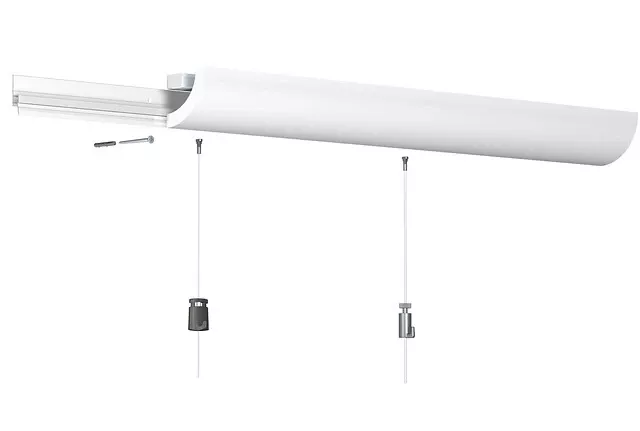
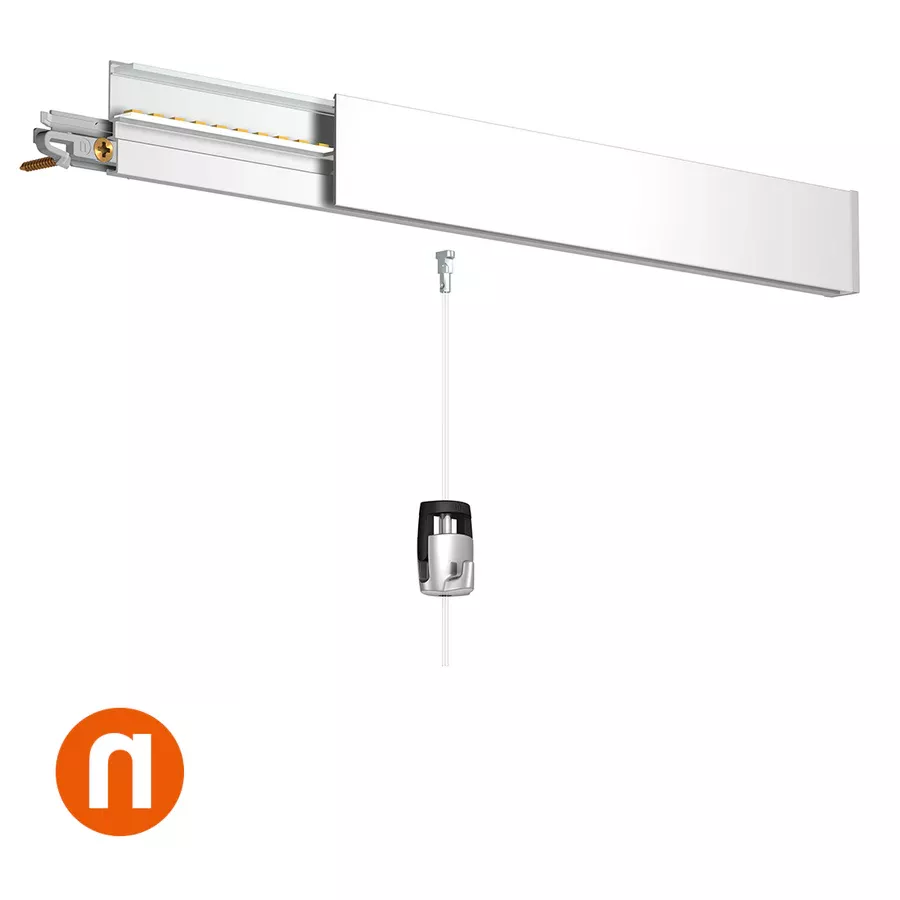
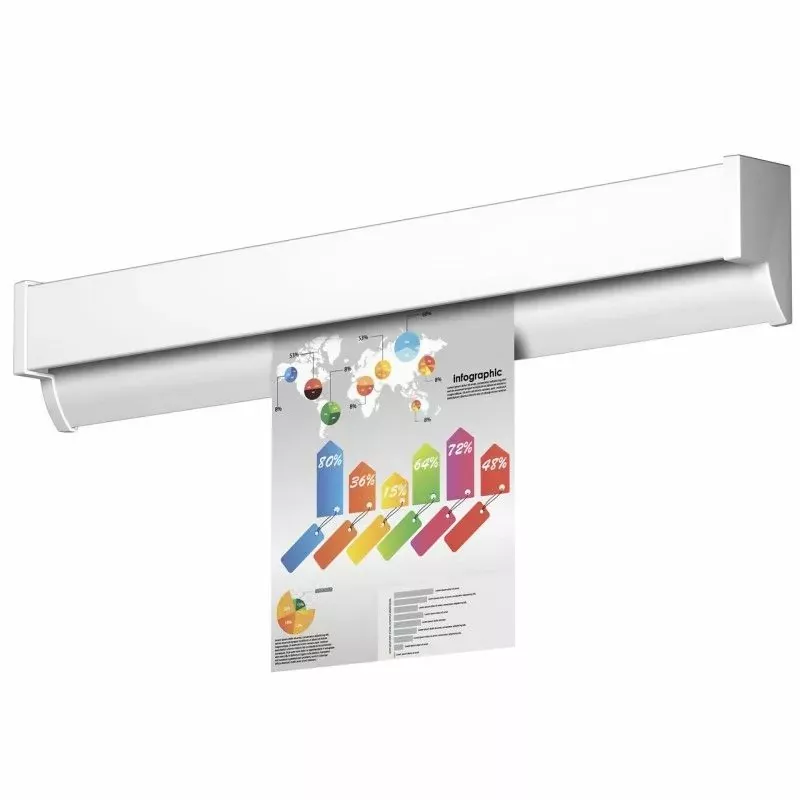
1. Remove the hanging elements
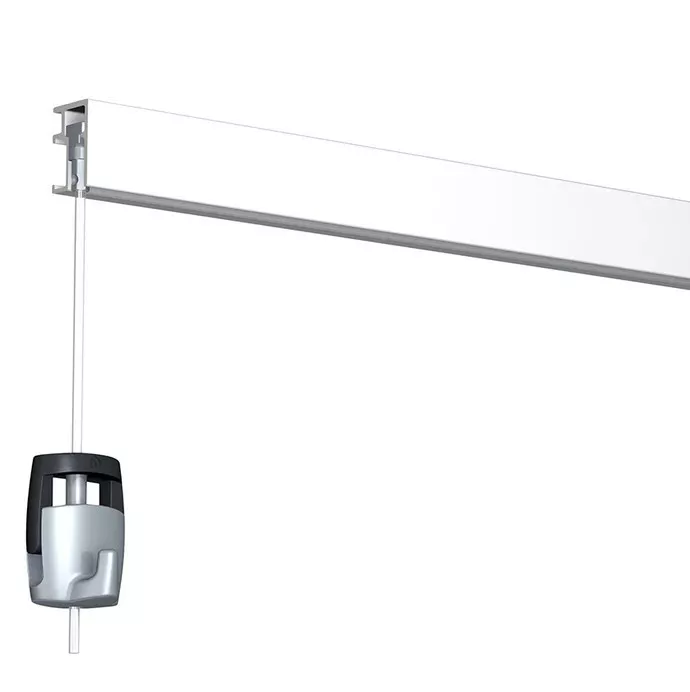
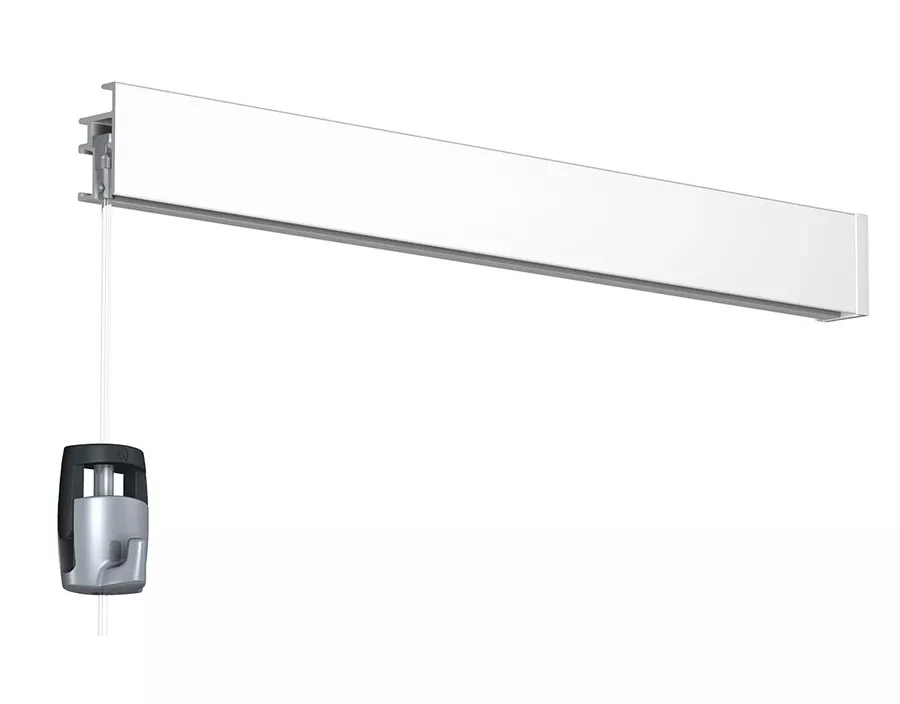
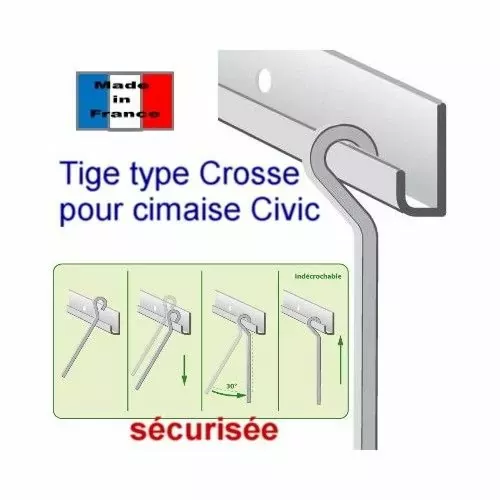
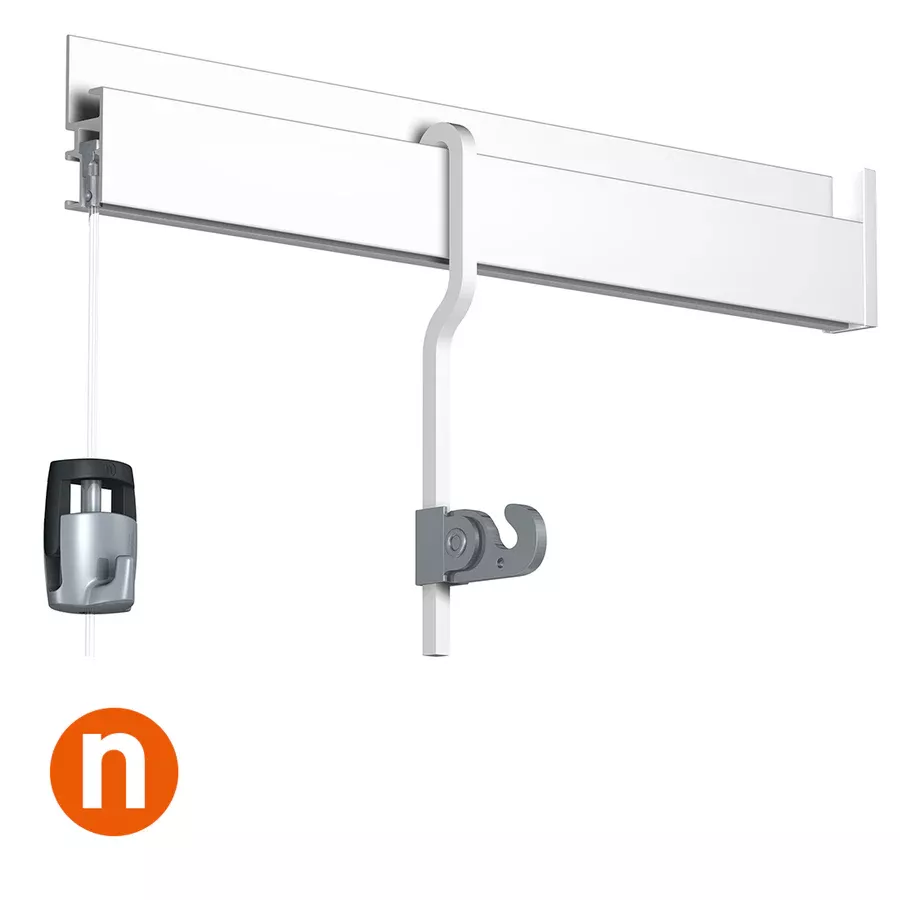
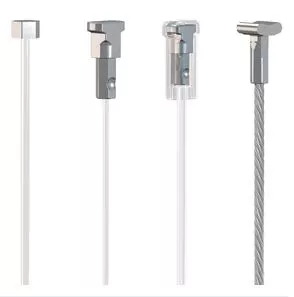
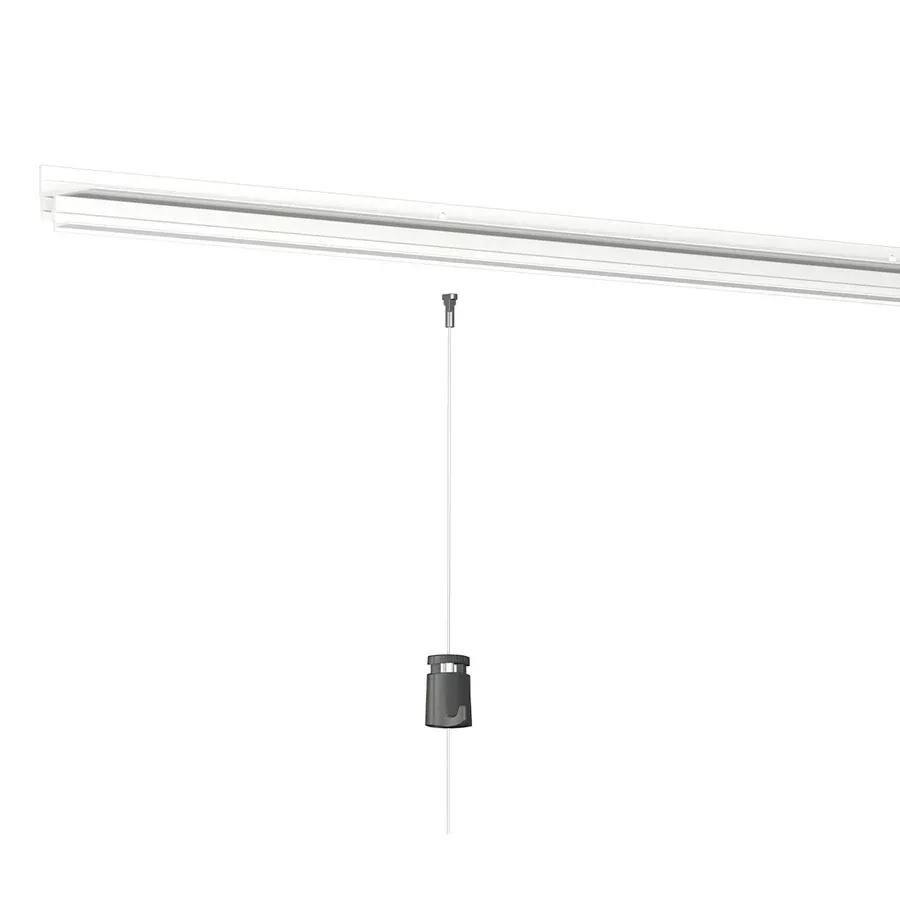
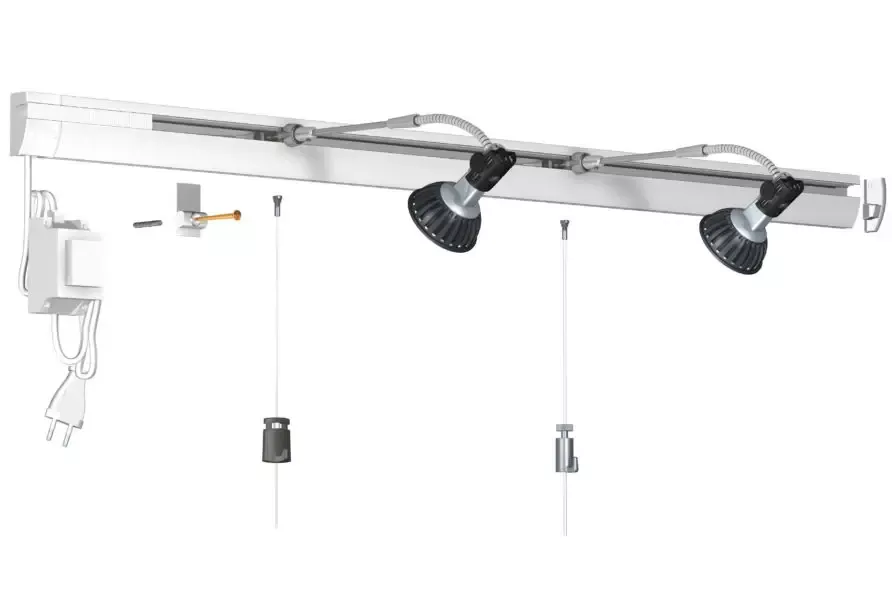
- Take off the suspension wires: Detach them from the rails by sliding them out or pressing on the unlocking mechanisms if available.
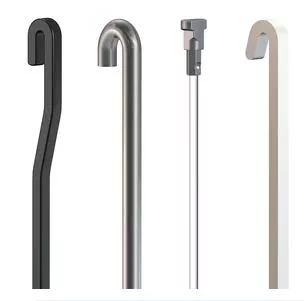
- Remove the hooks from the wires or cables.
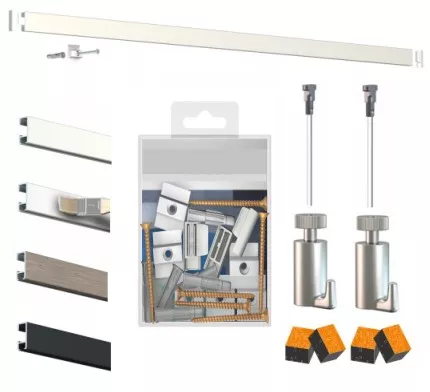
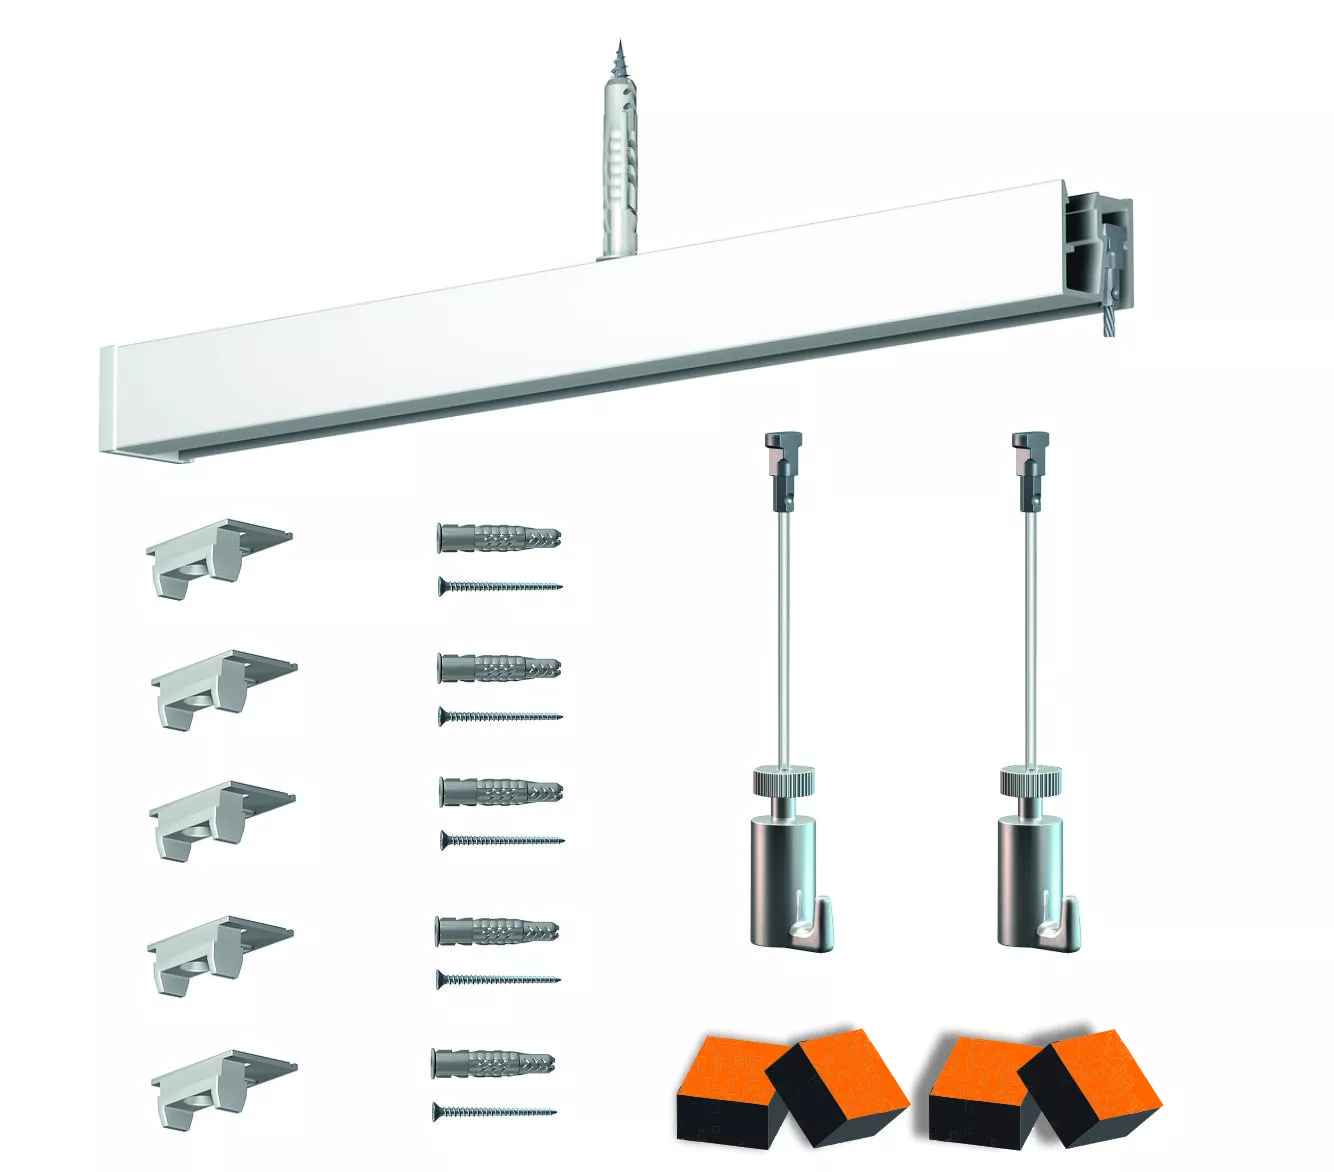
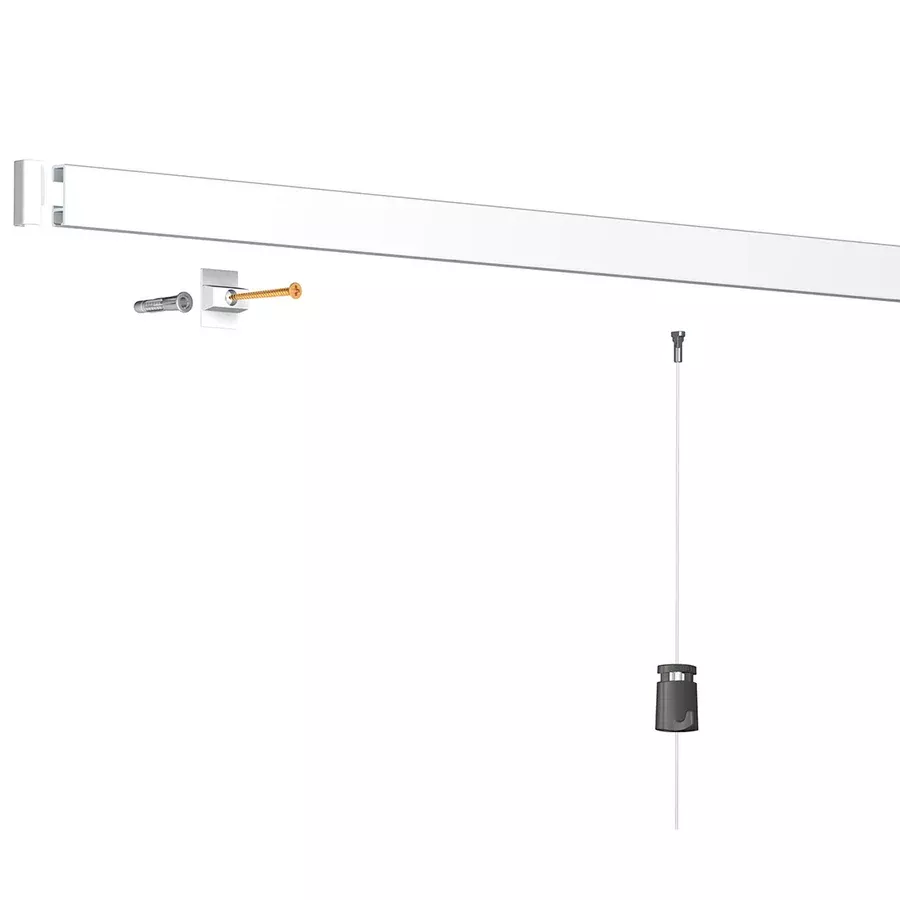
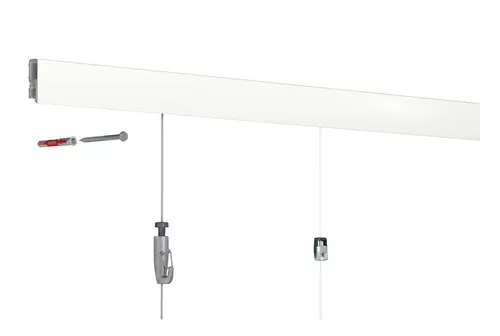
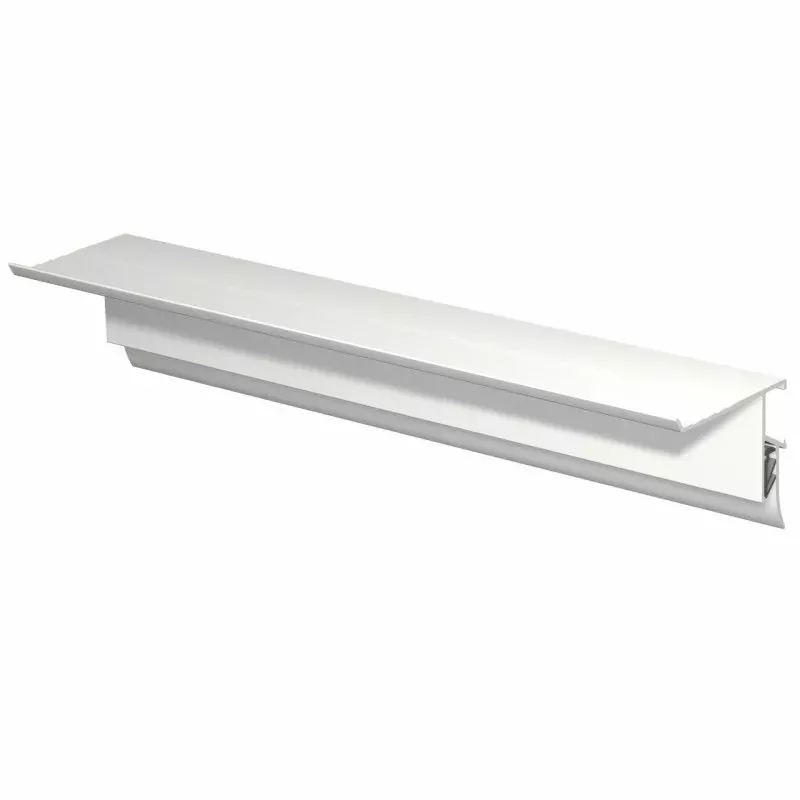
2. Take down the picture rail
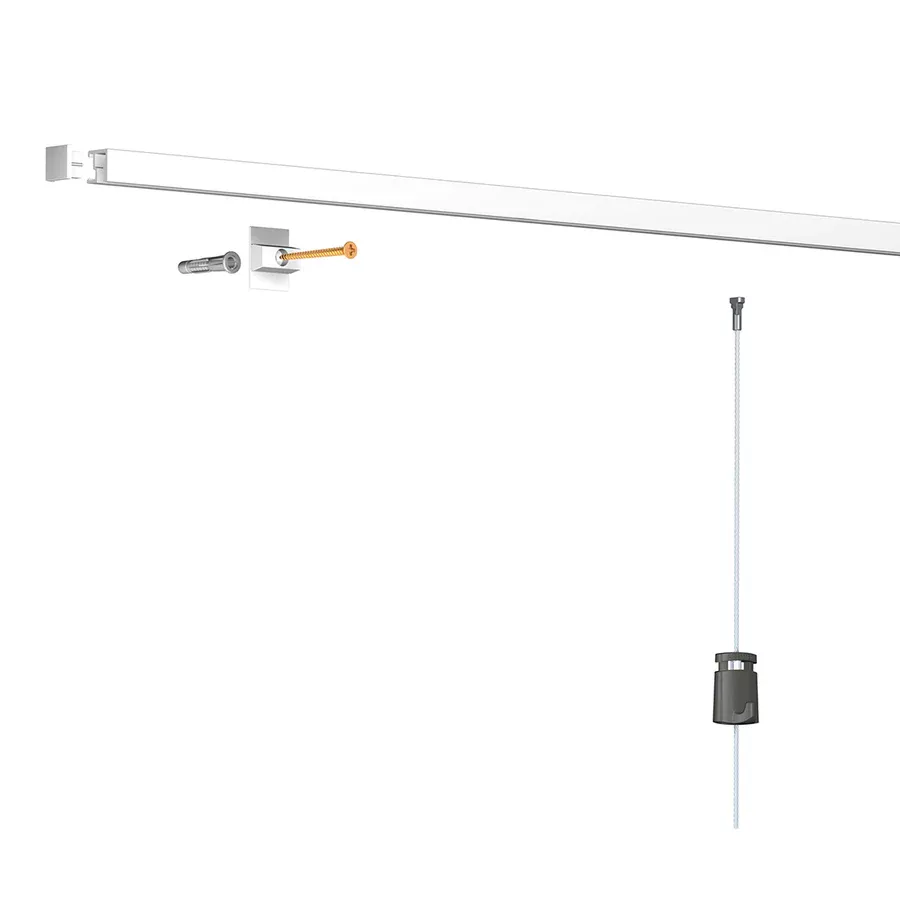
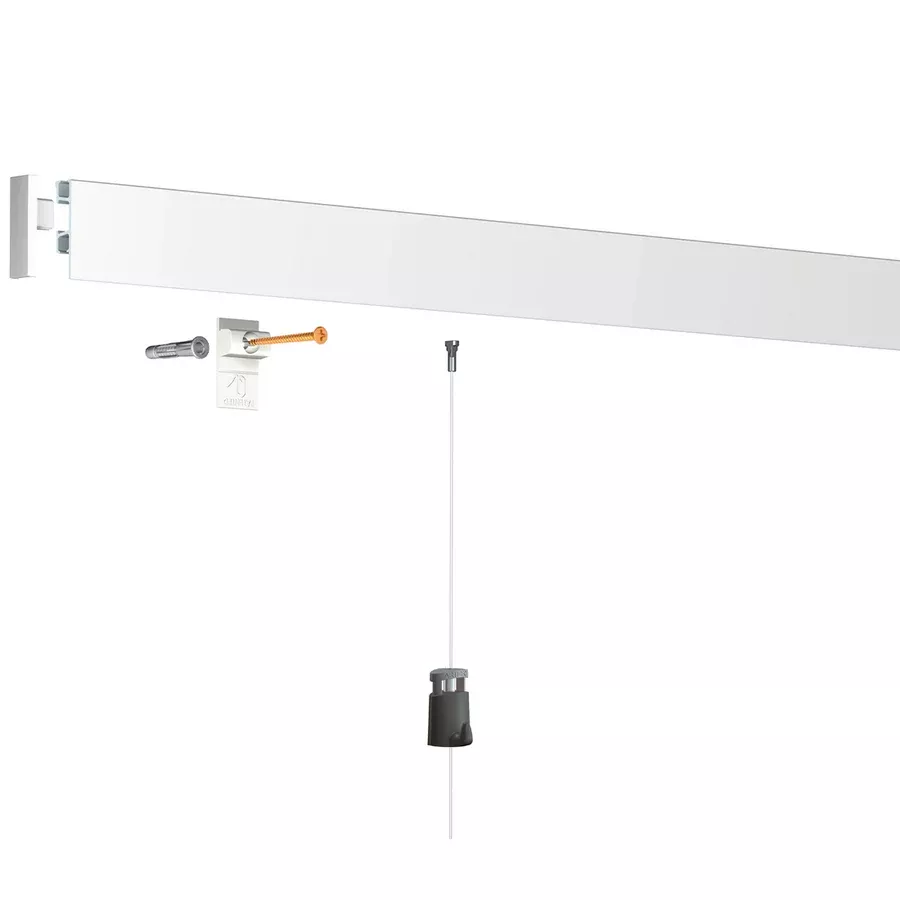
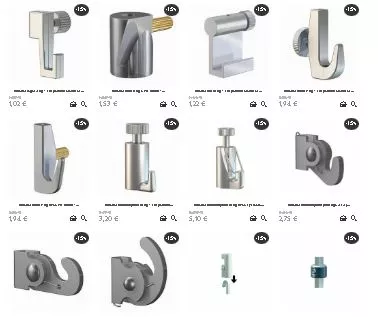
- Identify the fixing clips: Rails are often fixed using clips or directly screwed into the wall/ceiling. Examine the system used.
- Disassemble the rails:
- If the rail is clipped, gently pull it to unclip it, starting from one end.
- If the rail is screwed, use a screwdriver to remove the screws.
- Proceed with caution: Hold the rail while removing the last fixings to prevent it from falling.
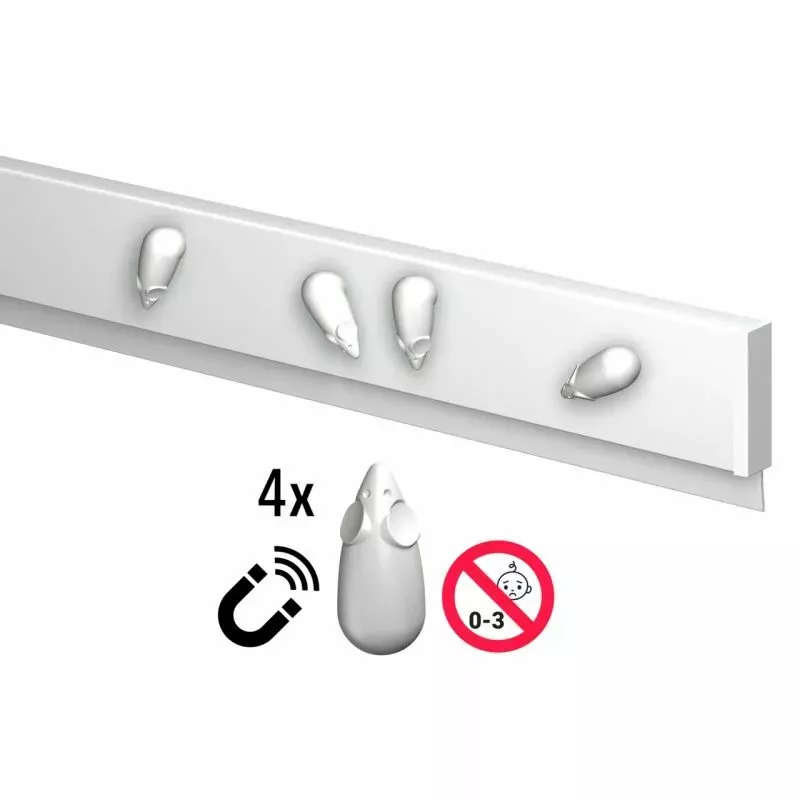
3. Remove the clips or supports
- The fixing clips or supports often remain attached to the wall or ceiling after removing the rail.
- Use a screwdriver to unscrew them. If the clips are glued, use a spatula or cutter to gently detach them.
4. Repair any damage
- Small holes: Screws or plugs leave holes in the wall. Fill them with a repair compound.
- Stains or dirt: Clean the surface with a damp cloth or a product suitable for the wall material.
- Paint or touch-ups: If necessary, repaint the affected areas to harmonize the wall's appearance.
Practical tips
- Work slowly to avoid damaging the wall or picture rail.
- If you plan to reinstall the picture rails elsewhere, keep the rails and accessories in good condition.
- If you encounter difficulty (e.g., very securely fixed rail or difficult-to-remove clips), consult the manufacturer's instructions or seek the help of a professional.
By proceeding carefully, you can remove your picture rails cleanly while preserving your walls.
Share this content