


How to install the Artiteq Click Rail picture hanging system
Categories :
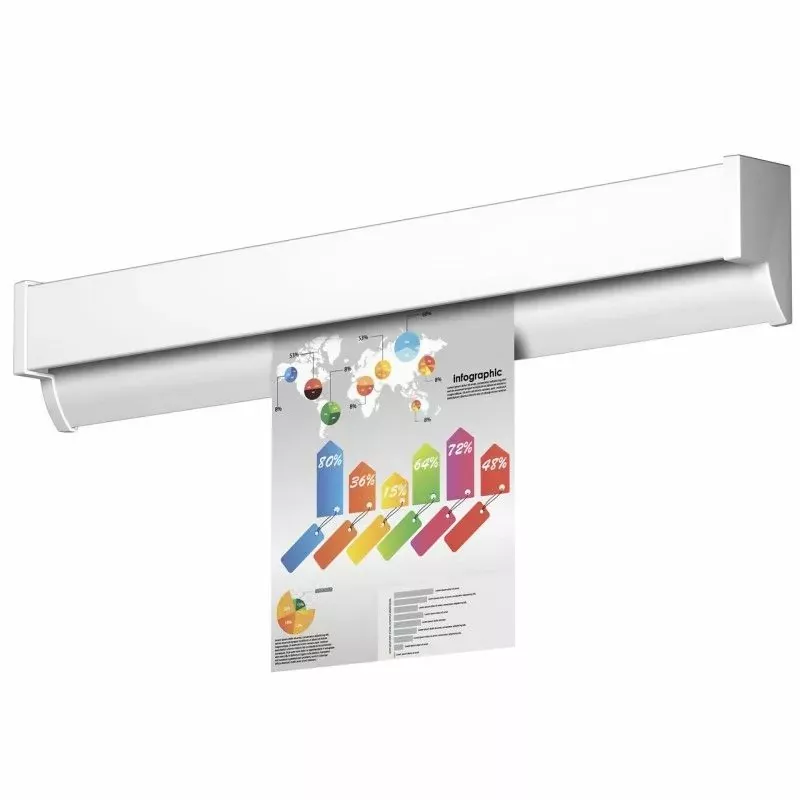
Picture rail installation tutorial
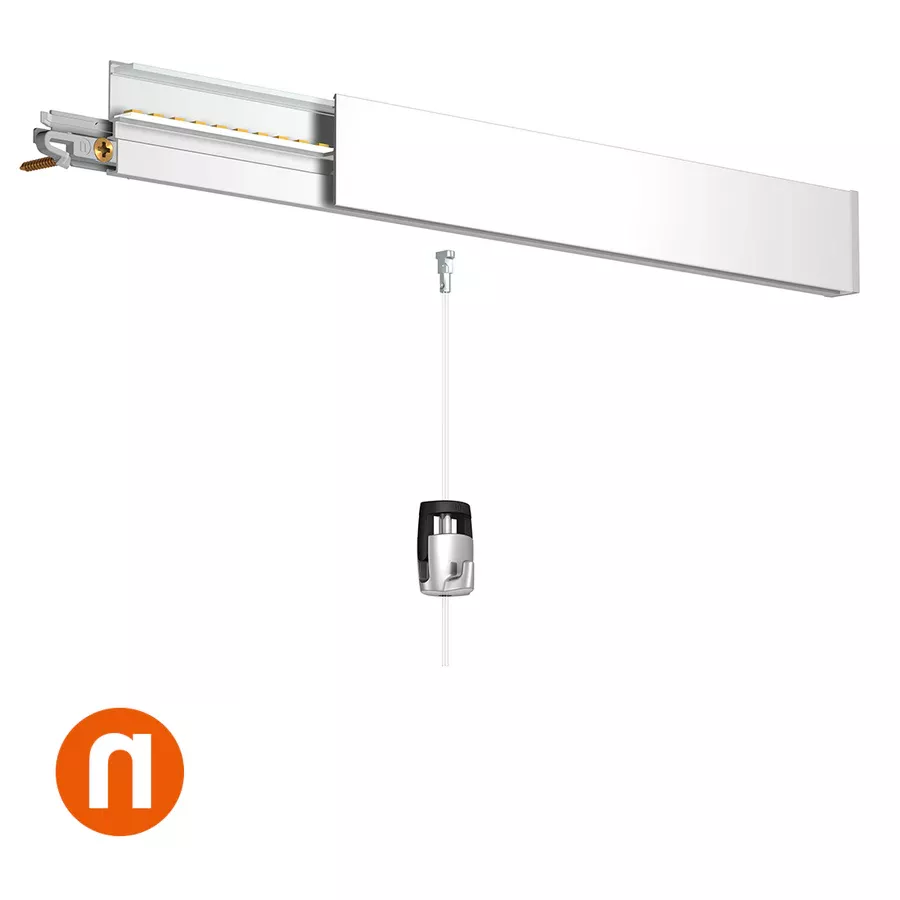
The installation of the picture rail Click Rail It seems like your message is incomplete. Could you please provide more context or the full text you would like me to translate from French to English?Artiteq It is quite simple and follows a few key steps. This system is designed to make hanging artworks easy while remaining discreet and elegant. Here is a detailed guide to help you install this system:
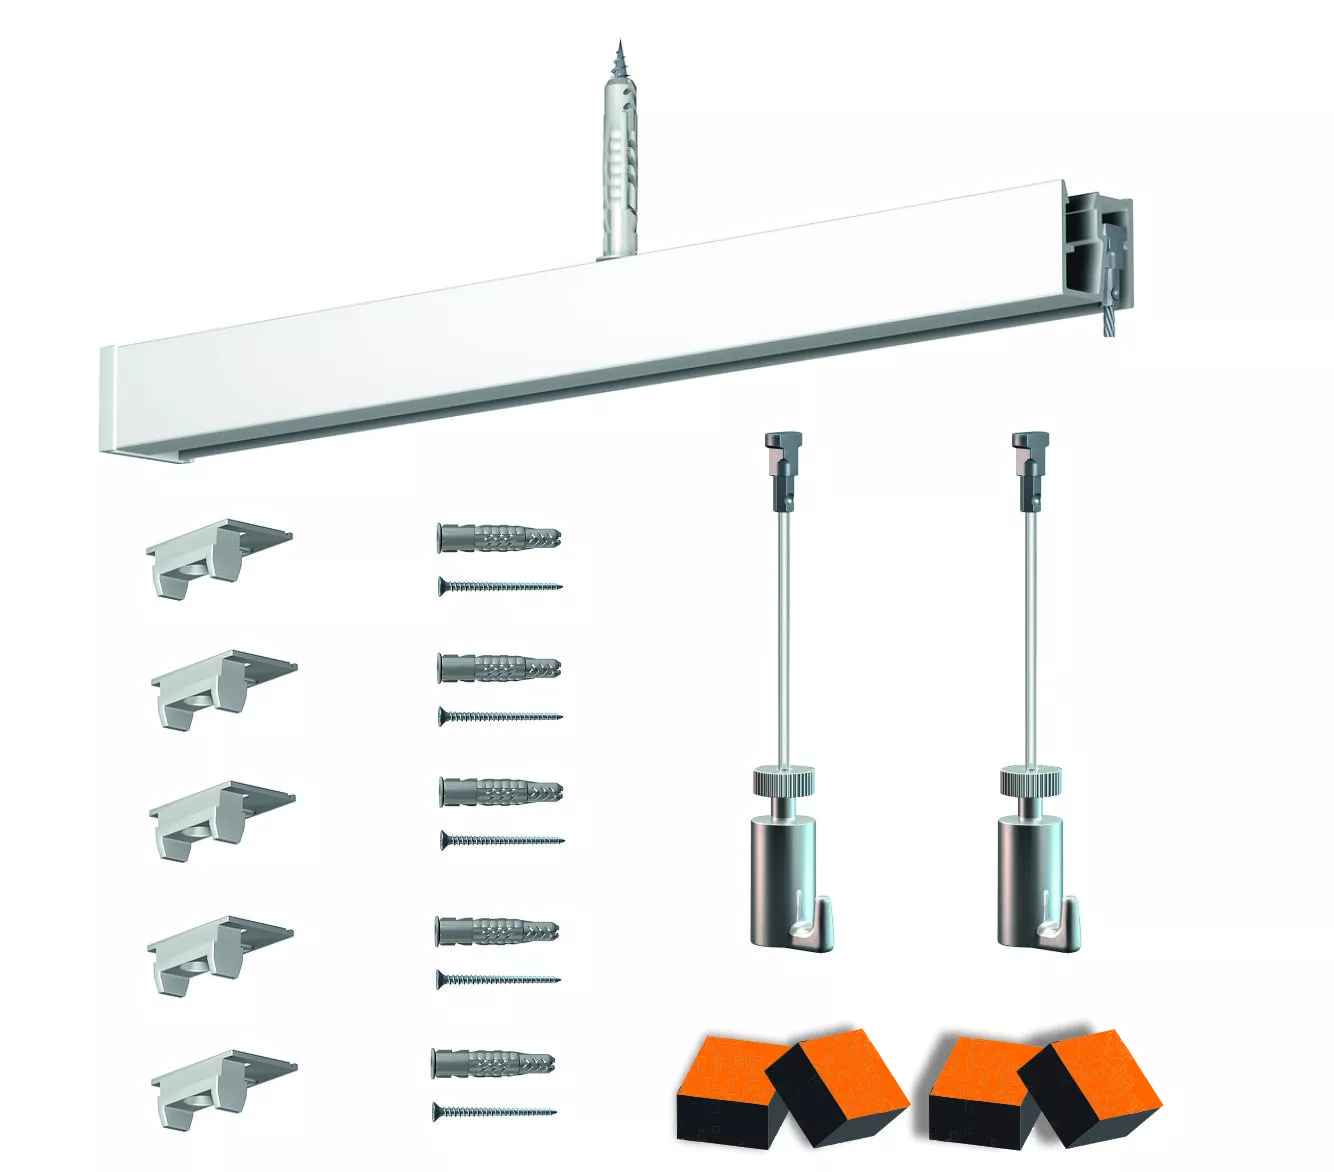
Equipment needed:
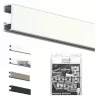
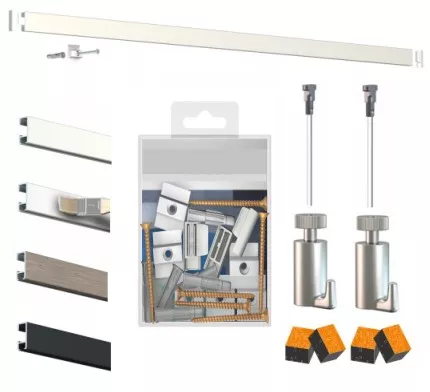
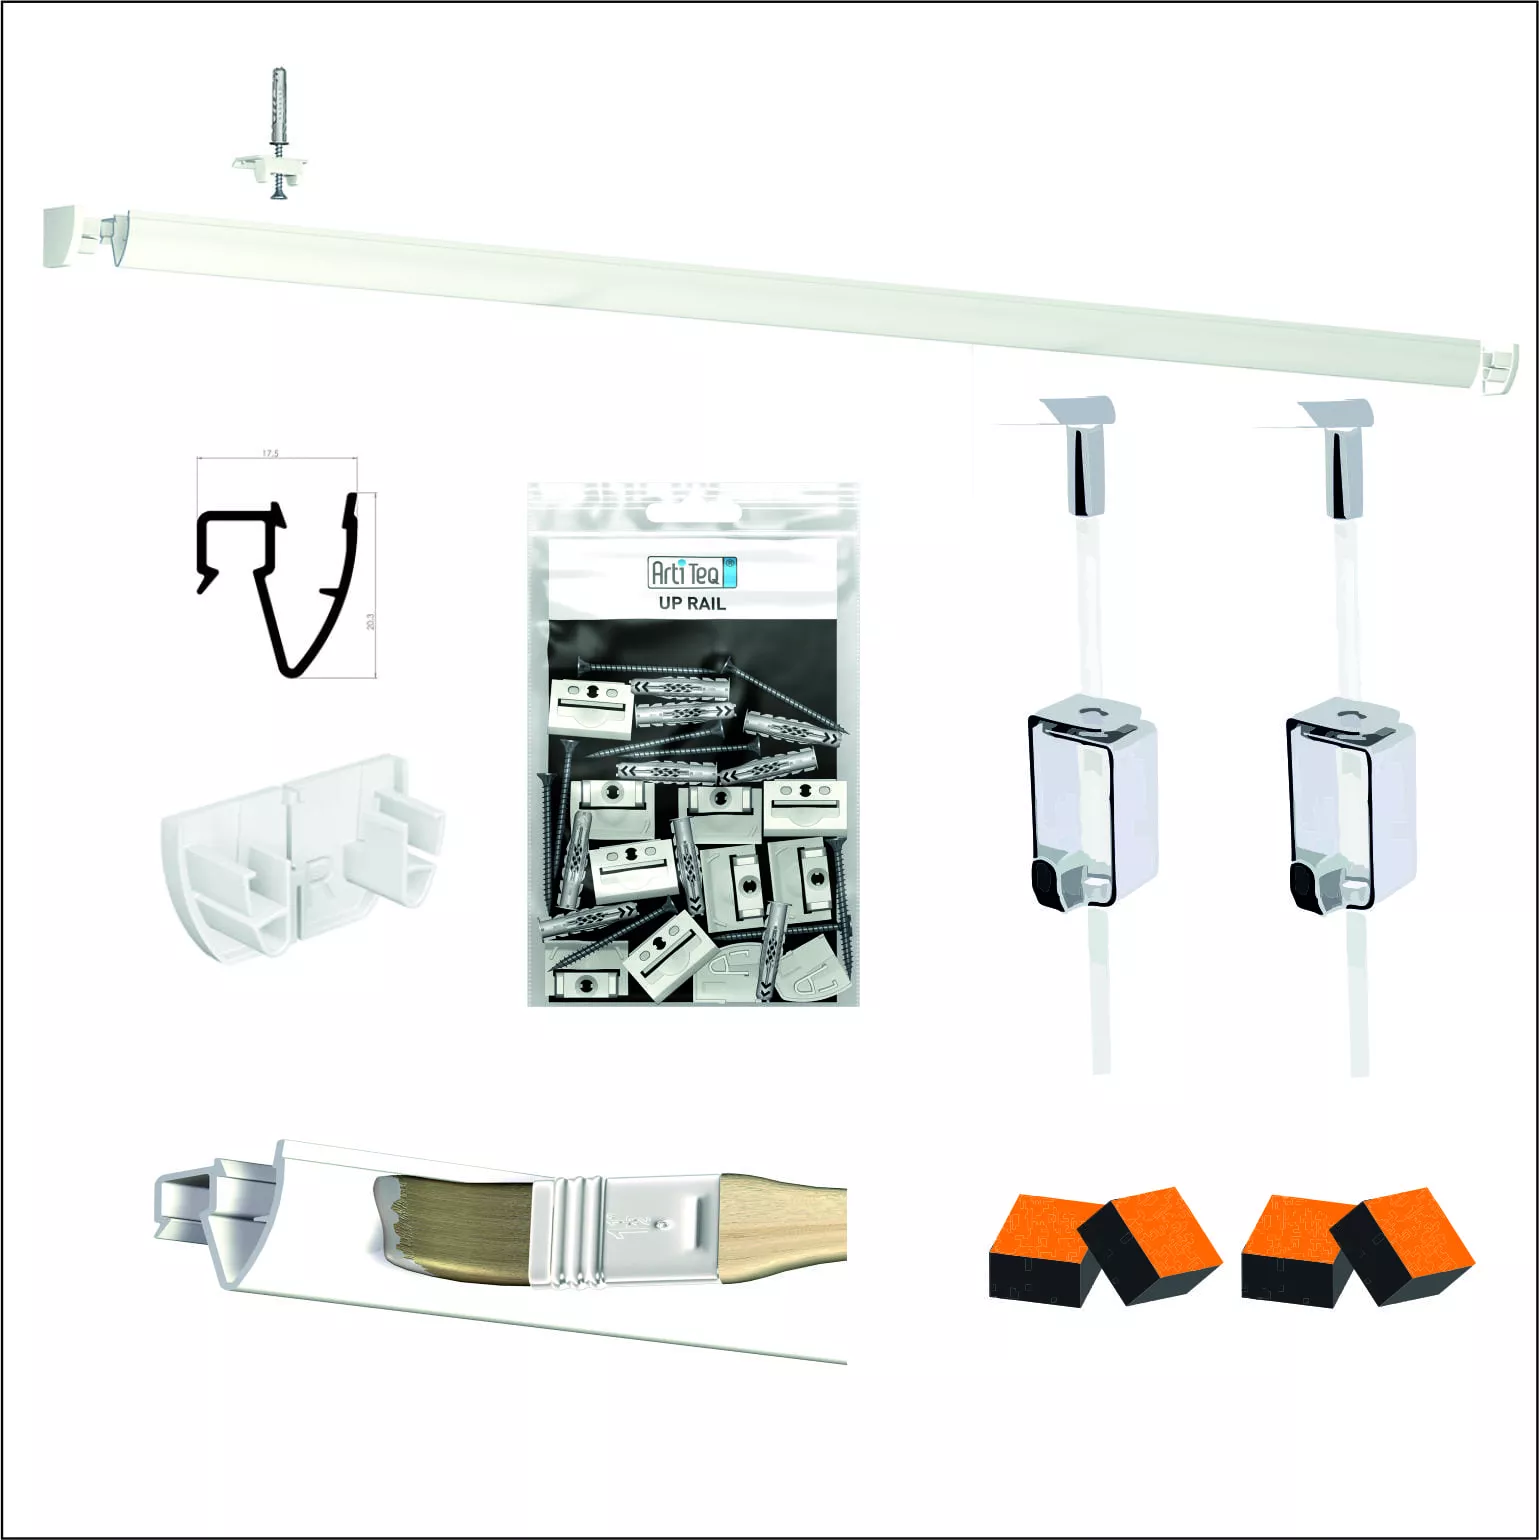
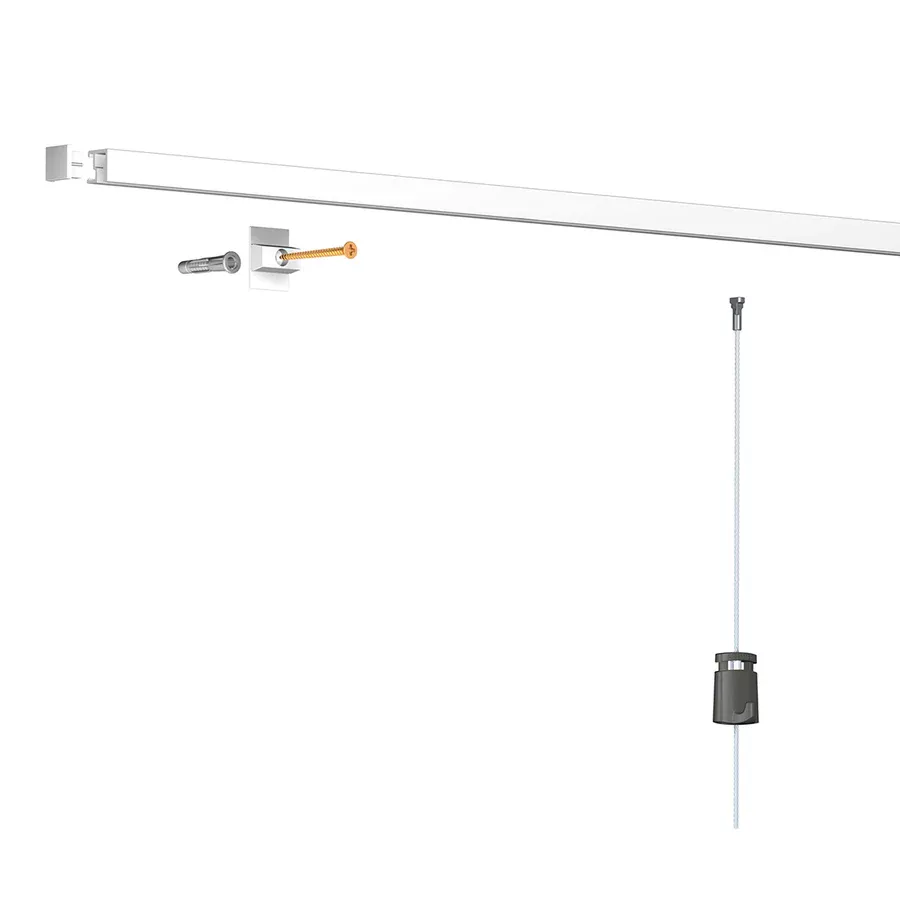
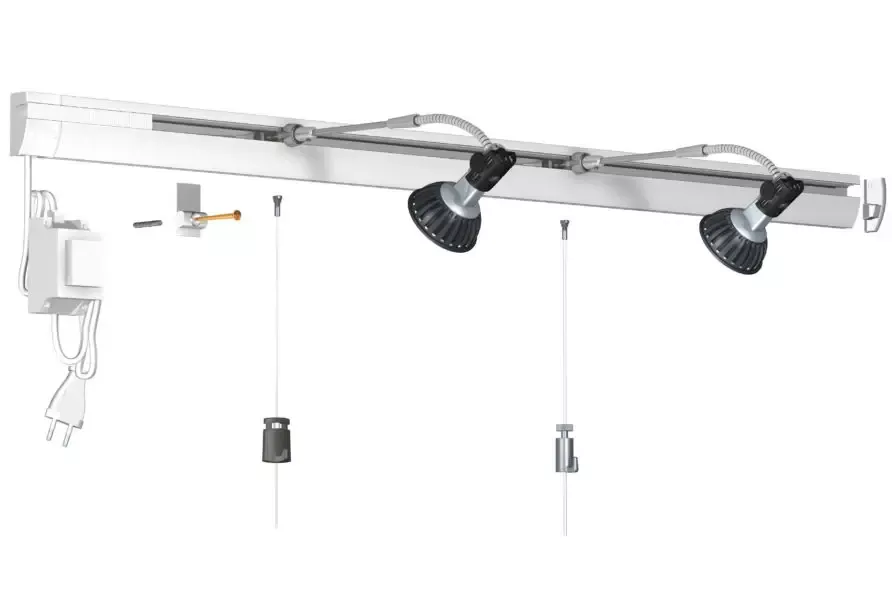
- System of picture rail Click RailArtiteq (including the rail, fixing clips, hooks, and cables or wires to hang the artworks).
- One tape measure.
- One spirit level.
- One drill with suitable drill bits (according to your type of wall).
- "Of" ankles I'm sorry, but "et" does not have a specific meaning on its own in French. It is a conjunction that means "and" when used to connect words or sentences. If you provide more context or text, I would be happy to help with the translation. "vis" translates to "screw" in English. Suitable for your type of wall.
- One screwdriver This is not a complete sentence in French. It seems like a typing error or an incomplete thought. Let me know if you need help with a specific translation or text. screwdriver.
Installation steps:
1. Prepare for installation
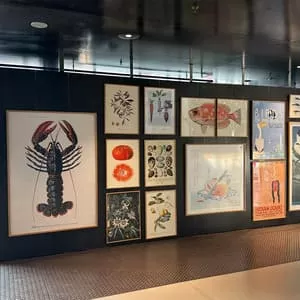
- Choose the location : You need to determine where you want to install the picture rail. Typically, the picture rail is installed about 2 meters above the ground, but this can vary depending on the space and your preferences.
- Mark the location : Using the tape measure, Measure and mark the place where you want to install the picture rail. Use the spirit level To verify that the line is perfectly straight, so that your picture rail is horizontal.
2. Prepare the fastenings.
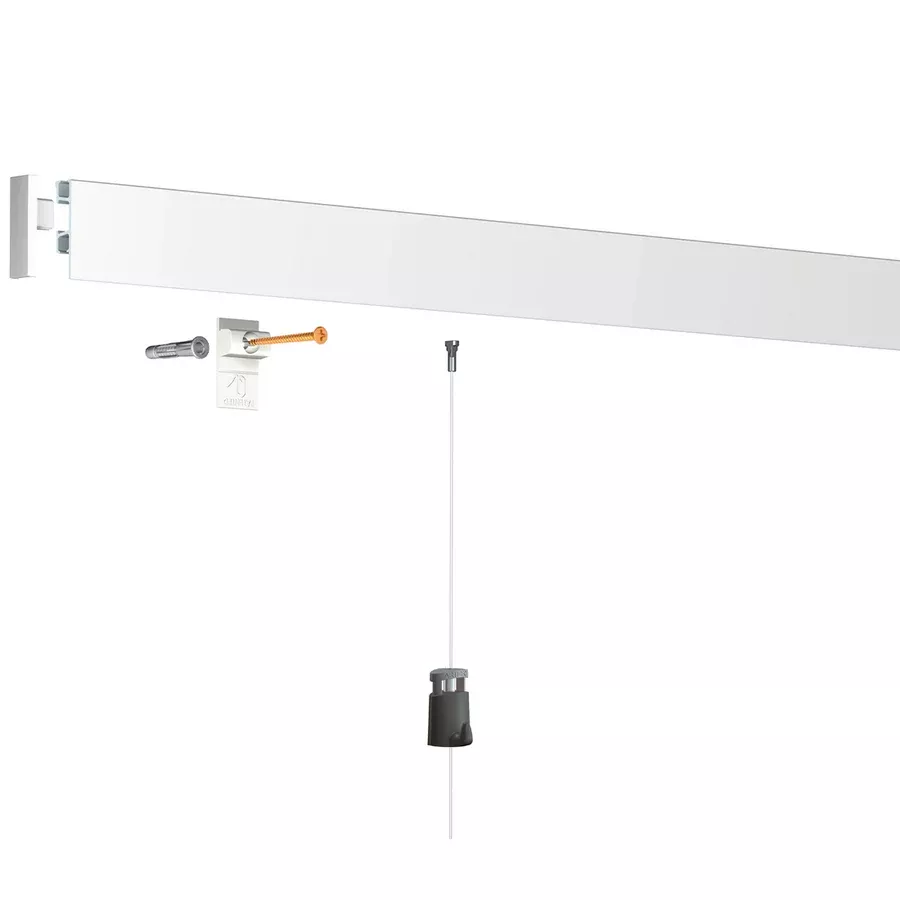
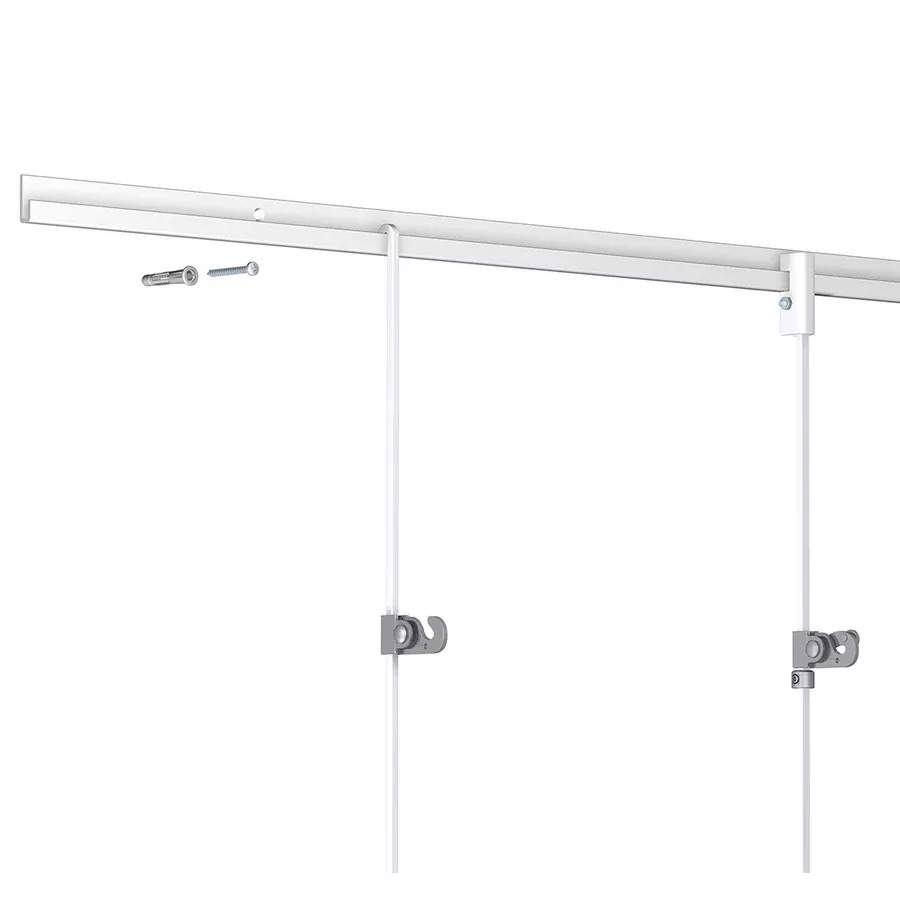
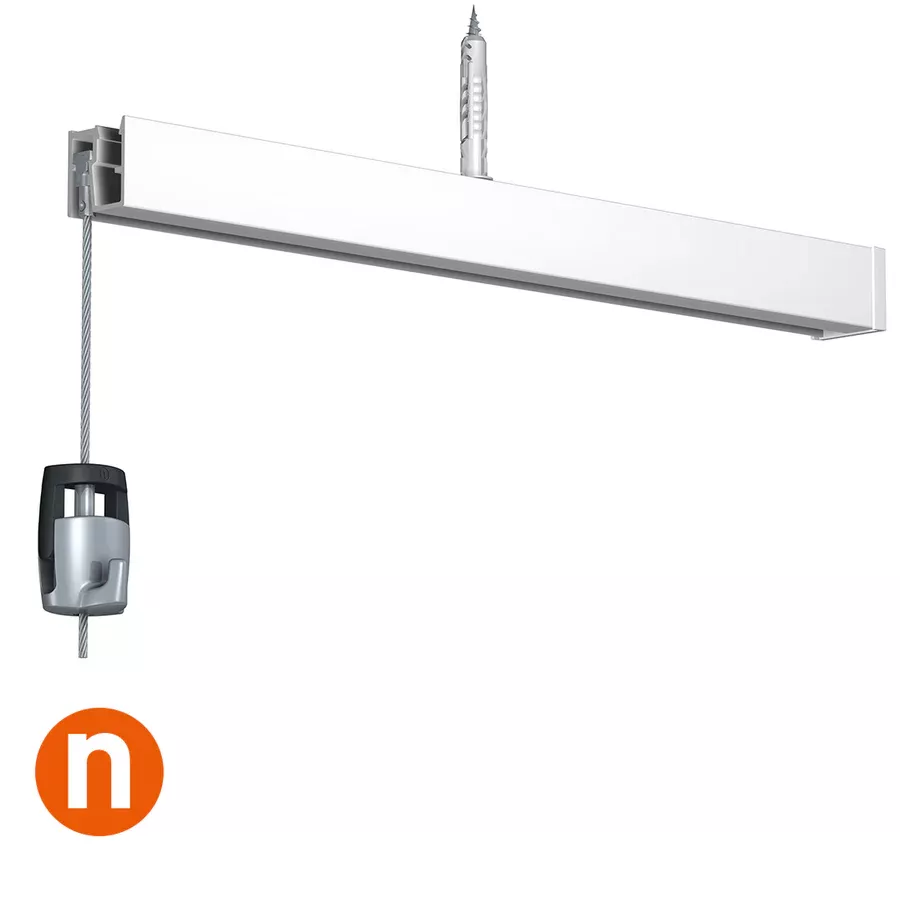
- Bar attachments The Click Rail picture rail is attached to the wall using mounting clips. To do this, you must first measure and mark the mounting points on the wall.
- If you install the picture rail on a wall in concrete It seems like you only wrote "ou" which means "or" in English. Can you please provide more context or let me know if you need help with something specific? brick, drill holes at the marked locations and insert the anklesAdapted.
- If you install on a wall in plaster, You will need to use special wall plugs to ensure a strong fastening.
3. Fix the clips on the picture rail.
- I'm sorry, but it seems like your message is incomplete. Could you please provide more context or complete the sentence so I can assist you better? drill, Drill holes at the marked locations. Make sure to use screws that are suitable for your type of wall (concrete screws, plaster screws, etc.).
- Insert the pegs into the holes if necessary.
- Screw in the fastening clips (often provided with the Click Rail system) into the anchors. You can place the fasteners about 40 cm apart, but this depends on the length of the picture rail and the weight of the artwork you plan to hang.
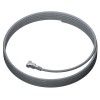
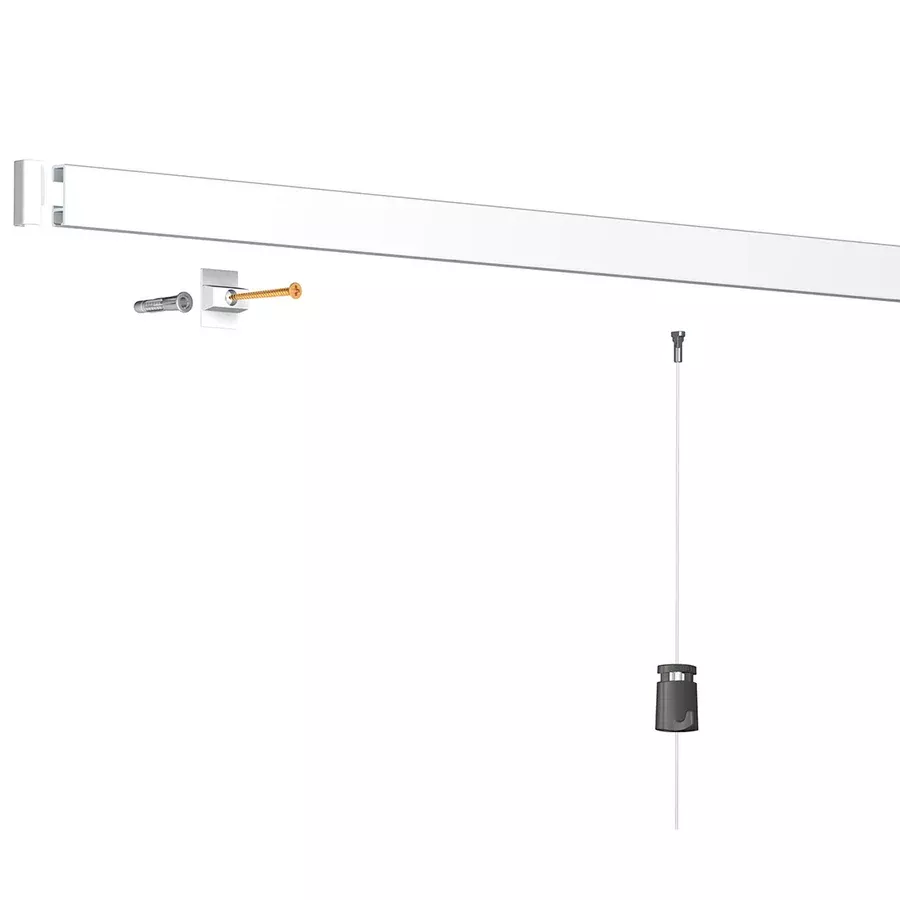
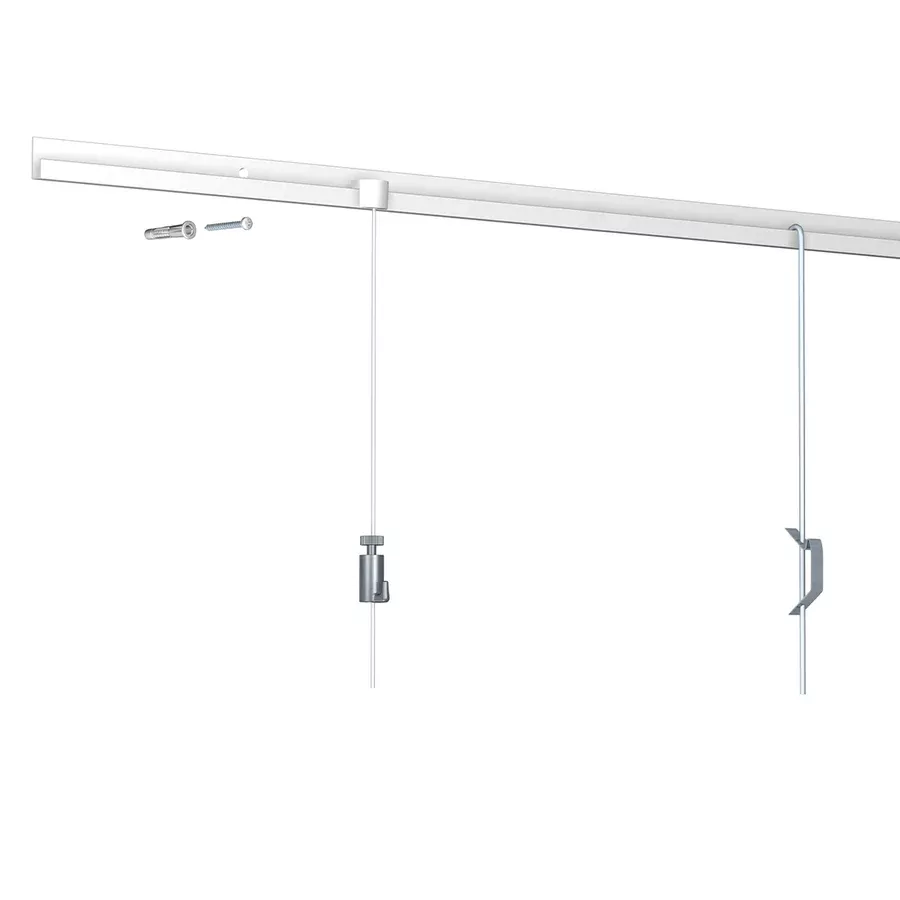
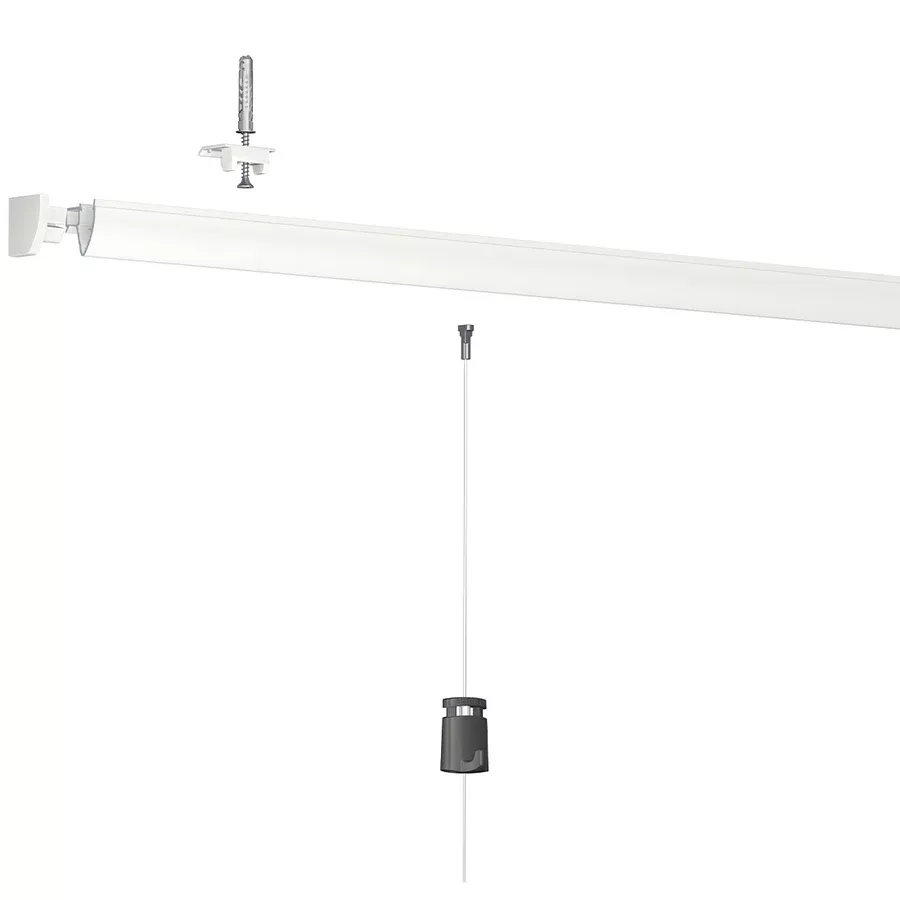
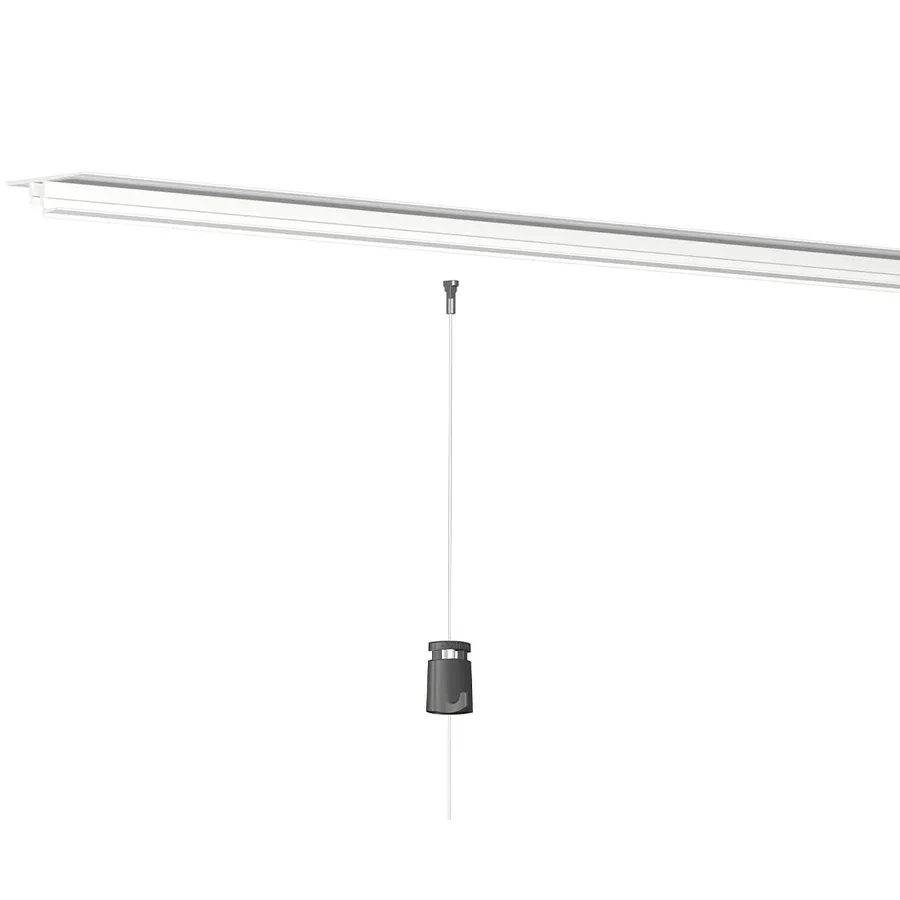
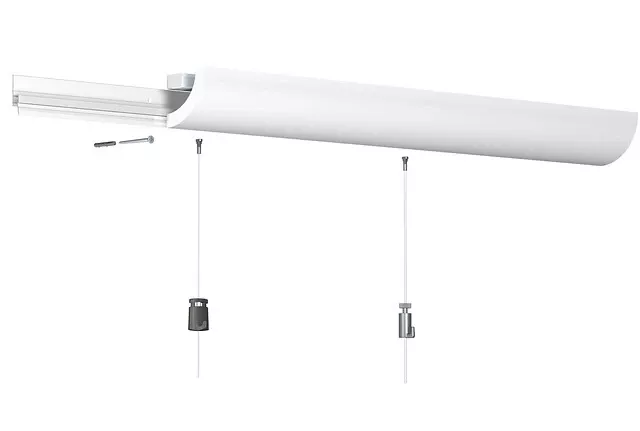
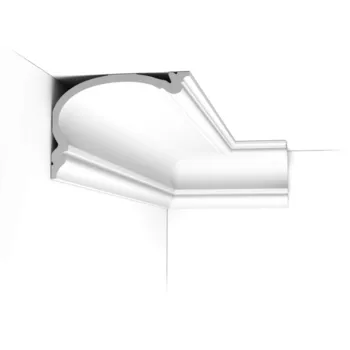
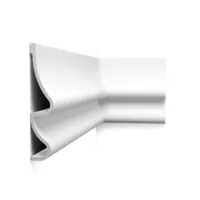
4. Install the Click Rail bar.
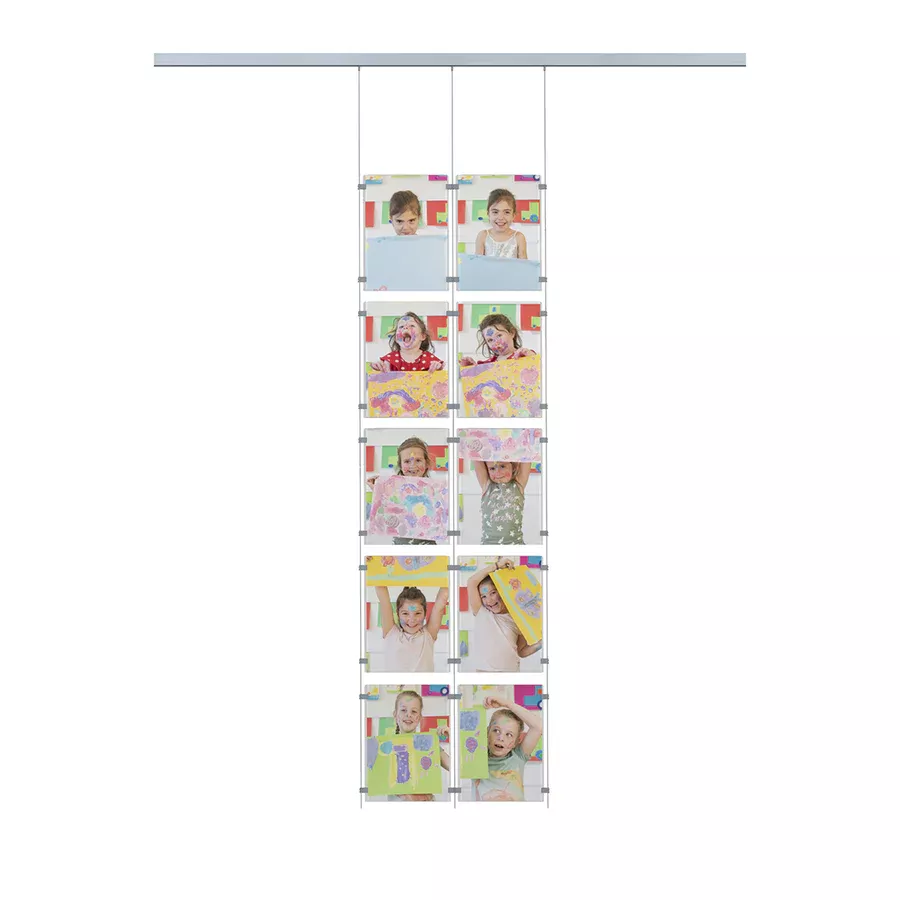
- Once the clips are attached to the wall, you can Install the Click Rail bar.. This bar is designed to easily snap into the brackets.
- Insert Secure the bar in the clips and make sure it is in place.
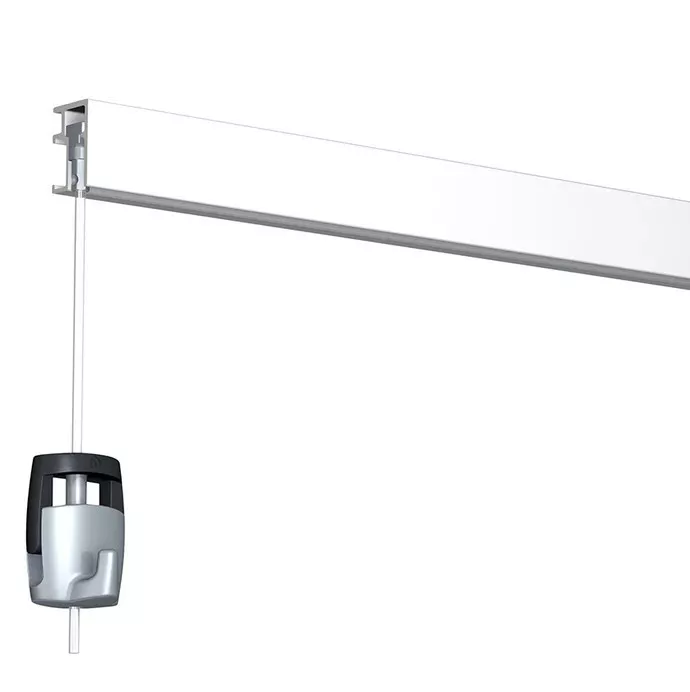
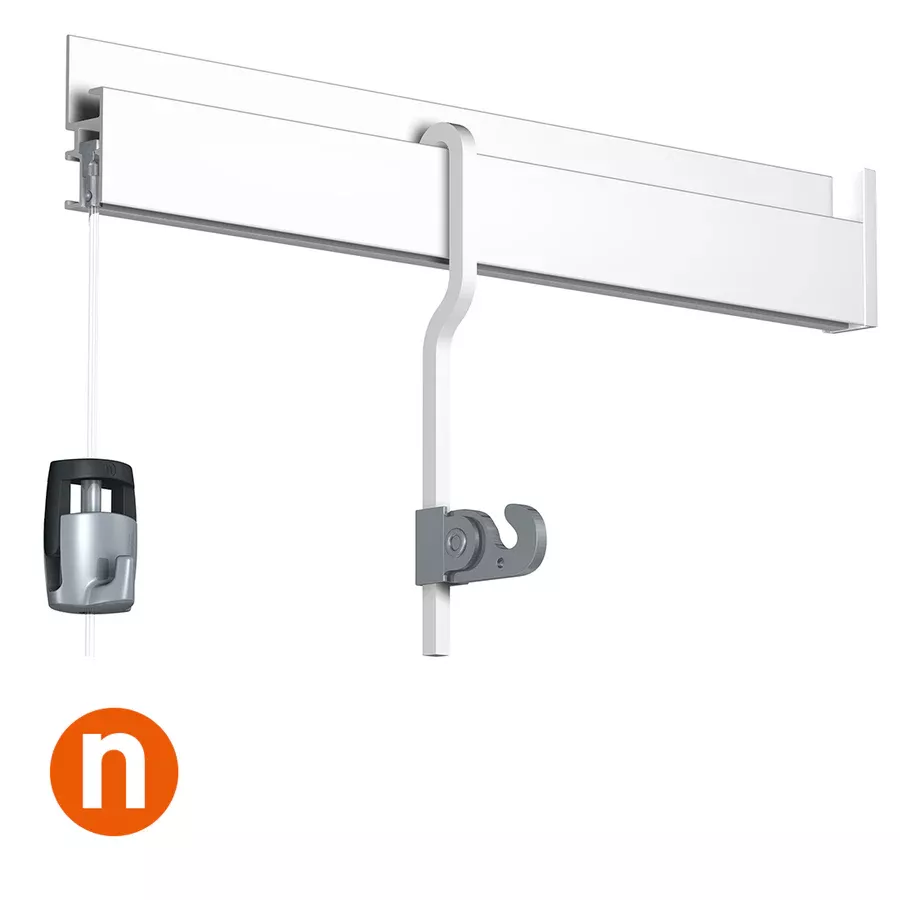
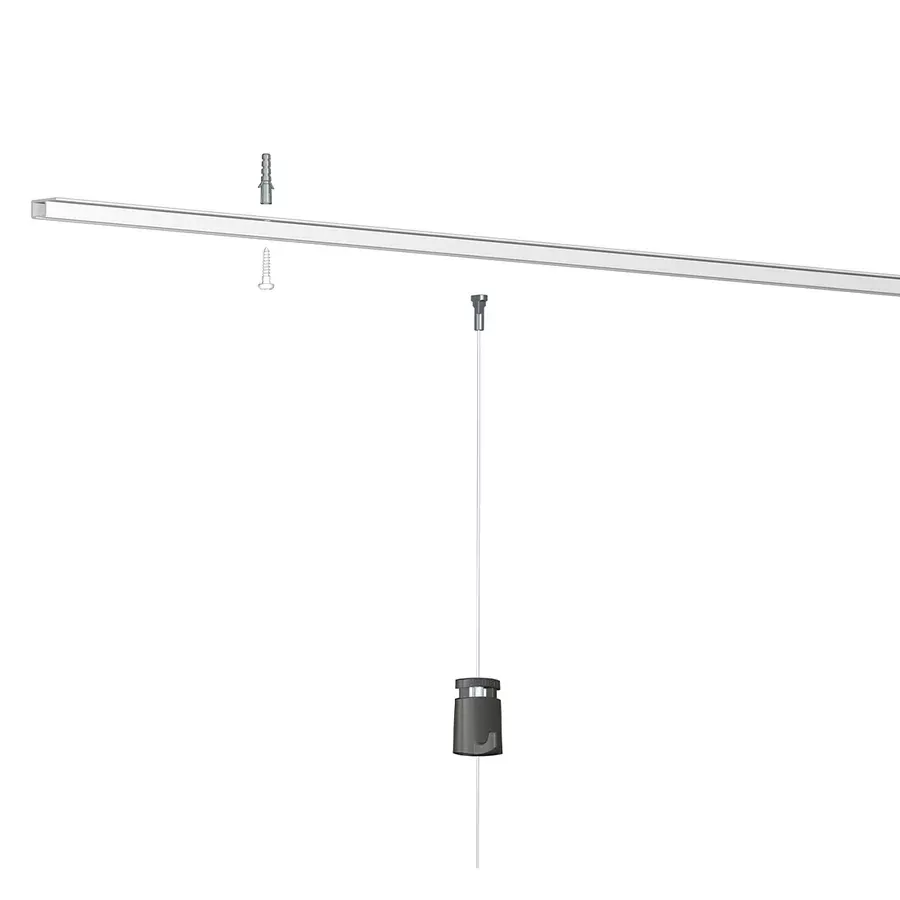
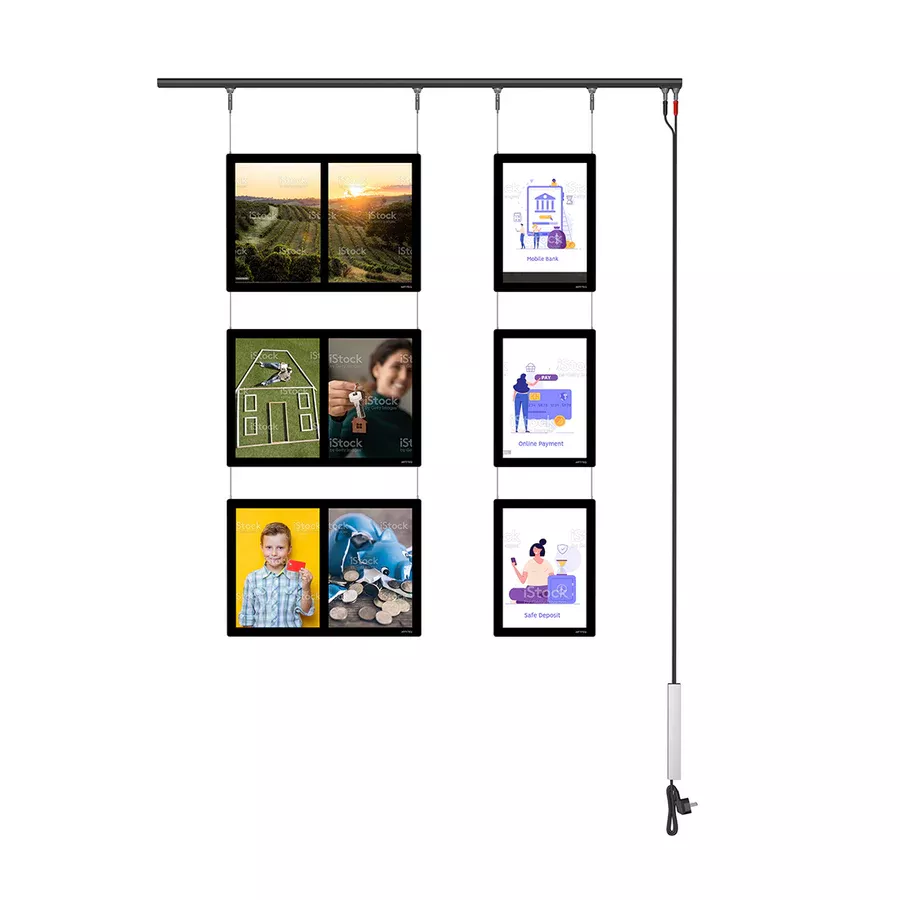
5. Install brackets and cables
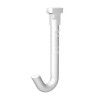
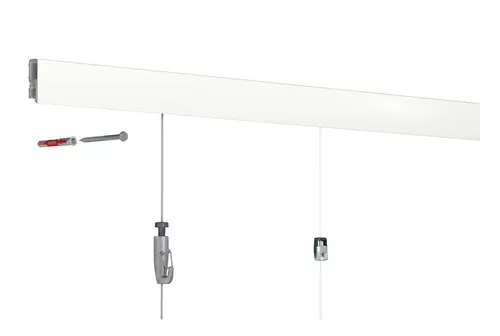
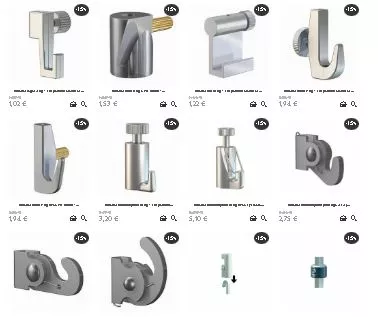
- Once the picture rail is installed, you can add the... brackets I'm sorry, but "et" does not have a specific meaning on its own in French. It is a conjunction that means "and" when used to connect words or sentences. If you provide more context or text, I would be happy to help with the translation. CablesTo hang your artwork.
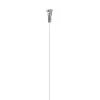
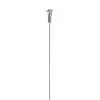
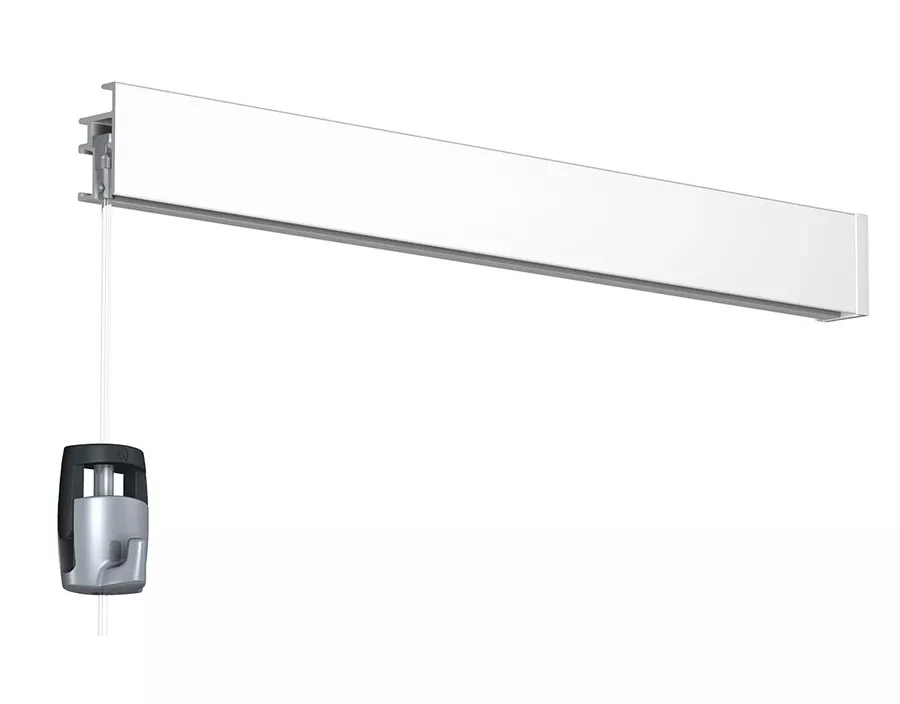
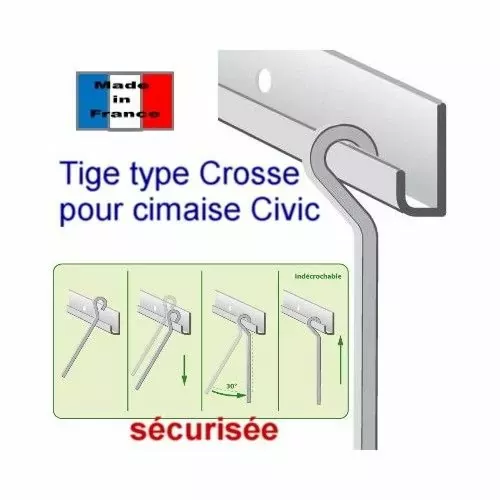
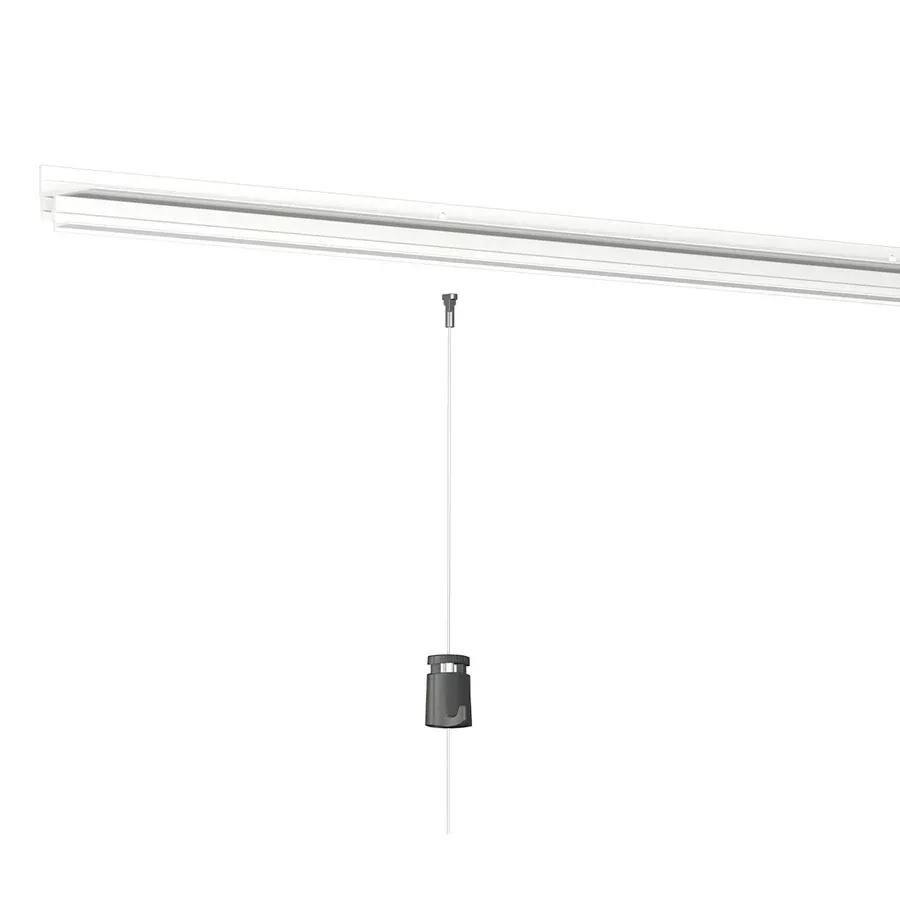
- Clip the hooks on the Click Rail bar at the desired location.
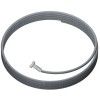
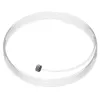
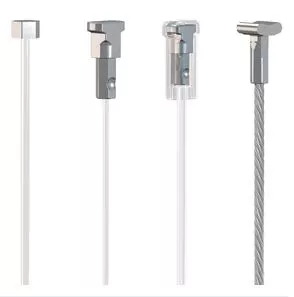
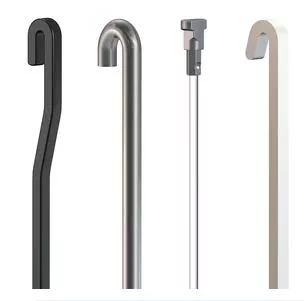
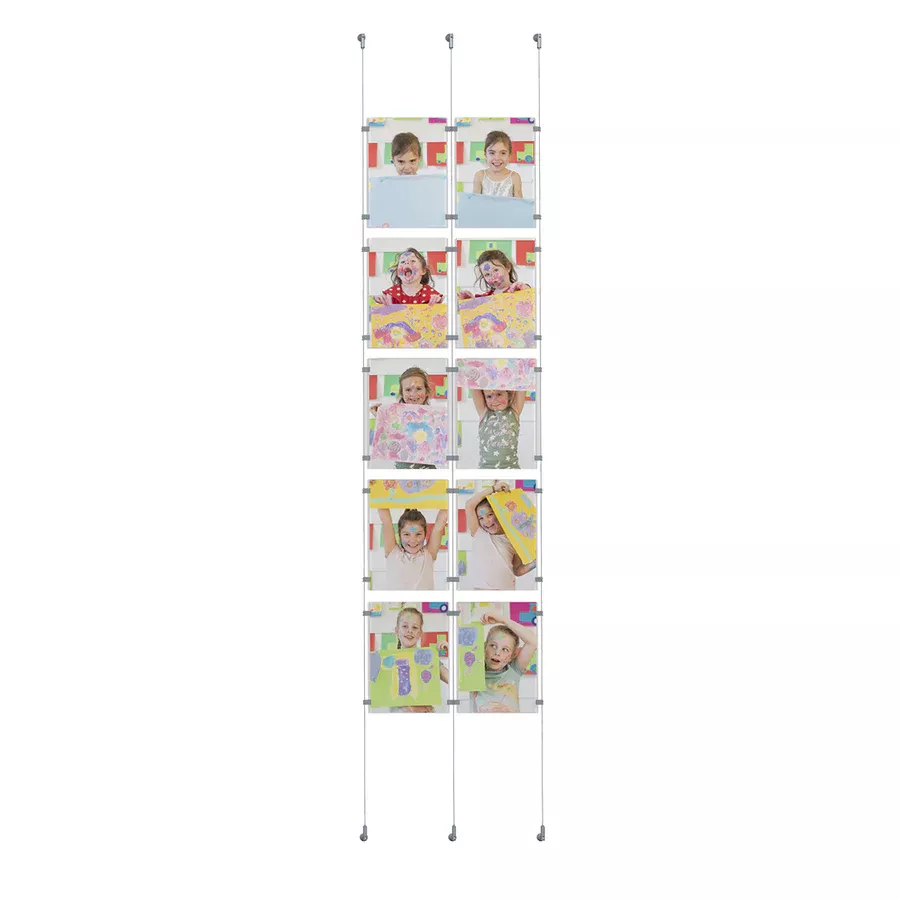
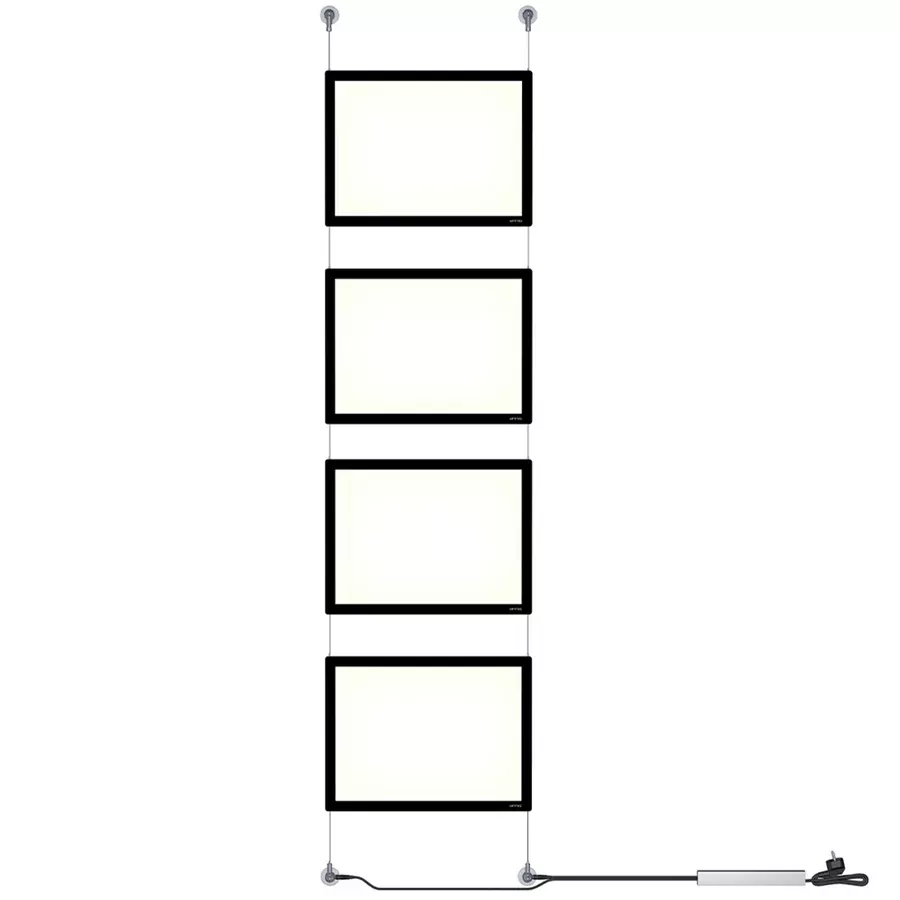
- Hang the cables or thread onto each hook, then adjust the cable length according to the size of your artwork.
- You can also add some suspension hooksTo precisely adjust the height of your works.
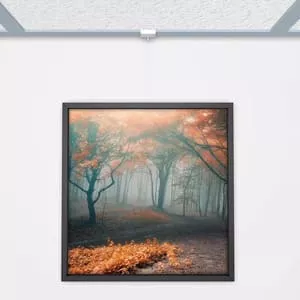
6. Check the installation
- Once everything is installed, make sure that your artworks are properly hanging and that the picture rail is stable. Ensure that the The bar is securely fastened., I'm sorry, but the text you provided is incomplete. Could you please provide more context or complete the sentence? Hooks are secure and that your works are suspended at the desired height and location.
Practical advice:
- If you have multiple sections of picture rail to install, make sure that the connections between the sections are well aligned for a neat finish.
- If you have fragile walls (such as plaster), make sure to use special wall anchors to ensure a strong attachment and prevent the picture rail from falling over time.
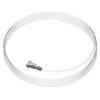
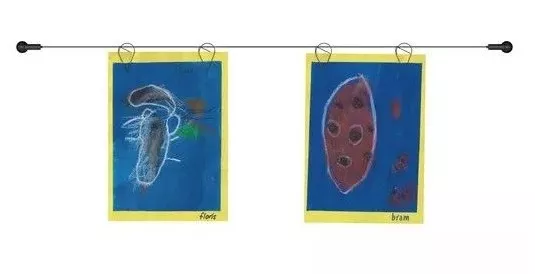
- For an even more aesthetic result, you can use some thin cables It seems like you only wrote "ou" which means "or" in English. Can you please provide more context or let me know if you need help with something specific? discrete to hang your artwork.
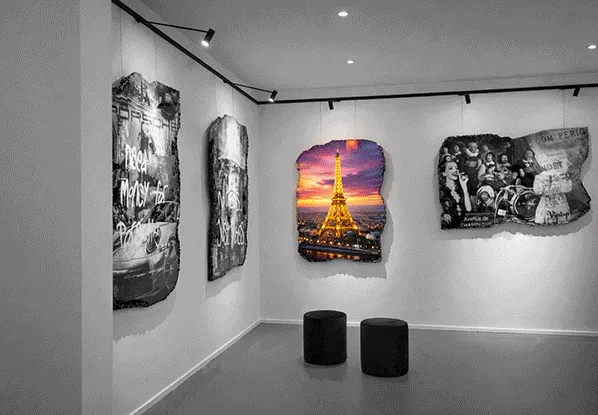
With this system, you will be able to hang your artwork easily and professionally, while also having the option to move them quickly if needed, without having to drill each time !
Share this content