


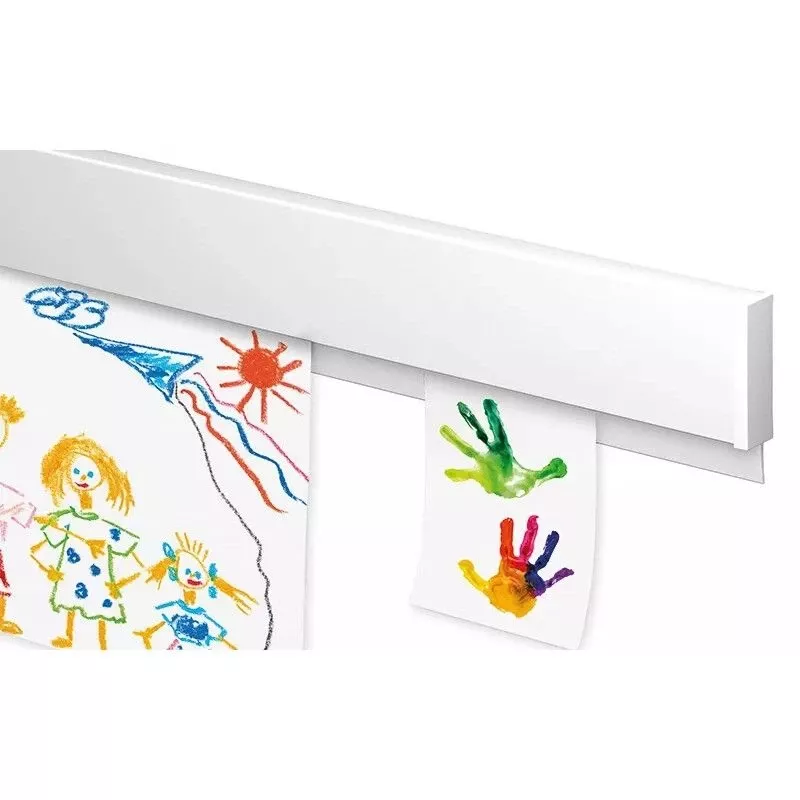

How to install the Artiteq contour rail picture hanging system?
Categories :
Picture rail installation tutorial
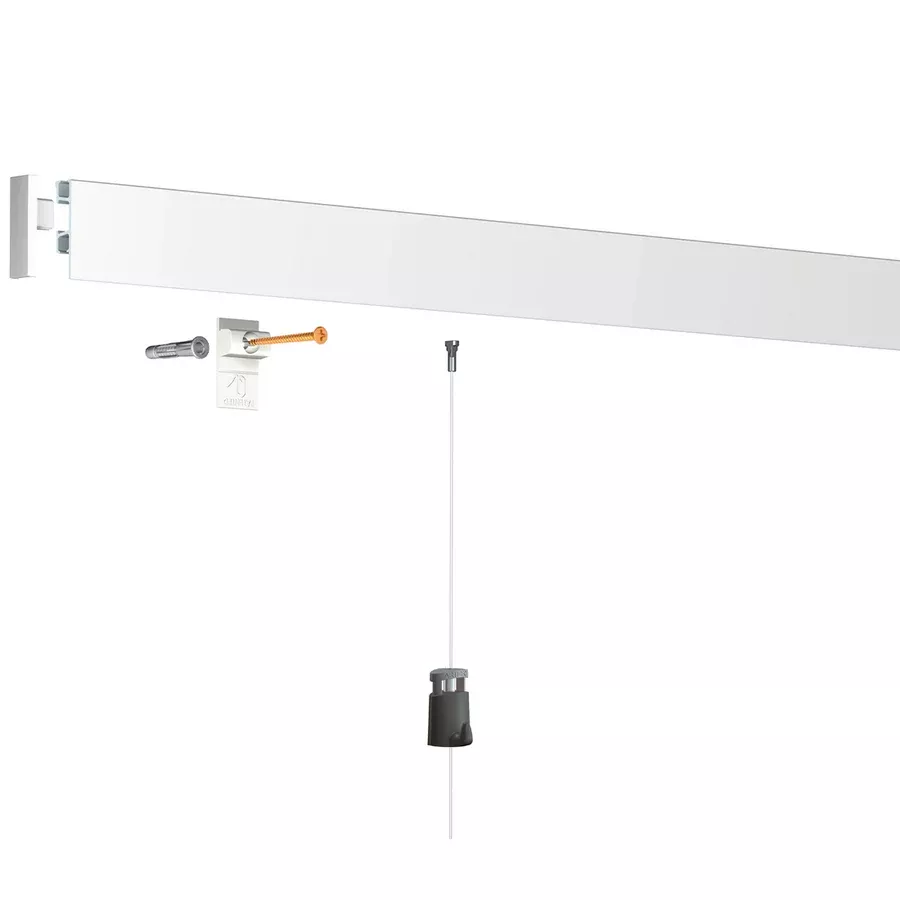
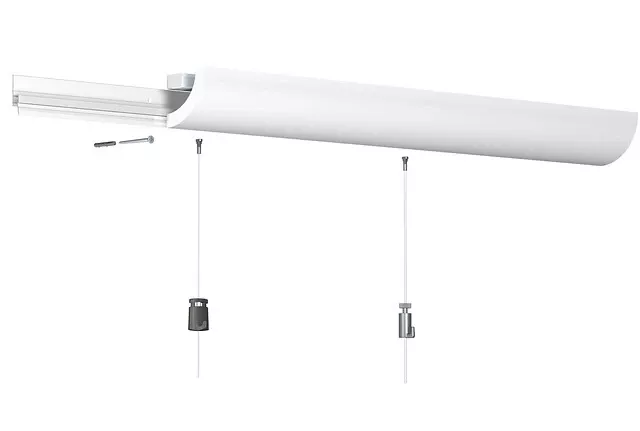
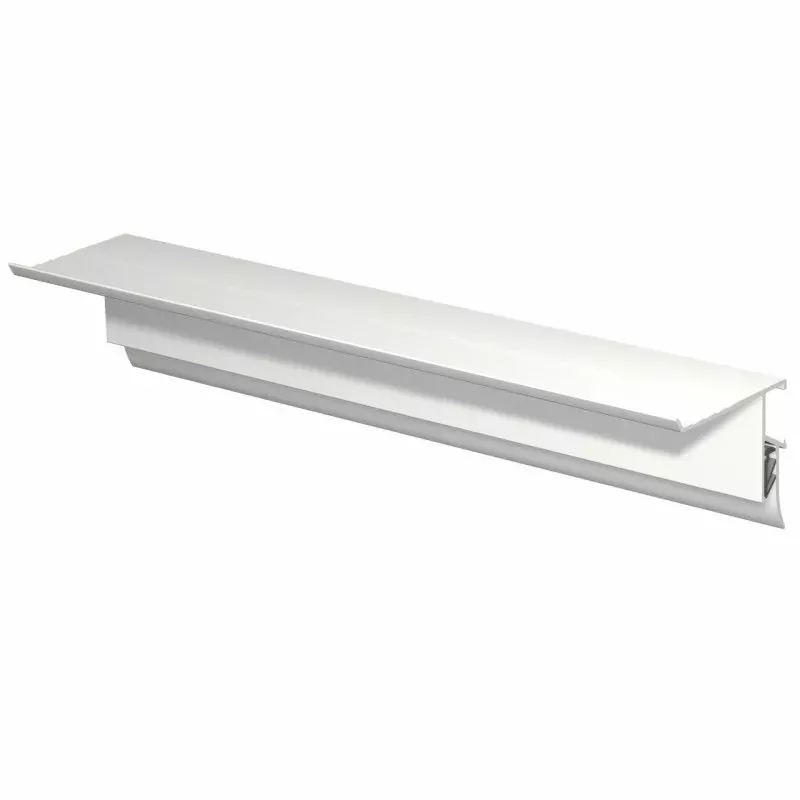
Installing the Artiteq Contour Rail is relatively simple and requires a few tools and a bit of preparation. Here are the detailed steps to successfully install it:
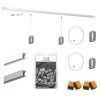
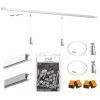
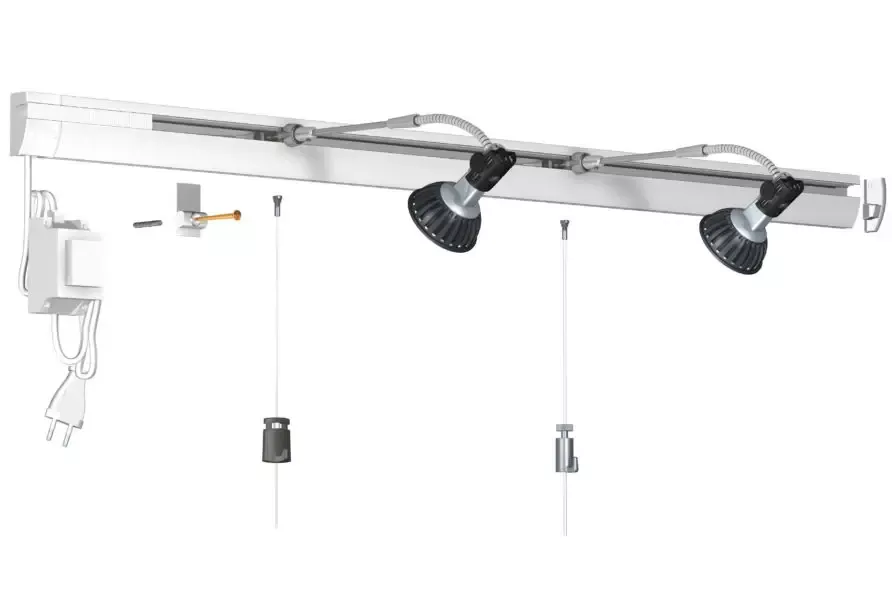
Materials needed:
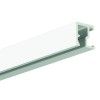
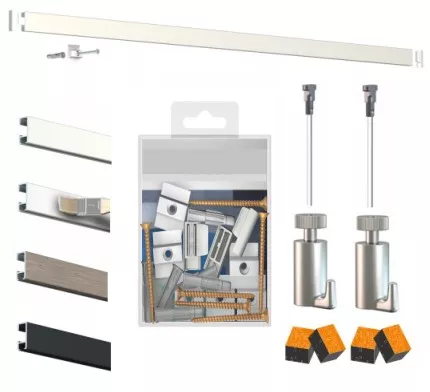
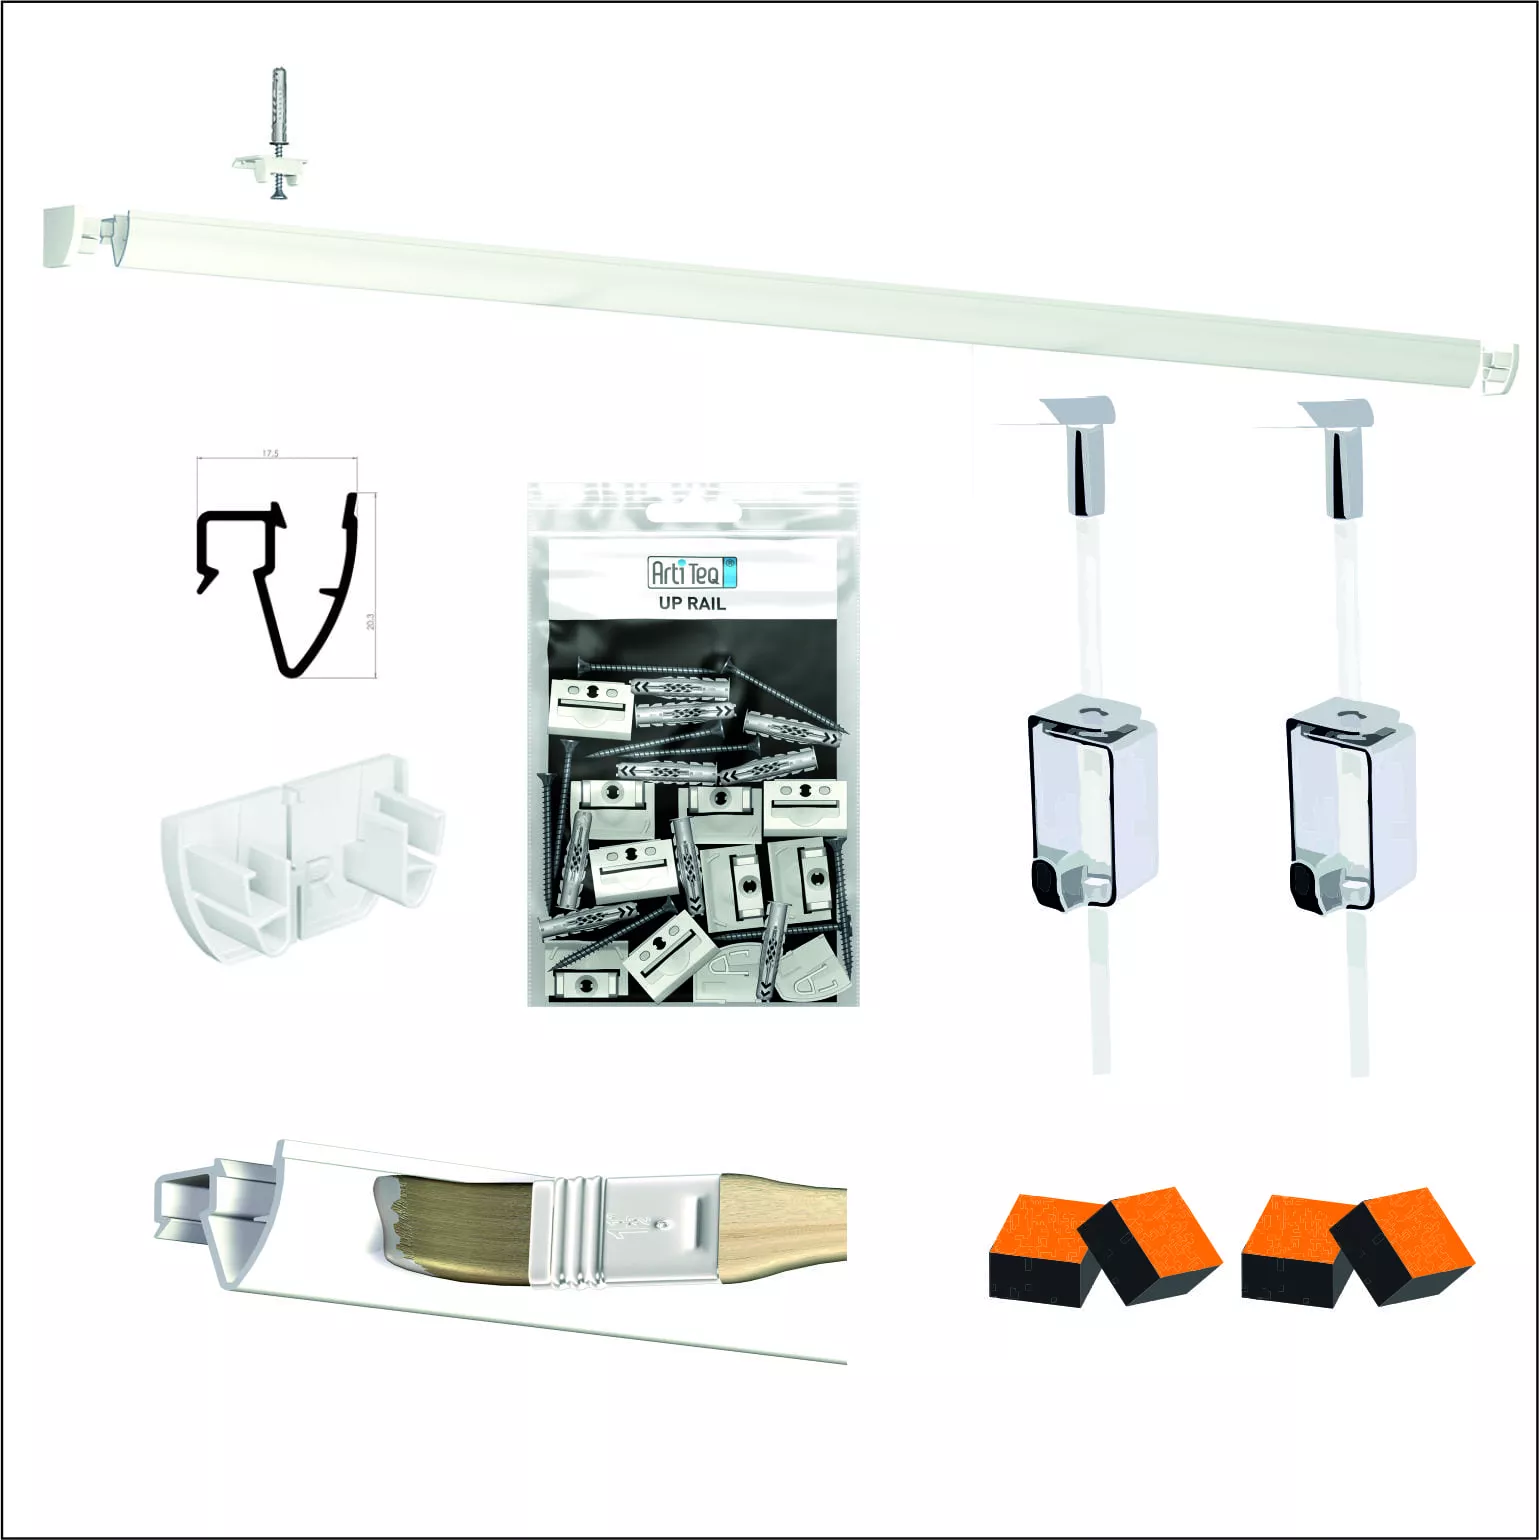
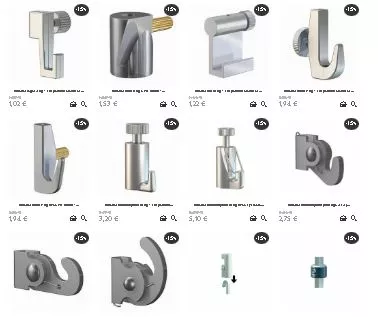
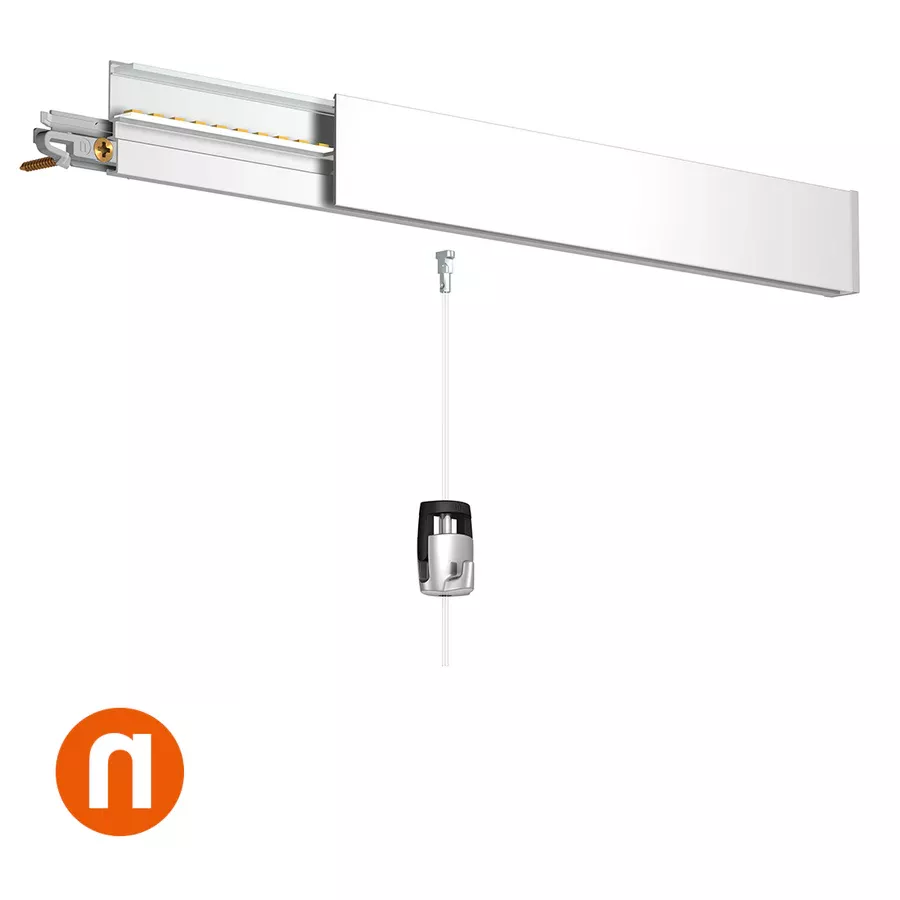
- Artiteq Contour Rail
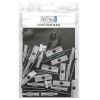
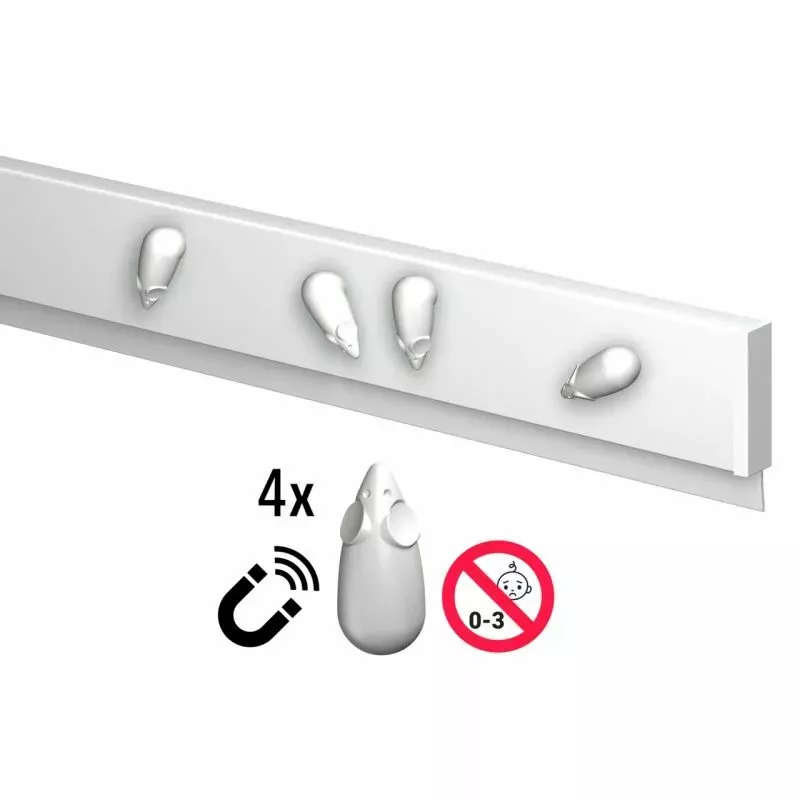
- Mounting clips (provided with the rail)
- Drill and suitable drill bits
- Screwdriver
- Screws and wall plugs (provided or suitable for your wall type)
- Bubble level
- Marker for tracing
Installation steps:
1. Prepare the wall
- Choose the location where you want to install the rail.
- Clean the surface to ensure it is clean and dry.
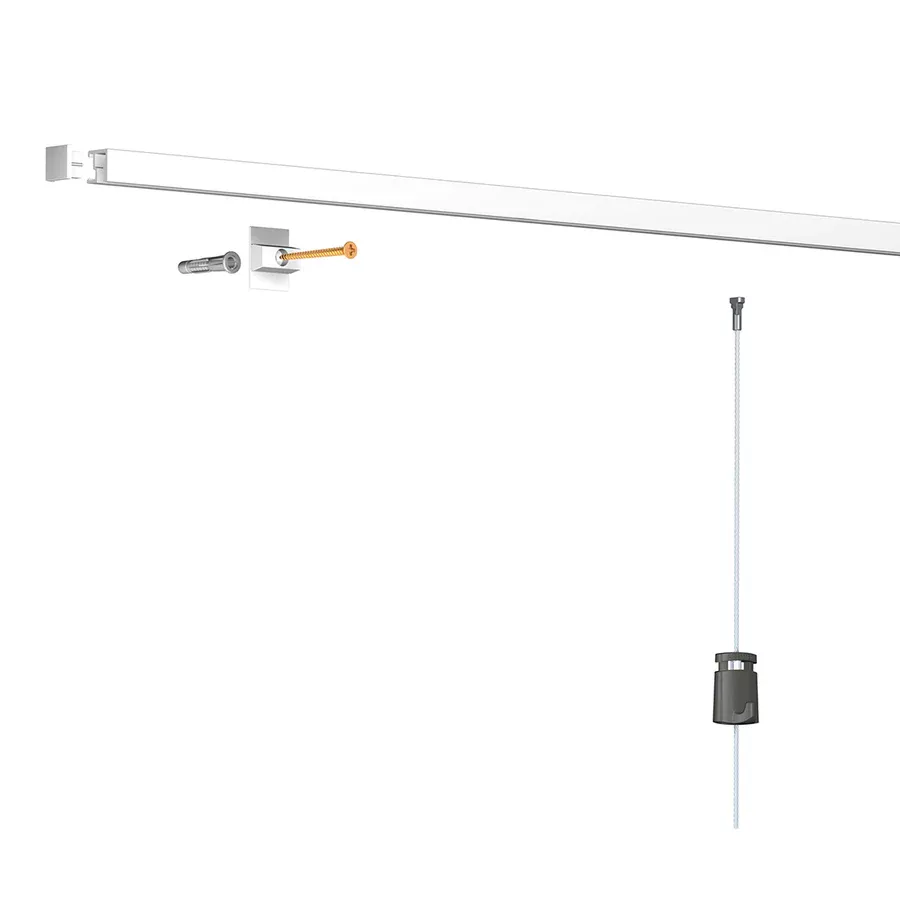
2. Mark the fixing points
- Place a mounting clip about 10 cm from each end of the rail. Add additional clips approximately every 40 cm.
- Use a bubble level to mark a straight line on the wall using a marker.
- Mark the drilling points for the clips on the drawn line.
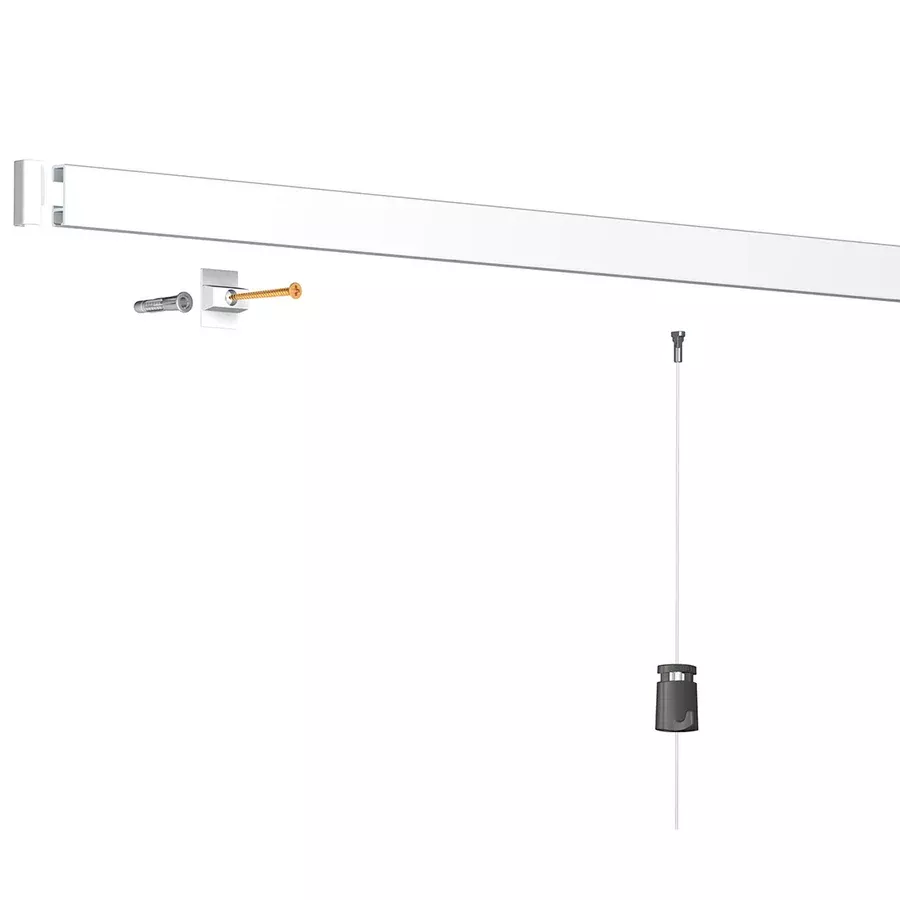
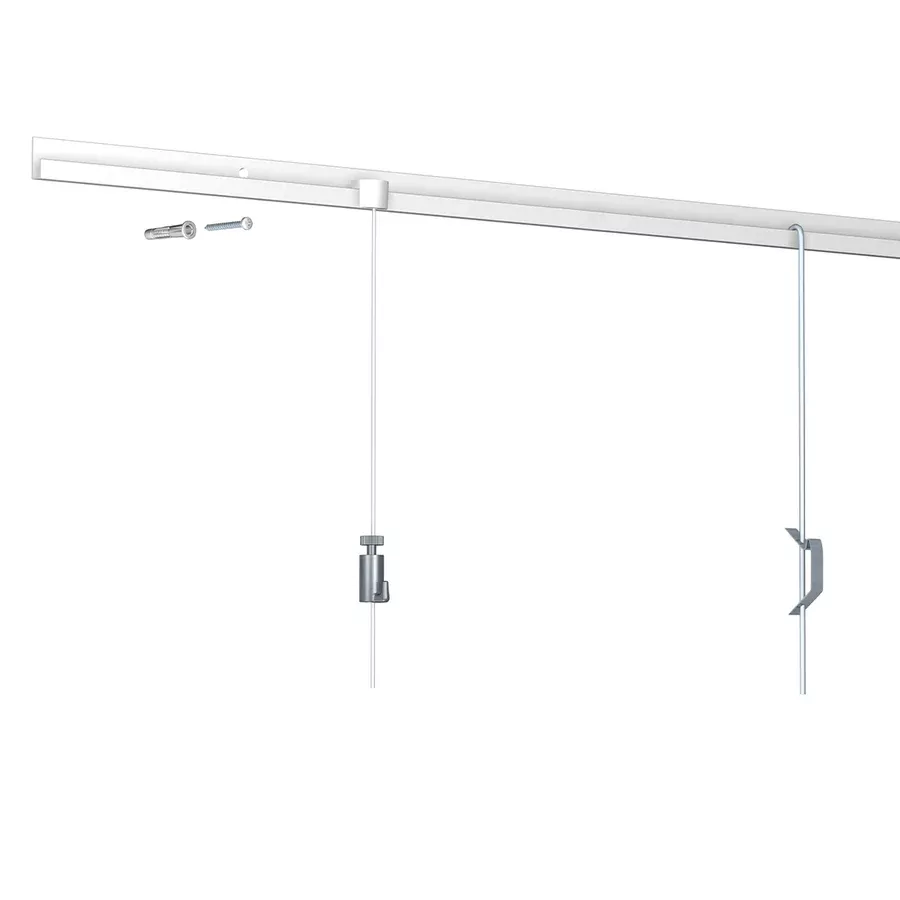
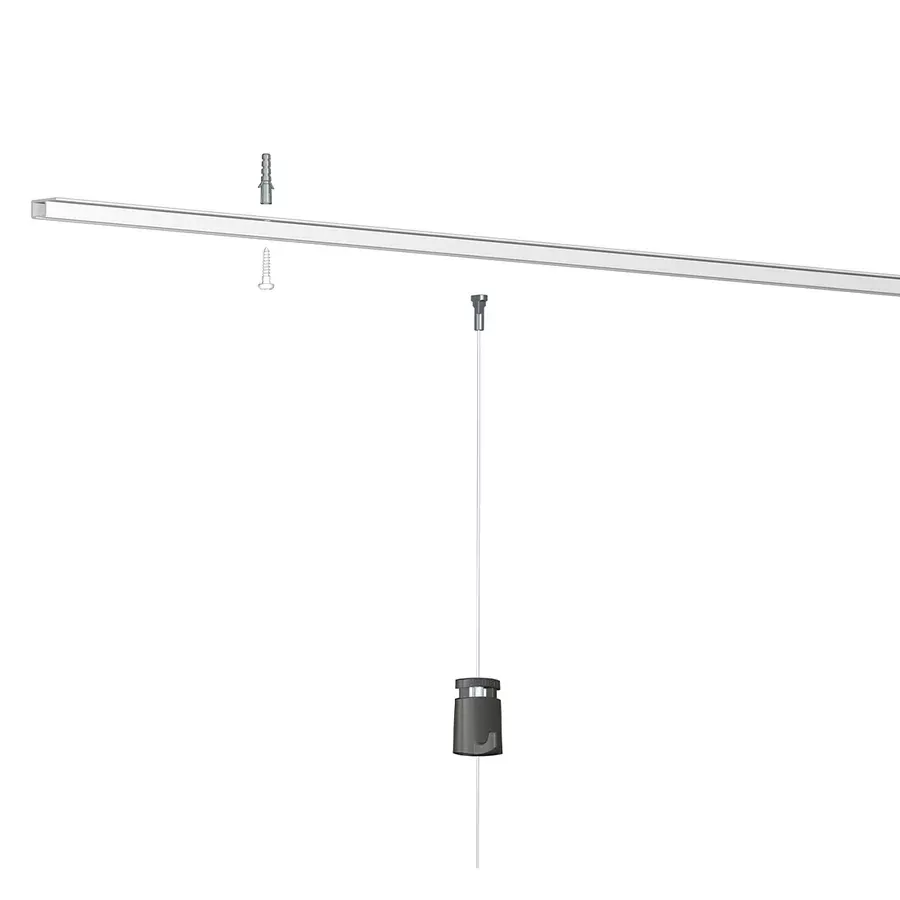
3. Drill and fix the clips
- Drill holes at the marked locations.
- Wall type: Adapt the drill bit and wall plugs based on whether the wall is plaster, concrete, brick, or wood.
- Insert the wall plugs into the holes if necessary.
- Secure the clips with screws, ensuring they are properly aligned.
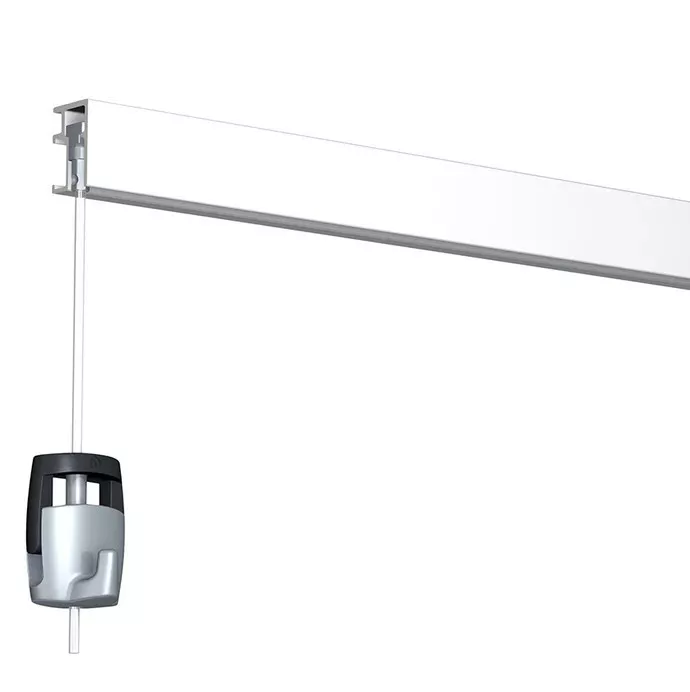
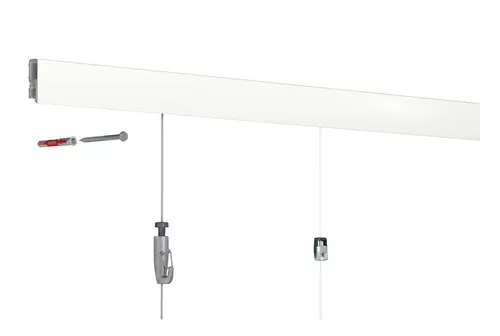
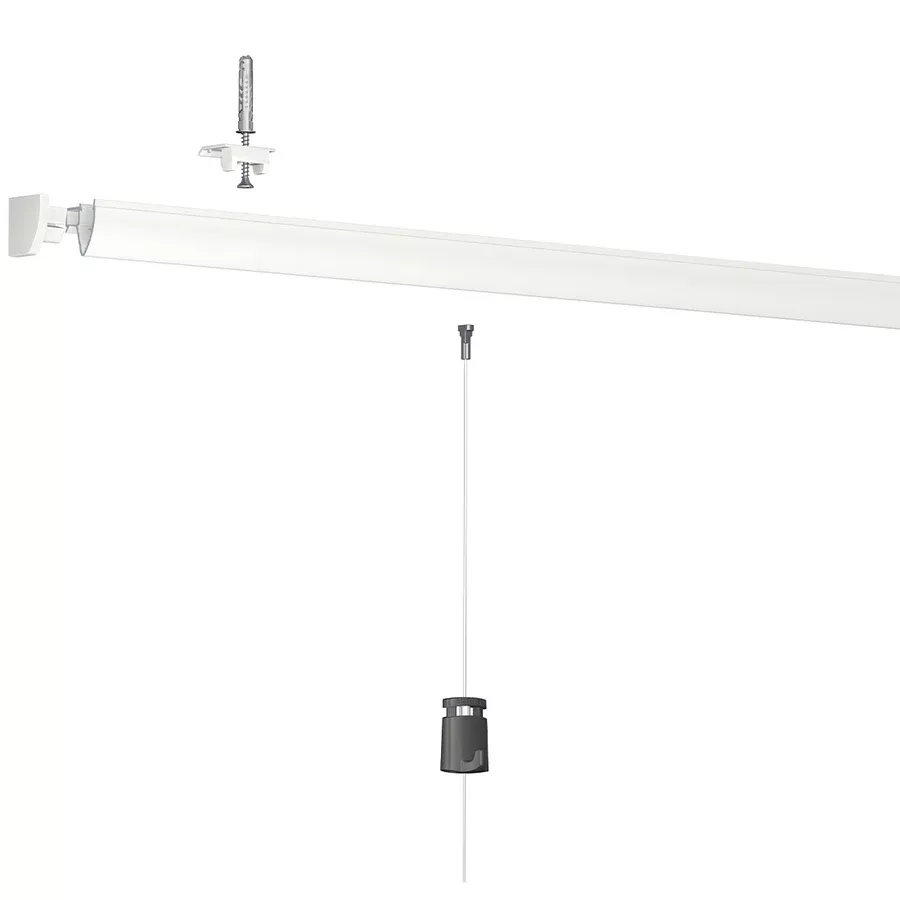
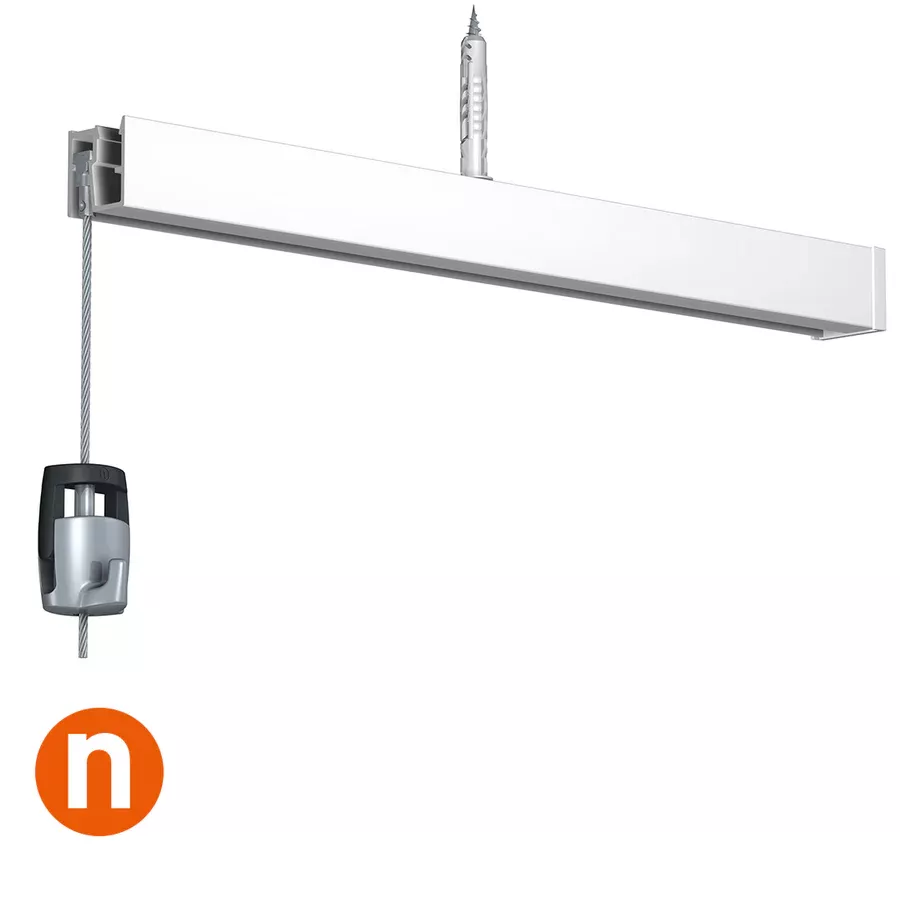
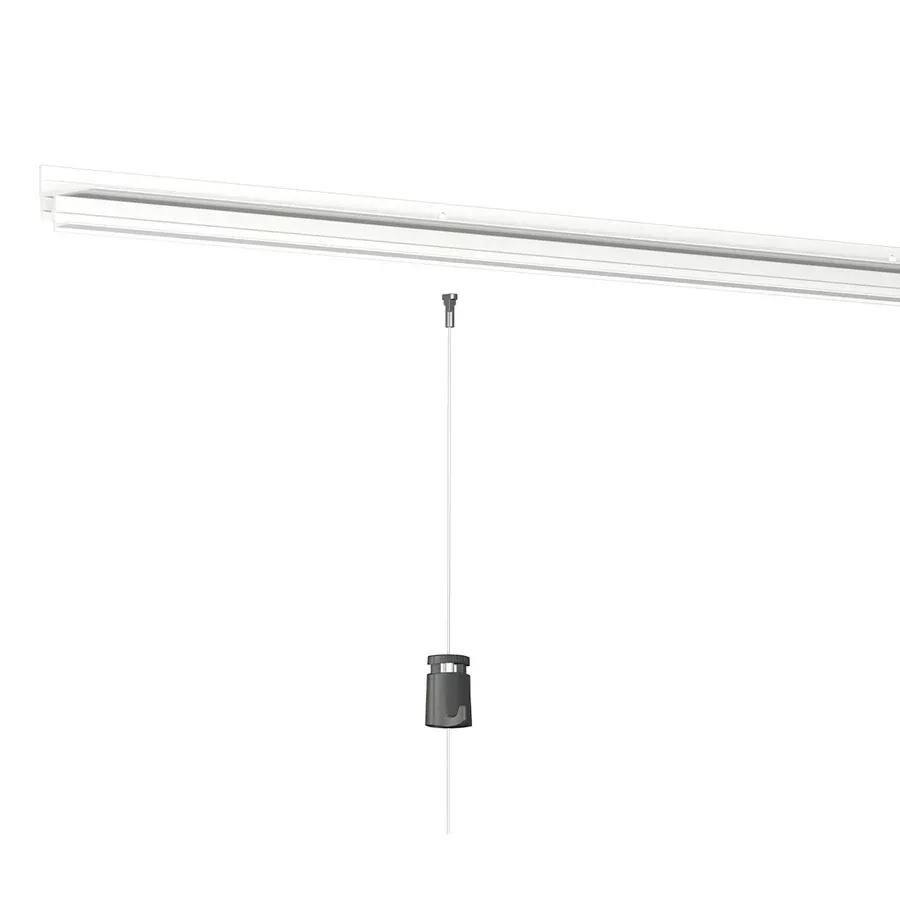
4. Install the rail
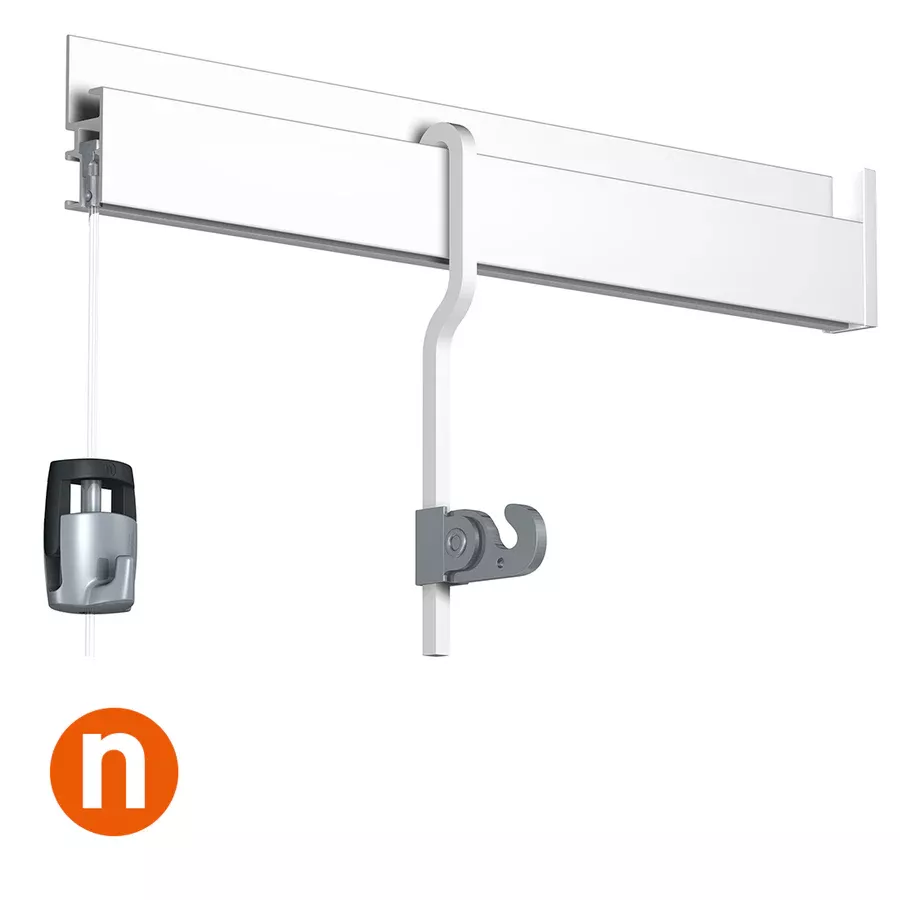
- Place the rail on the mounting clips.
- Press firmly to snap the rail into place. You will hear a "click" when the rail is securely attached.
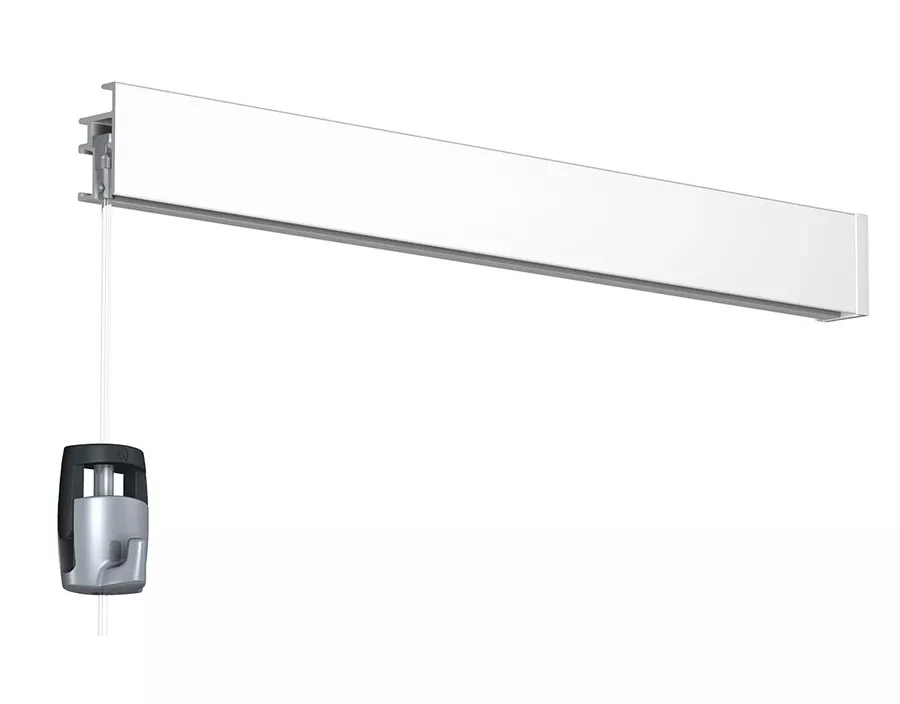
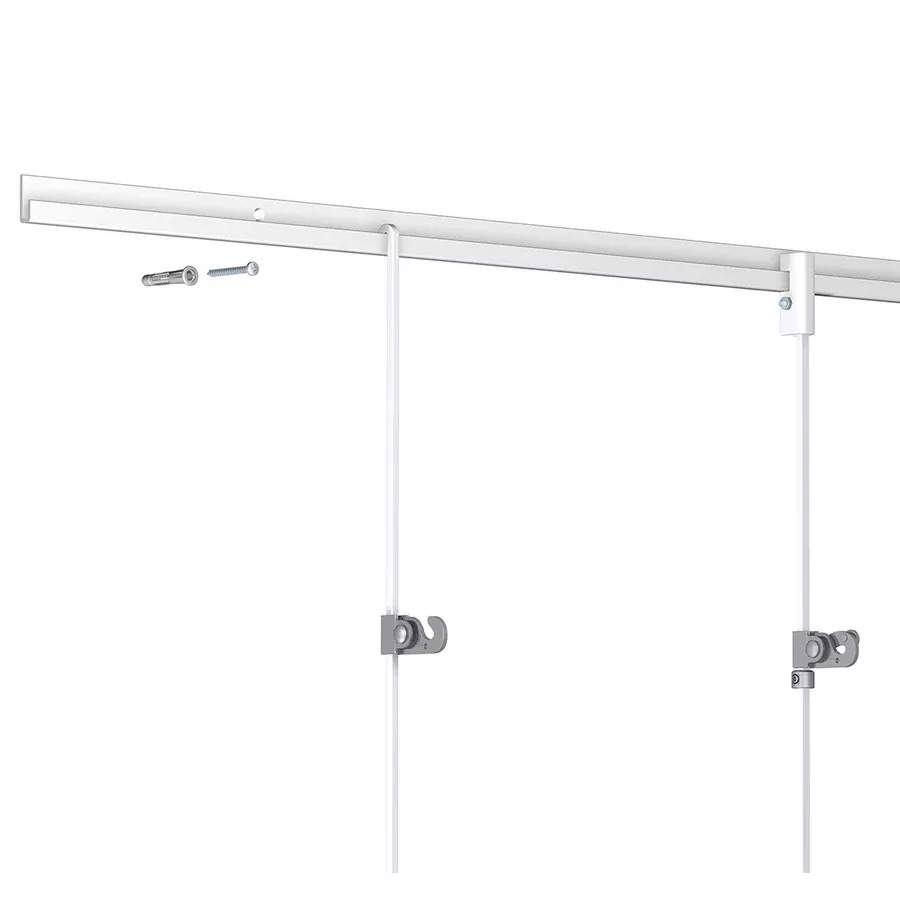
5. Check the installation
- Ensure the rail is securely fixed and level.
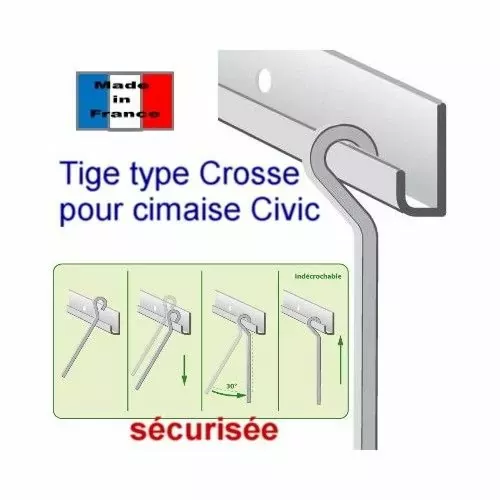
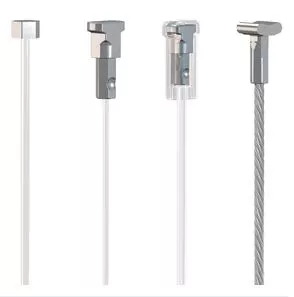
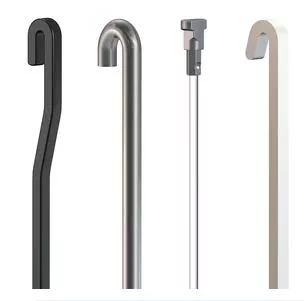
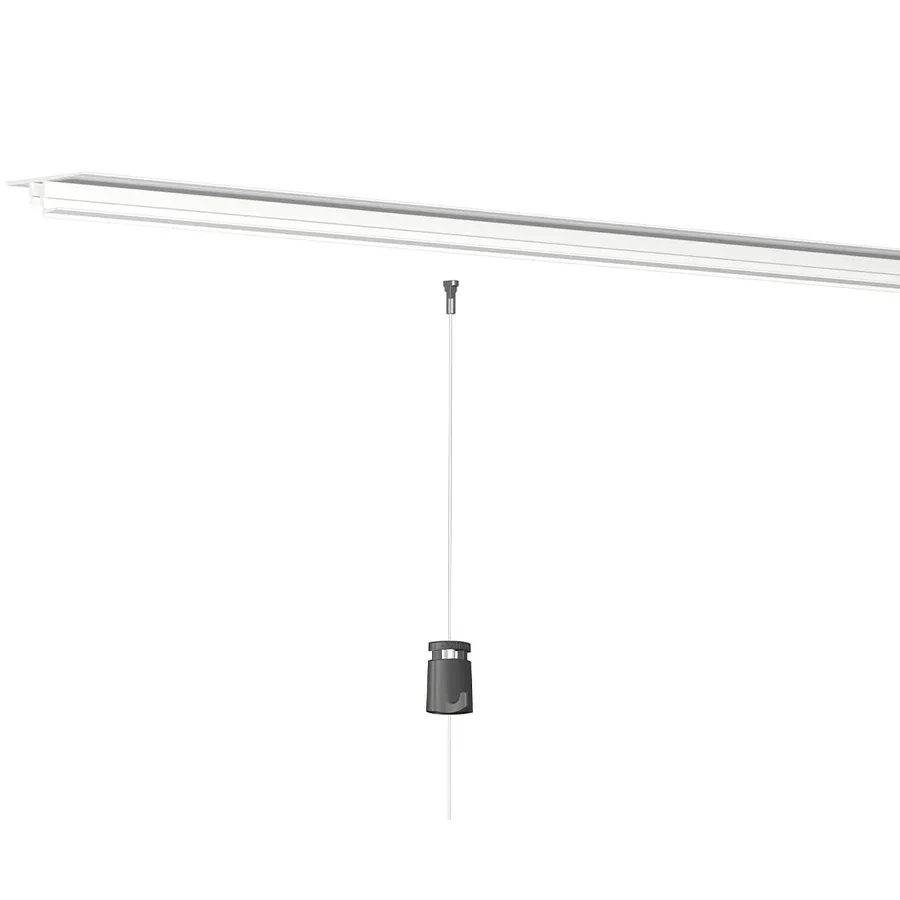
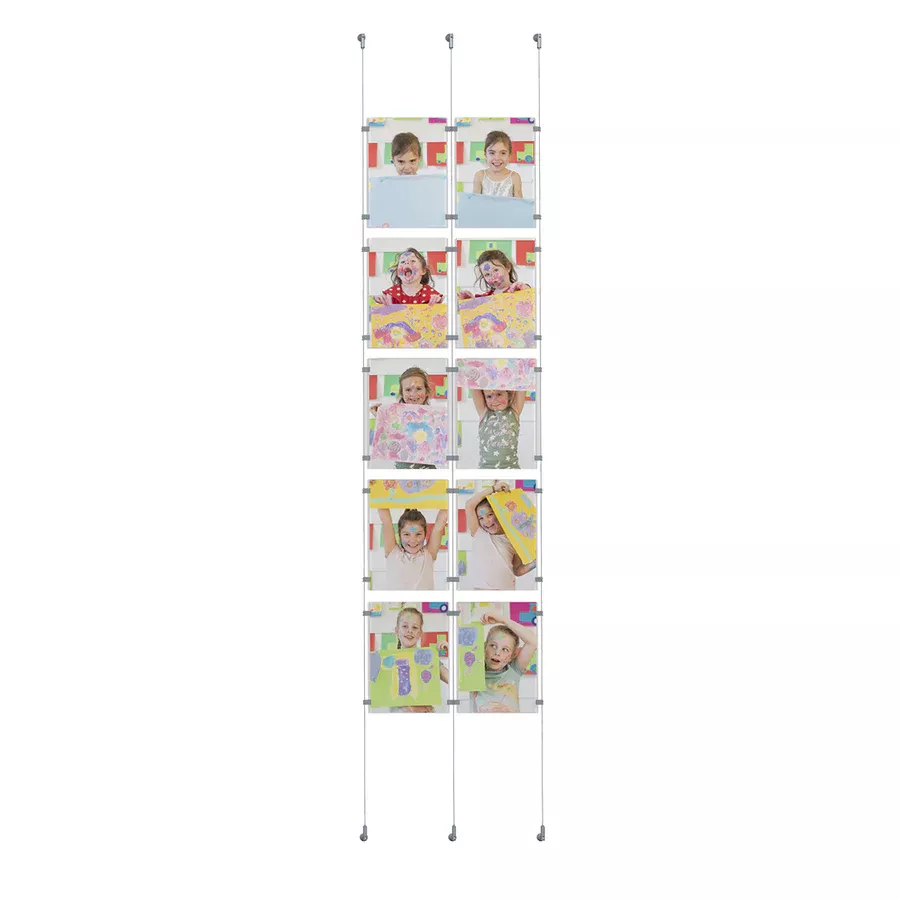
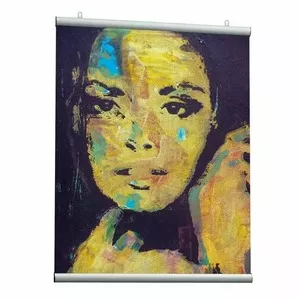
- Test with a hanging wire and hook to confirm everything is in order.
Additional tips:
- If you are installing multiple rails, make sure to align them properly for a clean and aesthetic finish.
- Leave sufficient space from the ceiling to facilitate installation.
- If needed, cut the rail to the correct length using a hacksaw.
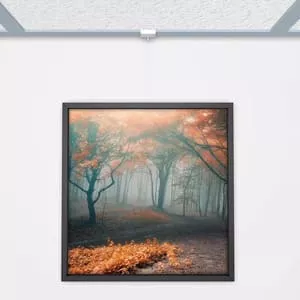
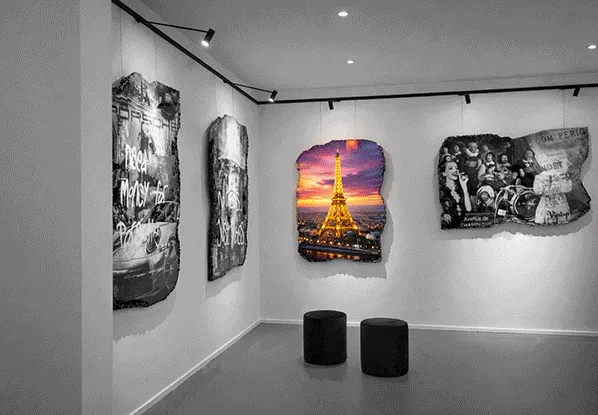
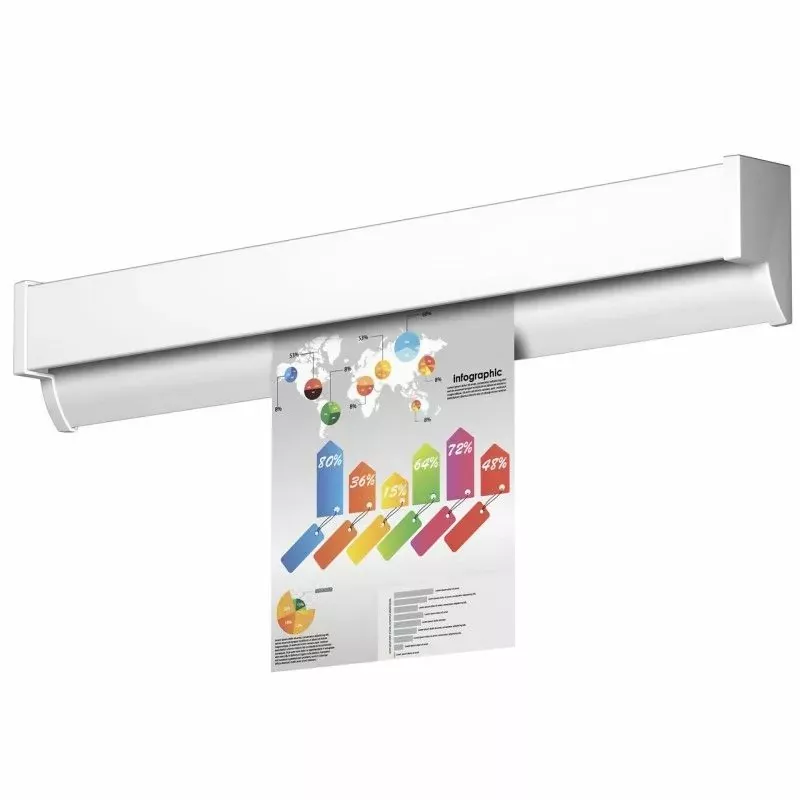
Once installed, your Artiteq Contour Rail system is ready to elegantly and flexibly display artworks or objects! ?
Share this content