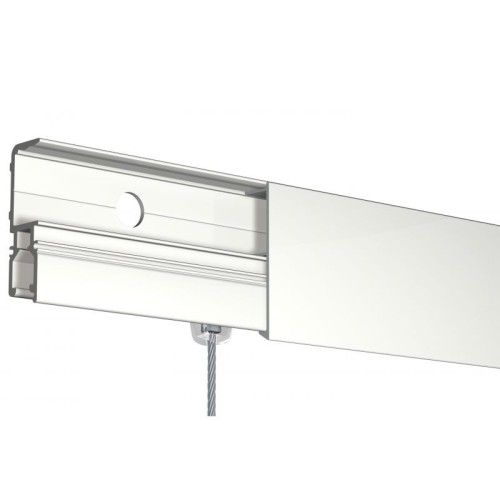
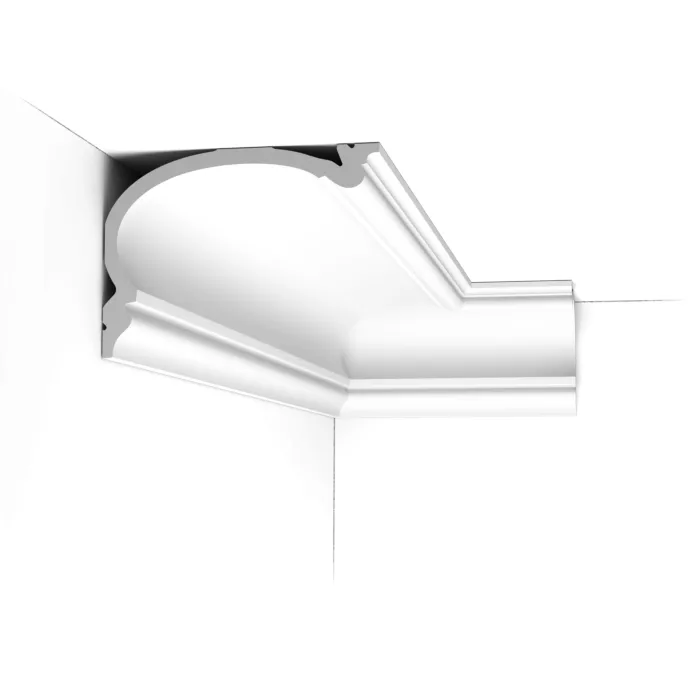
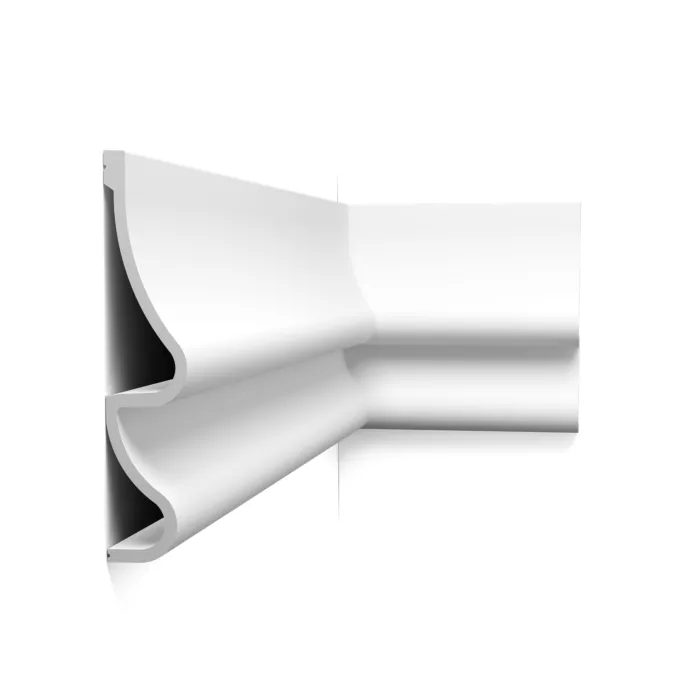
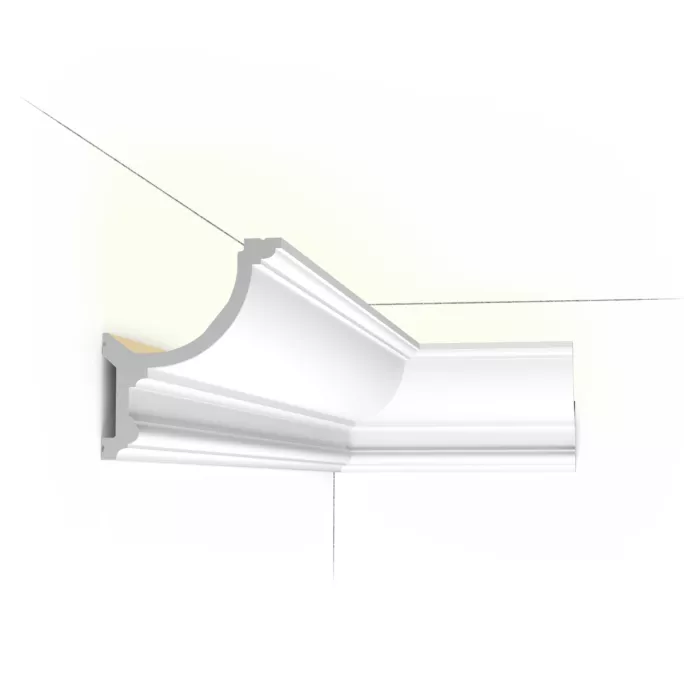
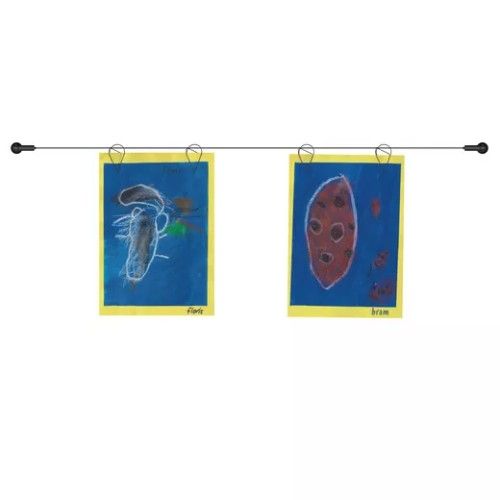
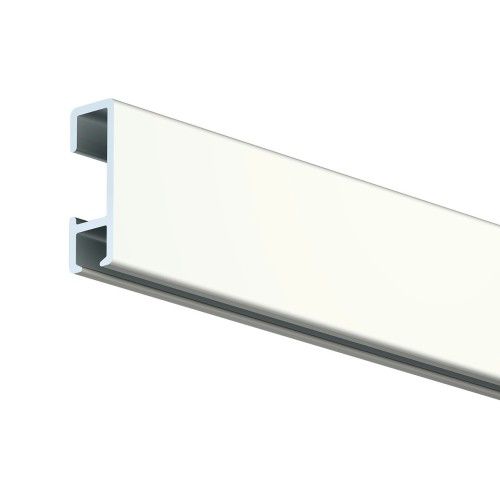
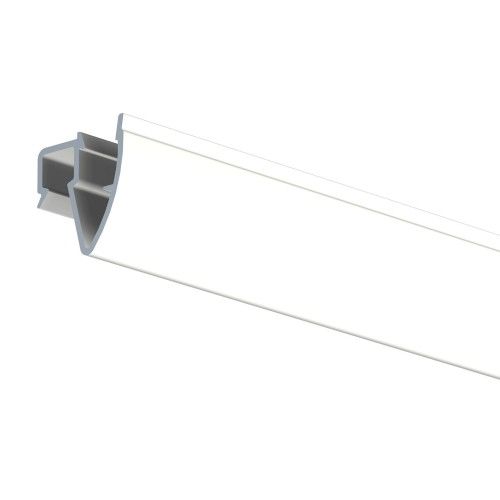
The ideal tree between wall and...
- -10%
CODE PROMO 5% AQPQK9B1 A PARTIR DE 400€ HT ET 15 % SUPPLEMENTAIRE AVEC LE CODE BDKH5EL1 A PARTIR DE 1000€ HT
The ideal tree between wall and...
Poster systems The Poster Snap...
REMISE200 : 10% à partir de 200€
REMISE400 : 10% supplémentaires à partir de 400€
REMISE1000 : 10% supplémentaires à partir de 1000€
? Les codes promo sont cumulables et disponibles directement dans le panier.
Cet assistant vous guide étape par étape pour choisir le système de cimaise parfaitement adapté à votre mur, à votre type d’encadrement et au poids de vos œuvres. Répondez simplement aux questions pour obtenir une recommandation personnalisée.
| Image | Nom du produit | Fixation | Poids max | Type | Lien |
|---|
| Image | Nom du produit | Fixation | Poids max | Type | Lien |
|---|
The Artiteq Click Rail picture hanging system is a flexible system designed to be wall-mounted. Here's how to install it:
Materials needed:
Click Rail picture hanging rail
Click & Connect mounting clips
Suitable screws and wall plugs
Drill with appropriate drill bits
Screwdriver
Bubble level
Tape measure
Marking pencil
Installation steps:
Preparation:
Choose the location on the wall for the rail, ideally close to the ceiling.
Ensure the surface is clean and dry.
Marking the mounting points:
Position the rail where desired and mark the positions for the mounting clips approximately every 40 cm.
Use the bubble level to ensure a straight alignment.
Attaching the clips:
Drill holes at the marked positions, depending on the wall type (concrete, brick, drywall, etc.).
Insert suitable wall plugs if necessary.
Attach the clips by screwing the screws into the wall plugs or directly into the support.
Installing the rail:
Once the clips are in place, click the rail onto the mounting clips.
Check the alignment and horizontal level of the rail using the bubble level.
Installing the suspension wires:
The wires can be made of perlon for maximum discretion or steel for a more industrial look.
Additional tips:
For a secure installation, it is recommended to use the Click & Connect clips specifically designed for the Click Rail.
If the wall is drywall, make sure to use suitable wall plugs for a secure installation.
The Click Rail can be painted in the color of the wall or ceiling for seamless integration.
For added flexibility, the suspension wires can be moved along the rail according to your needs.
For visual assistance, refer to the installation video below:
Share this content
We use cookies to improve your shopping experience. You will be able to select our and third-party cookies that you wish to use at any time.
See cookie policy